Make a donation

Author Topic: LC5F's Graphite Blue GTI - Pilgrimage to Caffeine & Machine  (Read 43830 times)

Offline terrier

  • Always Involved
  • ****
  • Thank You
  • -Given: 10
  • -Receive: 38
  • Posts: 408
  • My Ride: GTI now gone
Re: LC5F's Graphite Blue GTI - Sea Dweller Edition
« Reply #45 on: September 12, 2020, 06:04:43 pm »
The shields love to rust. My previous mk5 went through 3 sets in 100000 miles This time around Ive painted them with underseal. Also give them a clean with an oily rag every few months,held in place with plastic screws from work (borrowed) :happy2:

Offline LC5F

  • Just look at my post count
  • ******
  • Thank You
  • -Given: 16
  • -Receive: 80
  • Posts: 1110
Re: LC5F's Graphite Blue GTI - Sea Dweller Edition
« Reply #46 on: September 12, 2020, 07:56:57 pm »
Yeah - When I got the Golf there was only the crumbling remains of the passenger side left - these are galvanised sheet pressed, their weakness is the cut edge is bare metal, hopefully these should have good life expectancy

Offline LC5F

  • Just look at my post count
  • ******
  • Thank You
  • -Given: 16
  • -Receive: 80
  • Posts: 1110
Re: LC5F's Graphite Blue GTI - Sea Dweller Edition
« Reply #47 on: September 18, 2020, 09:25:21 pm »
I was struggling to get the rear carrier bolts off, I invested in some low profile spline sockets and they helped along with taking the spring and shock off giving excellent access - all 4 fought me all the way out:

Finally progressing, only had to get the angle grinder out for the ARB drop links:

The bits I got off:

before finally getting this out..

The MVP for getting the subframe out was the VAG connector remover used to get the level sensor connector off:

Subframe is in mint condition, still has its stickers on!

I have these to deal with tomorrow - 3 bolts are stuck in the bushes, will see what a bit of heat does. most of the bushes look and feel goosed, suspect they are original ones

I had mixed results with my cheap Aliexpress subframe aligners 2 had bits broken off, the rest were still good, all the aligning bits are still good, still happy with them:


Offline Stupots

  • Always Involved
  • ****
  • Thank You
  • -Given: 18
  • -Receive: 35
  • Posts: 372
Re: LC5F's Graphite Blue GTI - Sea Dweller Edition
« Reply #48 on: September 19, 2020, 07:57:42 am »
Holy hell @LC5F I now understand what "Sea Dweller" really means. The level of rust on your car is extreme!

Replacing any bits with alloy parts?

P.S. I just ordered one of those VWAG Connector Remover tools... good shout!
« Last Edit: September 19, 2020, 08:47:09 am by Stupots »
2006 VW Golf Mk5 Sport TDI 4Motion (140 BKD)

Offline LC5F

  • Just look at my post count
  • ******
  • Thank You
  • -Given: 16
  • -Receive: 80
  • Posts: 1110
Re: LC5F's Graphite Blue GTI - Sea Dweller Edition
« Reply #49 on: September 19, 2020, 10:53:55 am »
Holy hell @LC5F I now understand what "Sea Dweller" really means. The level of rust on your car is extreme!

Replacing any bits with alloy parts?

P.S. I just ordered one of those VWAG Connector Remover tools... good shout!

To be fair I have had this tool for a while, tried it a half heartedly and couldn't get it to work. But this is the first time I got the remover to work - it is definitely something to have in reserve - the level sensor clip is covered by the body of the subframe. Normally if access is good I can undo with finger or carefully with flat blade screwdriver, but I will start using this more

Yes - I have Scirocco hubs to go on and all the PSB bushes

Offline LC5F

  • Just look at my post count
  • ******
  • Thank You
  • -Given: 16
  • -Receive: 80
  • Posts: 1110
Re: LC5F's Graphite Blue GTI - Sea Dweller Edition
« Reply #50 on: September 19, 2020, 05:44:55 pm »
Plan today was strip and clean the subframe, looking at it in the daylight made me realise the condition is too far gone for me to clean up, likely to take days of wire brushing with poor result...


So, I have opted to buy a good second hand rear axle from down south outside the rust zone, looks to be in a much better condition to rebuild.
In the meantime I will clean up 4 of the arms ready to go on. Upper arm crust was this:

Most of that flaked off with hammer and then wire brushed on an angle grinder to near bare metal. Next I pushed out the old bushes, only one came out clean, most left their metal casing - I had to file a groove and hammer/lever it out:

Also got round to installing the vice I got 7 months ago into my home built bench, this allowed me to remove the old bearings from the Scirocco hubs - I burnt out the bush centre, need to hacksaw through the remains of the bush:

Scirocco alloy Vs Golf cast iron hubs:


Offline maxamplitude10

  • Always Involved
  • ****
  • Thank You
  • -Given: 10
  • -Receive: 5
  • Posts: 228
  • '07' ED30 Manual 3Dr
    • Email
Re: LC5F's Graphite Blue GTI - Sea Dweller Edition
« Reply #51 on: September 20, 2020, 02:02:59 pm »
How is it so rusty must have been parked in the sea for most of its life? That is an unseen amount of rust on a GTI....

Good Luck

Max

Offline LC5F

  • Just look at my post count
  • ******
  • Thank You
  • -Given: 16
  • -Receive: 80
  • Posts: 1110
Re: LC5F's Graphite Blue GTI - Sea Dweller Edition
« Reply #52 on: September 20, 2020, 07:08:27 pm »
How is it so rusty must have been parked in the sea for most of its life? That is an unseen amount of rust on a GTI....

Good Luck

Max

Thanks - Don't know where its been, except I got it in Aberdeen and was parked near the docks.
It was an Edinburgh registered car, so it has done a big loop back.
I need to dig out my registration and look through online MOT history for clues to where it spent its life.
All I can think is it may have been somewhere rural with Cow slurry - the ammonia really helps rust

So today I worked out I messed up the lower control arms for the PSB bushes - pretty random that they say you need to burn out the bush and retain the OEM metal outer for the PSB ones to slip into, I seem to recall Superpro come with the casing, but the big price - mine were rusted and splitting and I removed them yesterday.
Typically I found this out after wire brushing and rust converted both arms! - hopefully the ones on the axle coming up from London will be in better shape.

Upper control arms wire brushed back to metal and treated with rust converter, next step is some smoothrite and fit the bushes.


Scirocco hubs got a scrub down with wire brush and the remains of the control arm bush pushed out and PSB installed.

Don't think I mentioned the state of the exposed floor around and above the subframe:


After a reasonably thorough scrub with wire wheels I got it back to this:


The dust was terrible, should have put on a respirator to go with my safety squints behind glasses - I use the boot carpet from a Mk3 for rolling around on the ground, outline can be seen below:


Now treated with rust converter, not sure if I should stone chip or only paint with smoothrite:


Offline Deano45

  • Always Involved
  • ****
  • Thank You
  • -Given: 3
  • -Receive: 16
  • Posts: 266
    • Email
Re: LC5F's Graphite Blue GTI - Sea Dweller Edition
« Reply #53 on: September 22, 2020, 11:41:30 am »
Top work ,,, great progress on this restoration so far and some great upgrades ,,, :smiley:

Offline LC5F

  • Just look at my post count
  • ******
  • Thank You
  • -Given: 16
  • -Receive: 80
  • Posts: 1110
Re: LC5F's Graphite Blue GTI - Sea Dweller Edition
« Reply #54 on: September 26, 2020, 10:49:26 pm »
Top work ,,, great progress on this restoration so far and some great upgrades ,,, :smiley:

Thanks fella - I am more going for future proofing for a reliable good handling daily.
If it was full blown resto, despite the good spec I don't think I would have chosen this Golf, plus I would be powder coating everything.

Wednesday -
I got some bargain priced Passat front hubs, amazing packaging and DHL'd next working day all for £14 a side
They wont make it onto the Golf for a while. They came complete with discs, bearings, shields etc.
Getting the bearings off was easy once I worked out how to hold them rigid off a car:
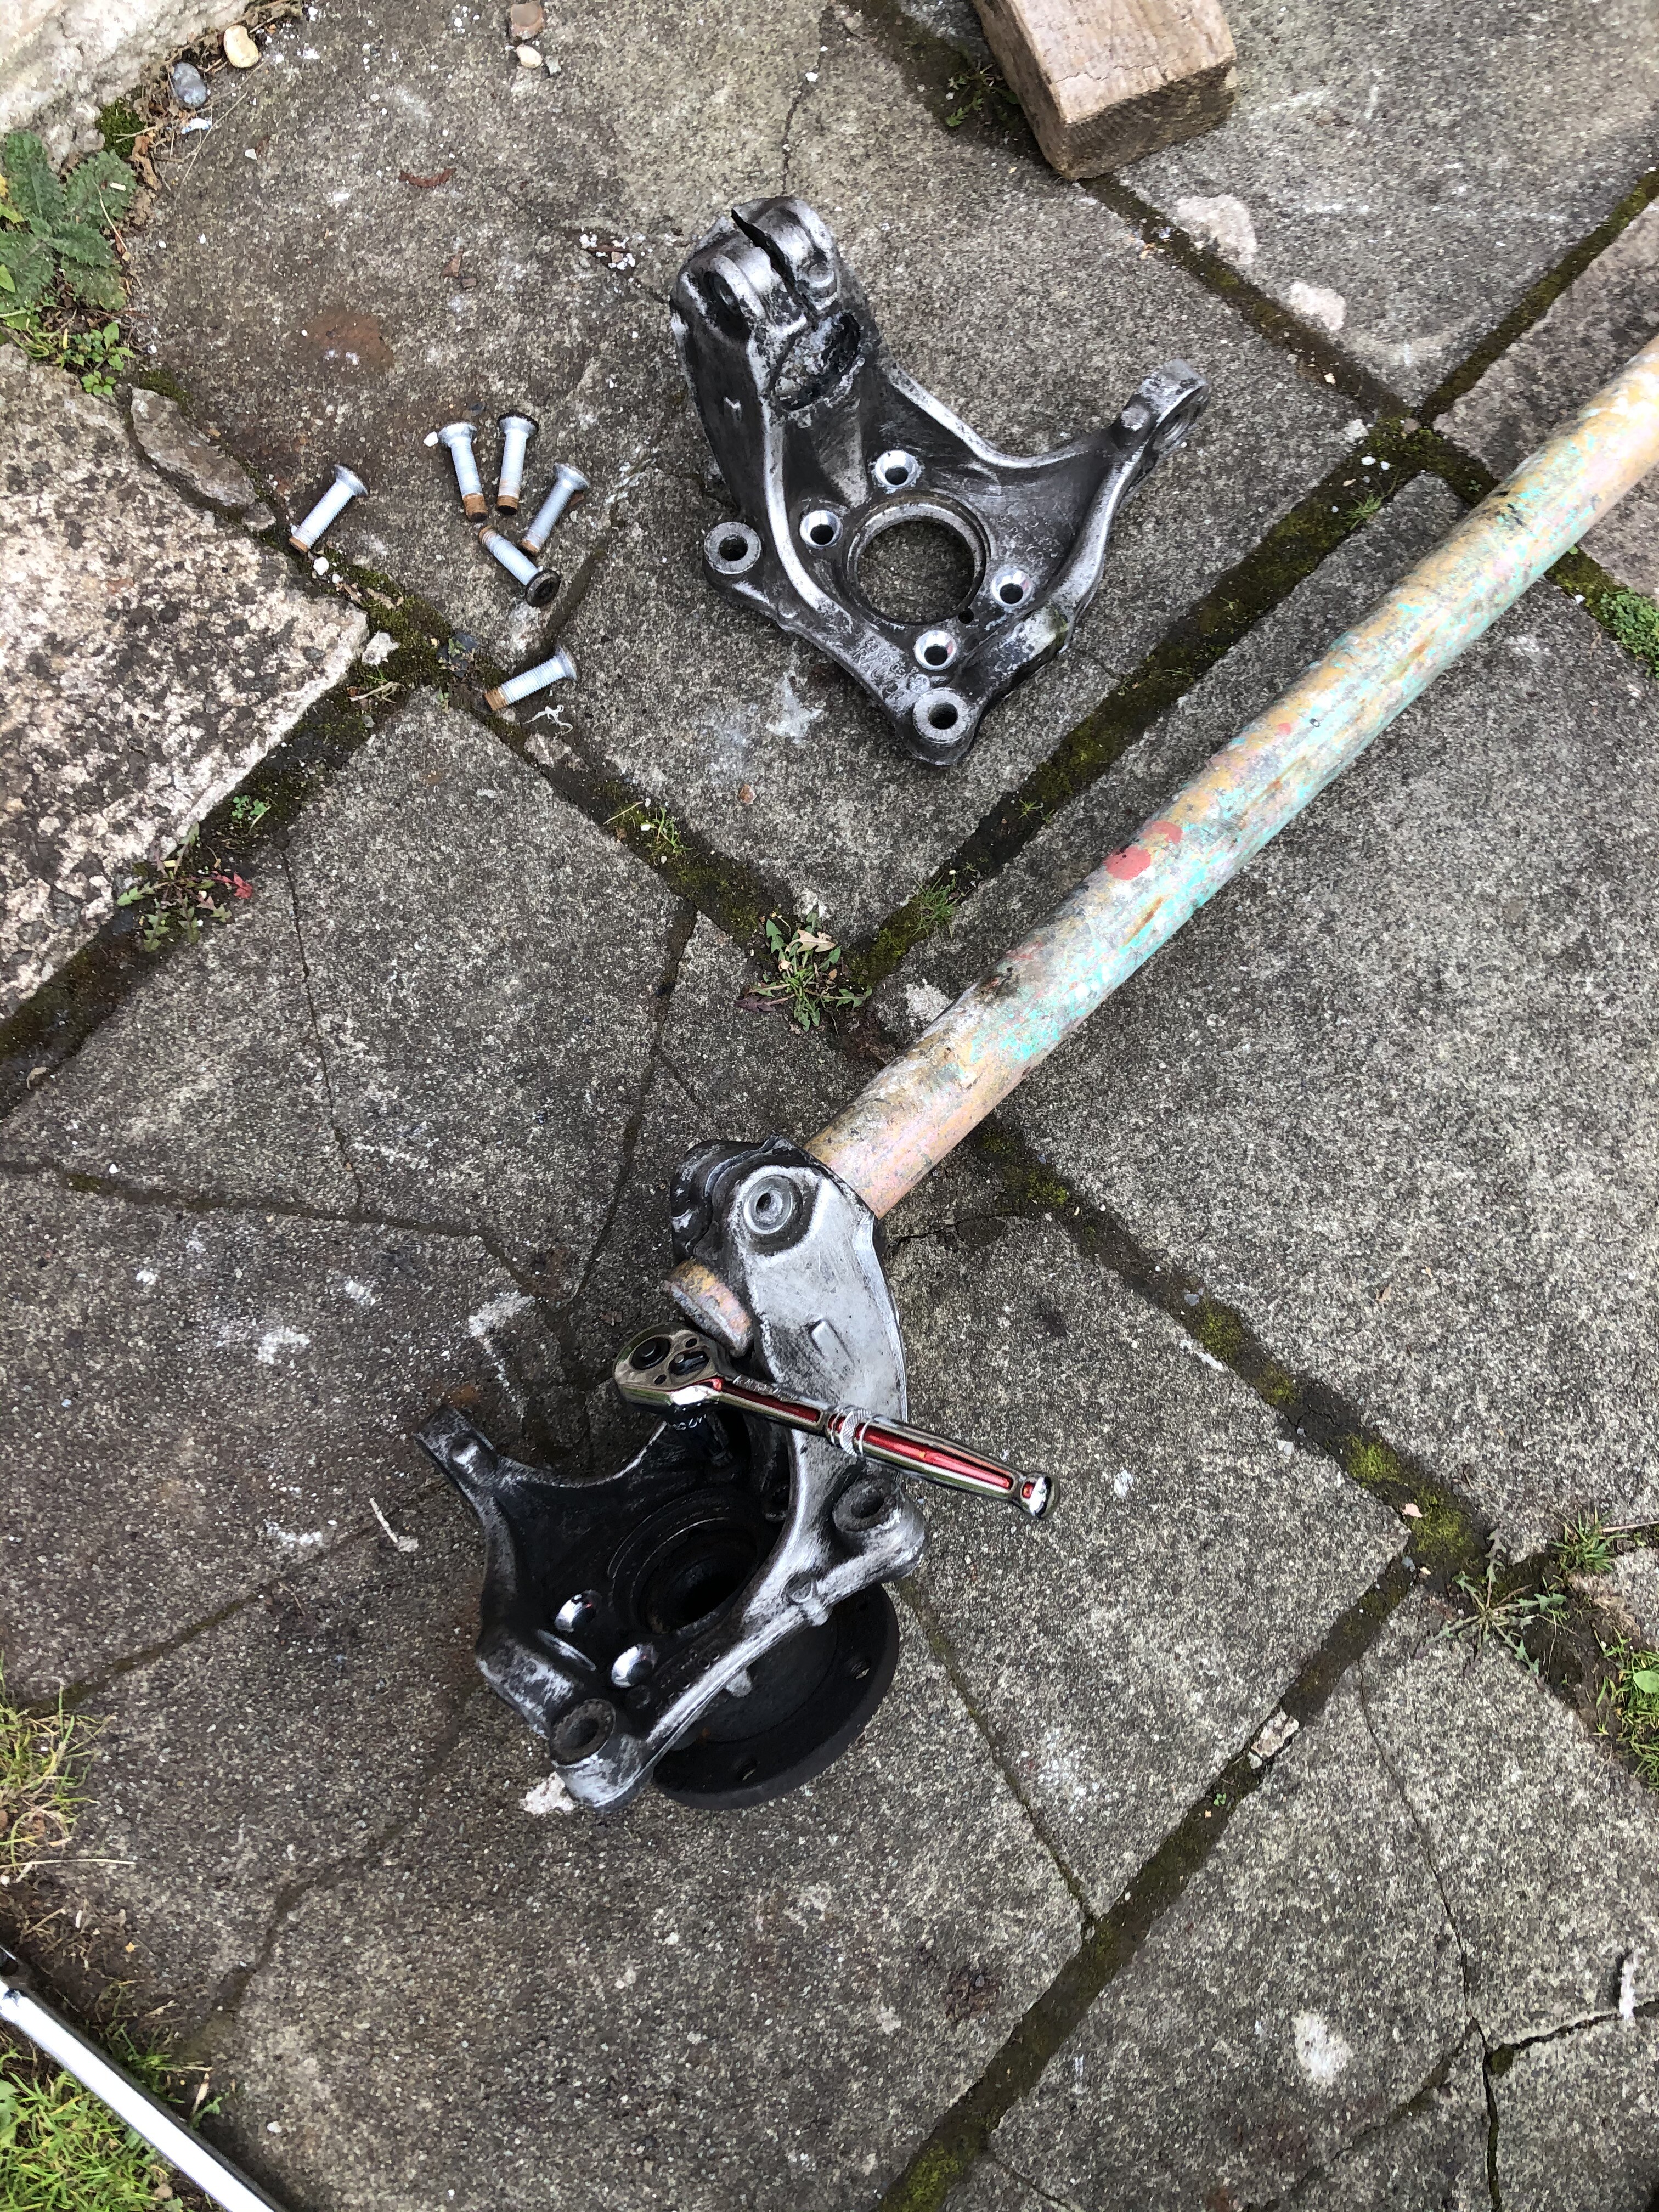
They got a pretty good scrub down, but to give the cleaning a leg up, I decided to be naughty:

It was only a 30 minute wash cycle, couldn't risk a longer one!

Friday -
The Axle turned up on, the good news is this one has considerably more paint still on it:

Stripped it down to the usual 2 control arms - everything was in much better shape, even the ARB bolts came out. it took a 1/4 of the time my old one took!
Night time, I installed bushes into the upper control arms

Saturday -
First task was painting the boot floor, I opted for stonechip, 1.5 cans later I got this:

Not perfect, but it should help.

Second task was getting the last 2 control arm bolts out, they gave in to lots of heat, that left me with a bare subframe that I wire wheeled the crusty areas and then rust converted:
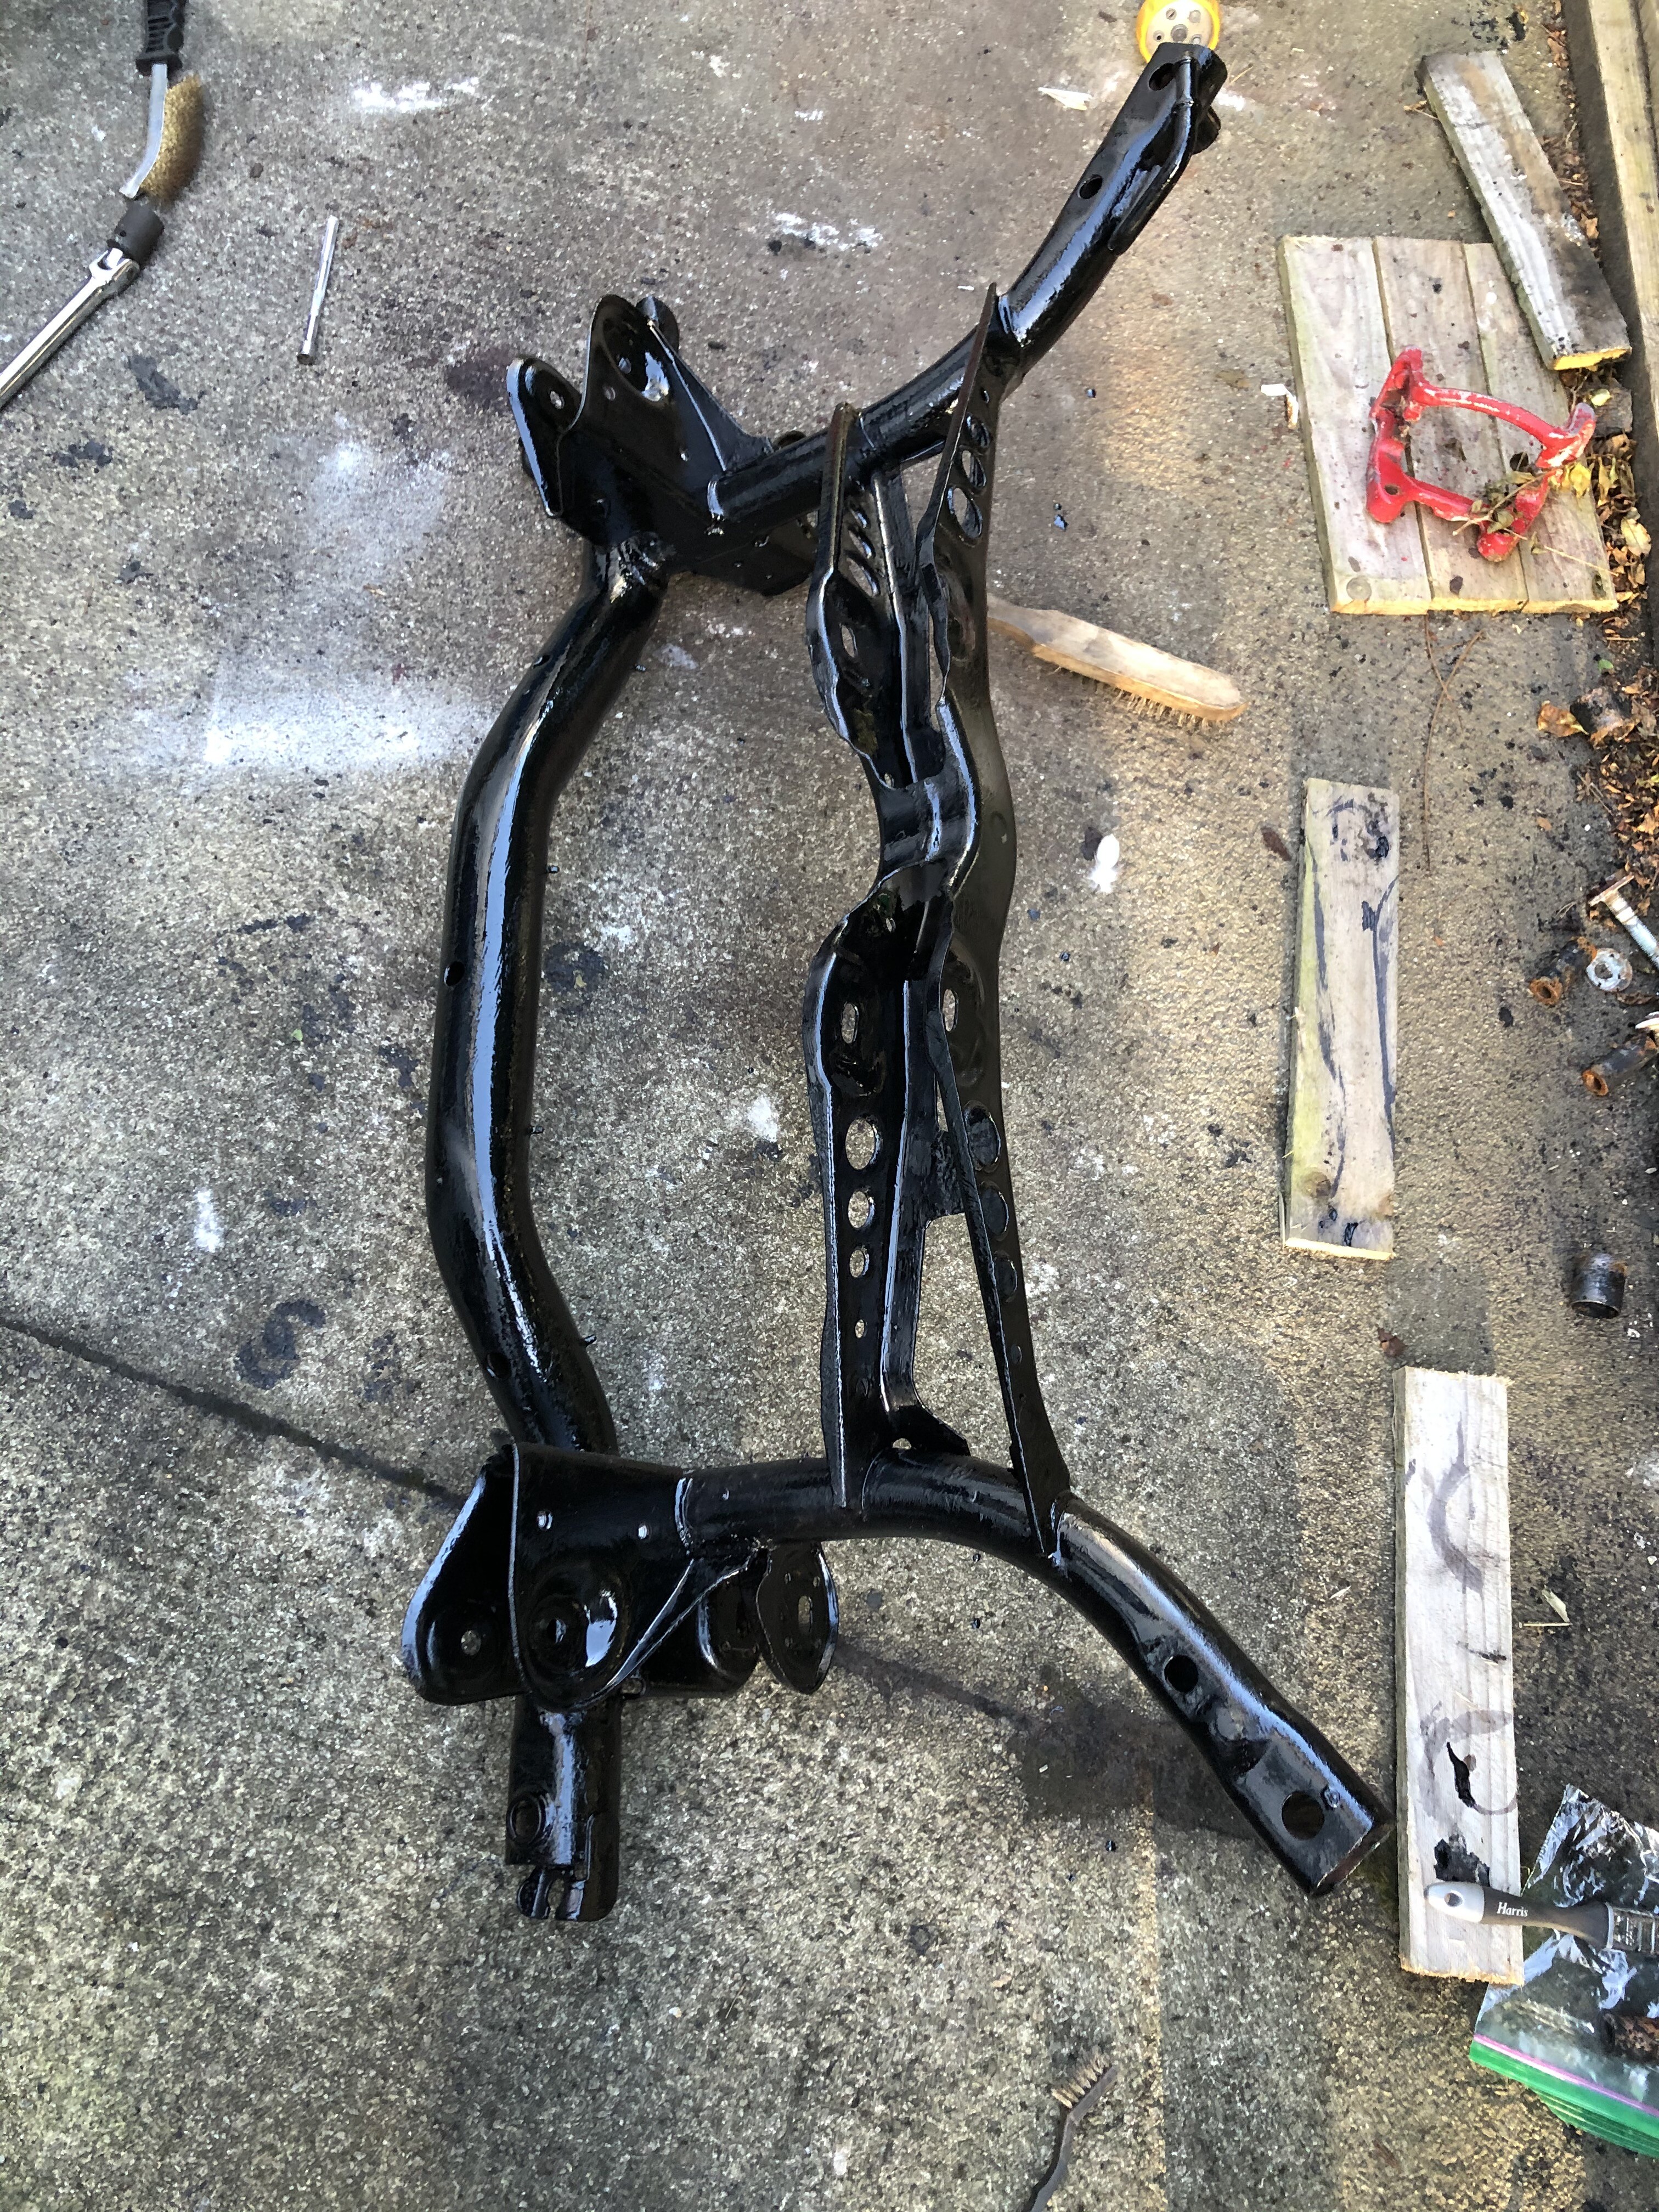
The milestone here is I have reached bottom on the axle rebuild, apart from cleaning up parts it now all going back on.

Rest of the day spent stripping out bushes and cleaning up parts-
I think I blew out the seal on my cheap ebay press trying to take out the 2nd trailing arm bushes - metal inner pushed out, but I had to cut the alloy outer case to push it out.
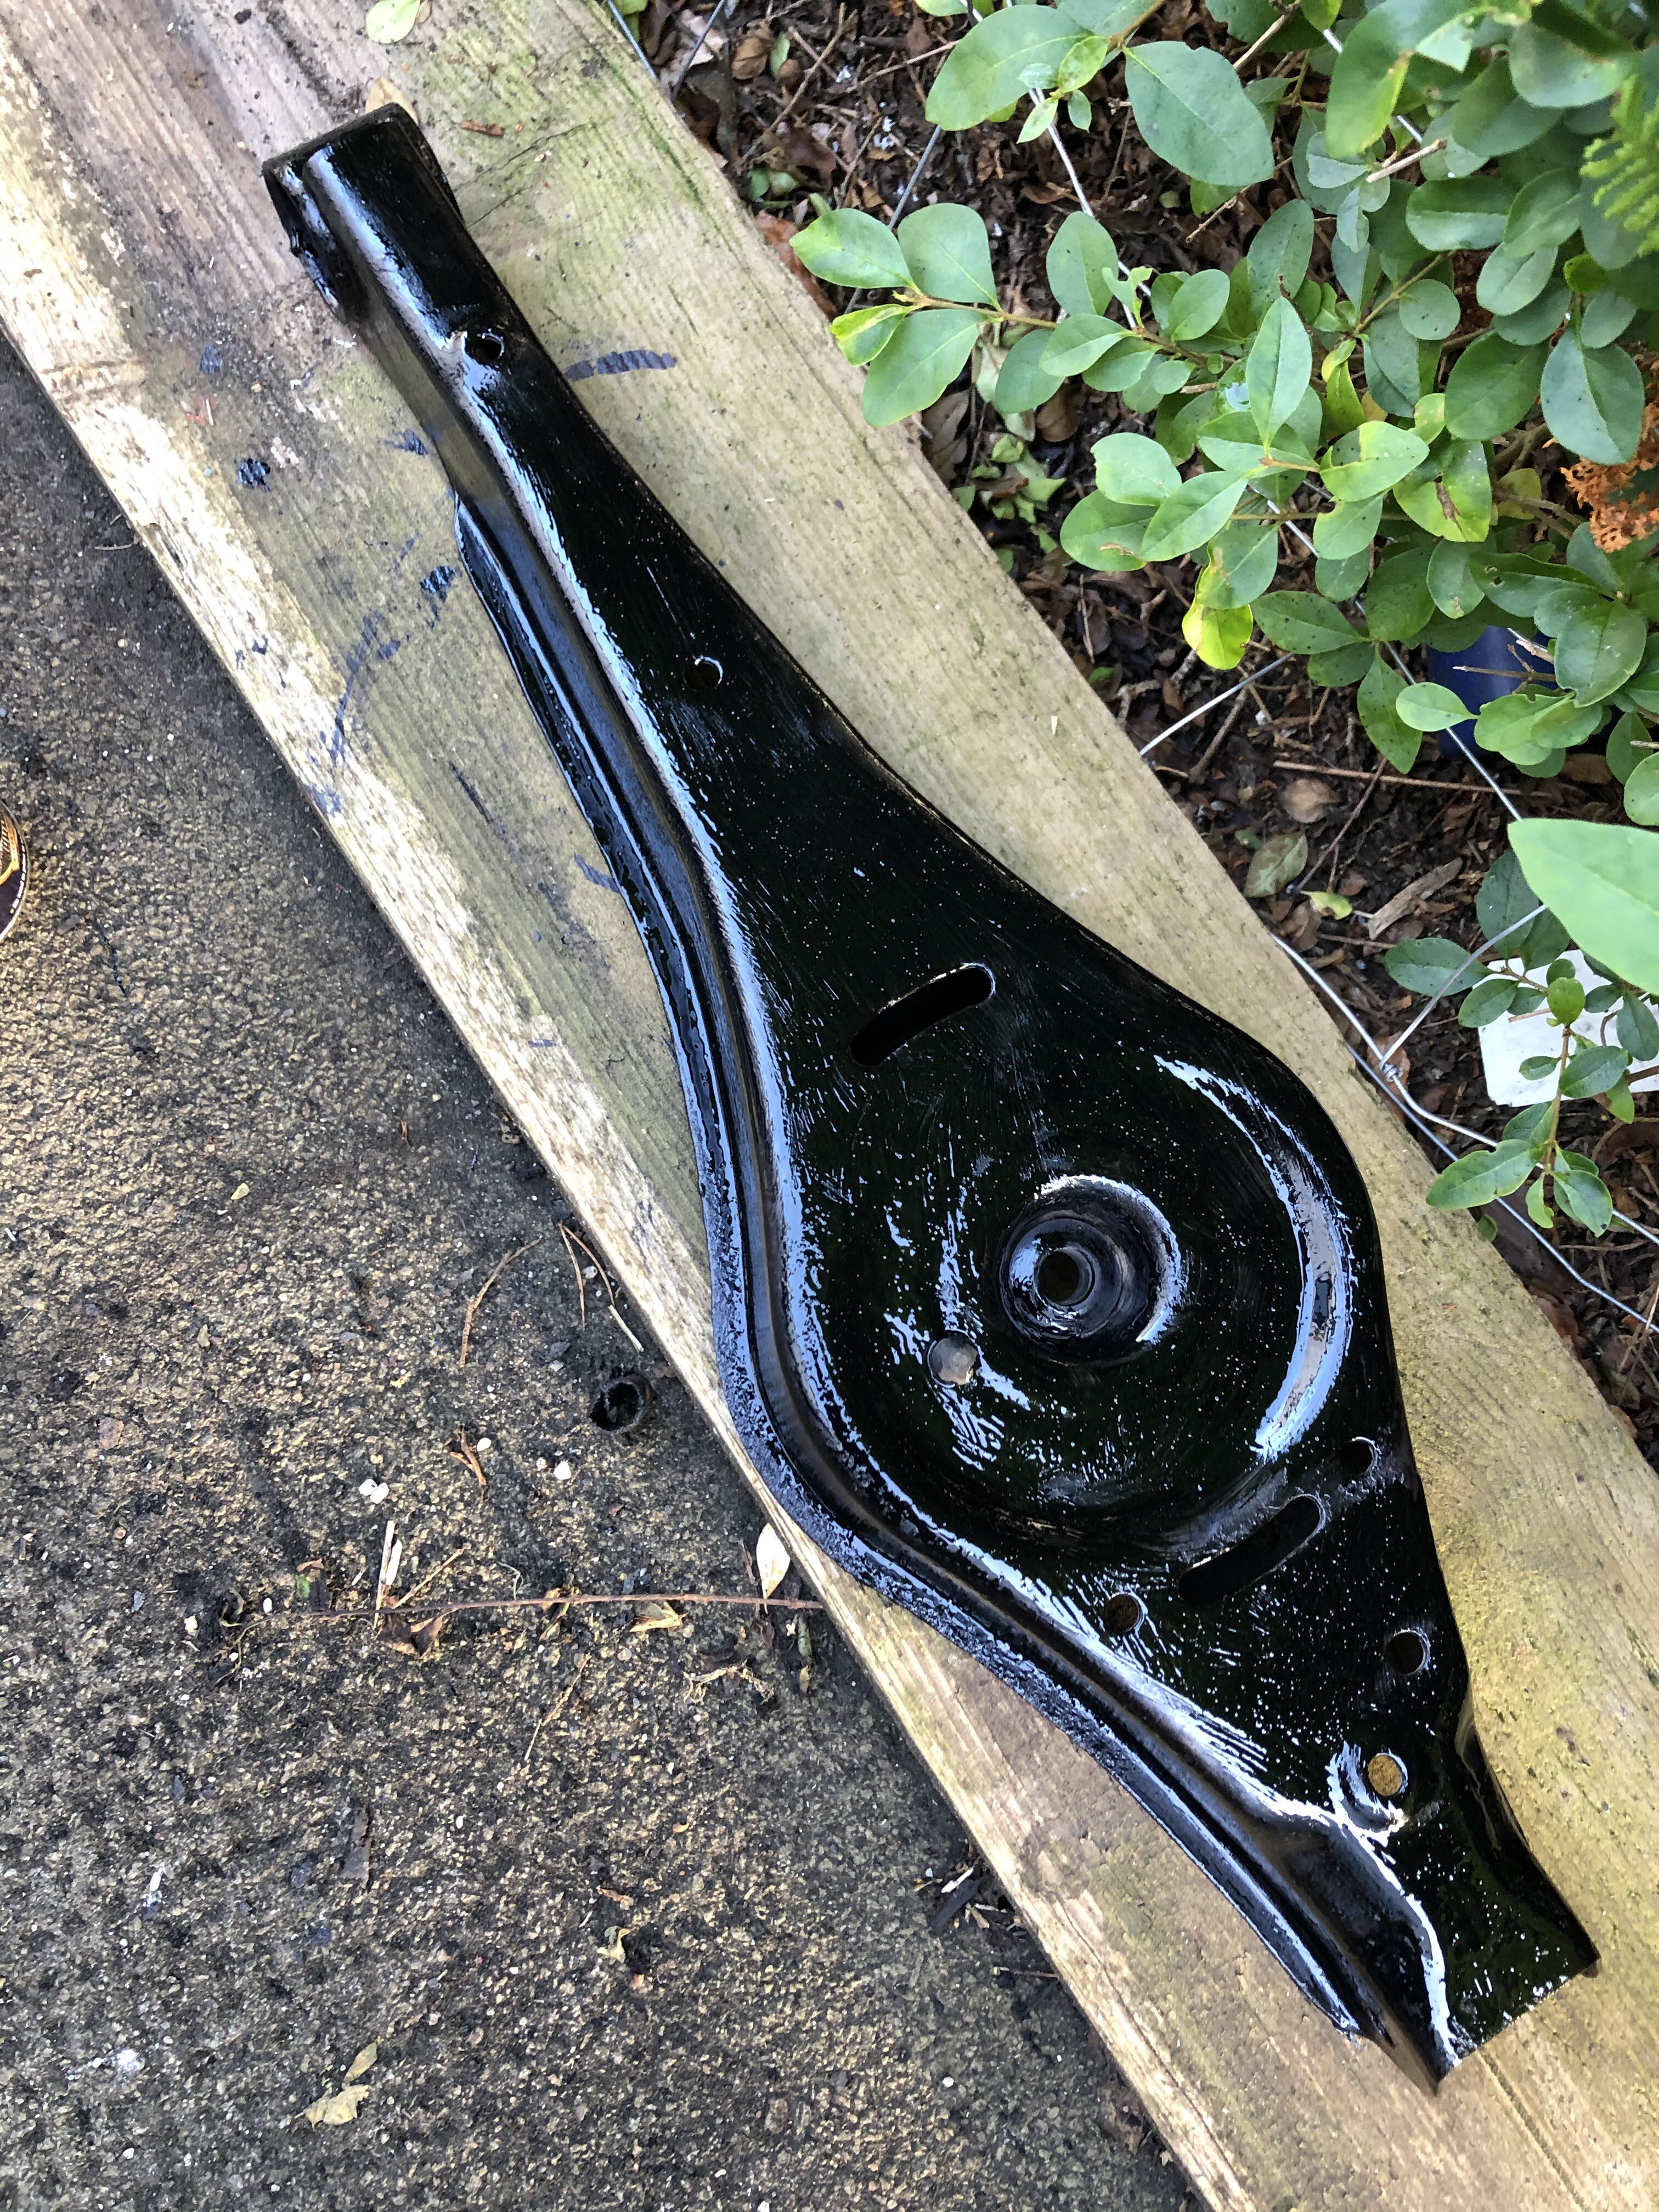
The Lower control arms I cleaned up by accident are noticeably lighter than the new ones, I didn't realised how pitted they are until I noticed the PN on the new ones. Wire wheeled, rust converted & smooth Hammerite'd:

Mid control arm:

For a break, I had a go at swapping the fuel filter - I was not successful.
On the rear of the filter - the Blue clip hose undidid, but black clip was previously out is now jammed in and refused to budge despite several doses of brake cleaner and penetrating fluid...

Everything has now had a good lick of paint, hopefully tomorrow it will just be some touch ups, pushing bushes into arms and then start re-assembly.
« Last Edit: September 26, 2020, 10:51:57 pm by LC5F »

Offline kodirl

  • Always Involved
  • ****
  • Thank You
  • -Given: 10
  • -Receive: 0
  • Posts: 61
    • Email
Re: LC5F's Graphite Blue GTI - Sea Dweller Edition
« Reply #55 on: September 27, 2020, 06:40:00 am »
Top work ,,, great progress on this restoration so far and some great upgrades ,,, :smiley:

Thanks fella - I am more going for future proofing for a reliable good handling daily.
If it was full blown resto, despite the good spec I don't think I would have chosen this Golf, plus I would be powder coating everything.

Wednesday -
I got some bargain priced Passat front hubs, amazing packaging and DHL'd next working day all for £14 a side
They wont make it onto the Golf for a while. They came complete with discs, bearings, shields etc.
Getting the bearings off was easy once I worked out how to hold them rigid off a car:

They got a pretty good scrub down, but to give the cleaning a leg up, I decided to be naughty:

It was only a 30 minute wash cycle, couldn't risk a longer one!

Friday -
The Axle turned up on, the good news is this one has considerably more paint still on it:

Stripped it down to the usual 2 control arms - everything was in much better shape, even the ARB bolts came out. it took a 1/4 of the time my old one took!
Night time, I installed bushes into the upper control arms

Saturday -
First task was painting the boot floor, I opted for stonechip, 1.5 cans later I got this:

Not perfect, but it should help.

Second task was getting the last 2 control arm bolts out, they gave in to lots of heat, that left me with a bare subframe that I wire wheeled the crusty areas and then rust converted:

The milestone here is I have reached bottom on the axle rebuild, apart from cleaning up parts it now all going back on.

Rest of the day spent stripping out bushes and cleaning up parts-
I think I blew out the seal on my cheap ebay press trying to take out the 2nd trailing arm bushes - metal inner pushed out, but I had to cut the alloy outer case to push it out.
The Lower control arms I cleaned up by accident are noticeably lighter than the new ones, I didn't realised how pitted they are until I noticed the PN on the new ones. Wire wheeled, rust converted & smooth Hammerite'd:

Mid control arm:


For a break, I had a go at swapping the fuel filter - I was not successful.
On the rear of the filter - the Blue clip hose undidid, but black clip was previously out is now jammed in and refused to budge despite several doses of brake cleaner and penetrating fluid...

Everything has now had a good lick of paint, hopefully tomorrow it will just be some touch ups, pushing bushes into arms and then start re-assembly.
Fantastic work. Great detail. Wish I had the patience and know how to do these kind of jobs myself. Keep up the good work

Sent from my Mi A2 using Tapatalk


Offline LC5F

  • Just look at my post count
  • ******
  • Thank You
  • -Given: 16
  • -Receive: 80
  • Posts: 1110
Re: LC5F's Graphite Blue GTI - Sea Dweller Edition
« Reply #56 on: September 27, 2020, 08:23:49 pm »
@kodirl - Thanks for the kind words

Got the bushes installed:

but managed to misunderstand the ones on the lower control arm and had to swap them over

Started going through the big bag of bolts, marking depths of bushes to strategically copper grease them:


This stops getting grease under the nut and making it easy to over torque the bolts - hopefully this will keep the cam bolts free to move. thinking about it I could seal the groove in the bolt to reduce moisture sitting within the bush.

Old leveller frame has rusted so badly it was close to tin foil thickness, plue and the arm was stretched - it wasn't genuine - so quite happy to install a cheap headlight leveler but using stainless rivnuts and bolts + thread lock to seal everything:


Finally after last touch ups the subframe was ready to go back in:

This how it looks installed:

Current state is everything on, except the mid-control arm, springs, bearings, brakes etc. They all need to be torqued up - So far I have not bothered making any alignment - think I will just put them in the middle for now - still likely to drive like a banana:


Offline LC5F

  • Just look at my post count
  • ******
  • Thank You
  • -Given: 16
  • -Receive: 80
  • Posts: 1110
Re: LC5F's Graphite Blue GTI - Sea Dweller Edition
« Reply #57 on: September 28, 2020, 06:38:47 pm »
Public holiday for me today, so its the final push to get the Golf back on 4 wheels

Torqued up all the assembled bolts, started adding the Scirocco back plates and then the new bearings, seems the brake discs fouling the aluminium back plates, these got adjusted with hammer so they fit all round.

I had noticed the right rear caliper hard pipe between flexi and caliper was corroded -MOT fail - and the same pipe on other side was badly made when the garage fitted a new caliper after last years MOT.
I decided to swap both calipers over for the ones I rebuilt but paint was a disaster, this was along with the last Hel stainless brake lines.

Last steps were installing the mid control arm, and re-mounted the back box on the exhaust - surprisingly easy, hardest part was undoing the clamp.
Brakes bled, putting the wheels back on and off the axle stands. After a quick drive round the block I found the superpro engine mount had introduced a vibration in the dash at low speeds, and can feel the rear wheels fighting each other -alignment booked for Wednesday.

Along with them being lighter and ABS sensors really easy to remove - the Scirocco hubs do increase track and push the wheels out - Look no spacers:


Offline maxamplitude10

  • Always Involved
  • ****
  • Thank You
  • -Given: 10
  • -Receive: 5
  • Posts: 228
  • '07' ED30 Manual 3Dr
    • Email
Re: LC5F's Graphite Blue GTI - Sea Dweller Edition
« Reply #58 on: October 08, 2020, 06:19:40 pm »
Rear stance looks really nice with the scirocco hubs i'm tempted to carry out the same on mine...:-0

 :happy2:

Offline LC5F

  • Just look at my post count
  • ******
  • Thank You
  • -Given: 16
  • -Receive: 80
  • Posts: 1110
Re: LC5F's Graphite Blue GTI - Sea Dweller Edition
« Reply #59 on: October 16, 2020, 02:05:23 pm »
Rear stance looks really nice with the scirocco hubs i'm tempted to carry out the same on mine...:-0

 :happy2:

Cheers - there is a bit of light rubbing under hard cornering, hoping ARB's will reduce that. Also I have not tried it with passengers in the back... may need to lift it a bit and also do some arch rolling.

So finally set a date for the MOT, in town garages are still swamped by MOT backlog they couldn't give me a date till next month, I ended up having to go out of town.
Initial test it failed on headlight adjustment - 1cm too low! - after some digital adjustment, it passed with no advisories.

The weekend before the test I had a final mechanical fix to do.
Somehow, the hand brake on the rear calipers I had rebuilt was not working, I had to swap back to the original calipers for the MOT.
Both old calipers got the pistons pushed out and a good clean out and re-grease, the older caliper got new seal and dust boot.
My rear axle is the gift that keeps on giving - it came with the smaller caliper type, but they had good flexi to caliper hard lines, these got fitted. Need to list the left over good bits to get some money back.
Thanks to the way the Mk5 runs its brake lines to the rear its really easy to bleed, both sides swapped and bled within an hour.

What I had done wrong on both calipers was the spring clip that holds the internal spring loaded handbrake mechanism in place was not seated properly -lets just say its easier to take out than put back in!
I couldn't tell as I had bolted the handbrake arm in place - Now that I know, next time I will check that its seated properly before the arm gets added.

Seeing as they were both apart, it seemed rude not to strip them fully back down and deal with the awful -supposed to be Red - orange Halfords caliper paint.
With Black Golf R calipers up front - I currently have a collar does not match the cuff situation, so off to powder coating with this lot: