Hello,
So I ended up getting a golf V as my first car, had terrible whiteworm 2D Badge and I thought i'd share how i've DIY'd it!
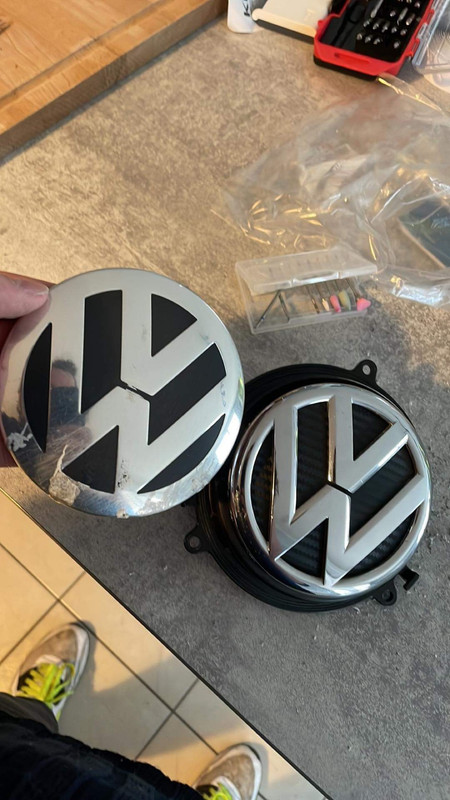
Here's before a quick before/after of the badge.

The new 3D style badge [5K0 853 601 C]I from a golf 6 used to replace the previous 2D Whitewormed one.
Guide
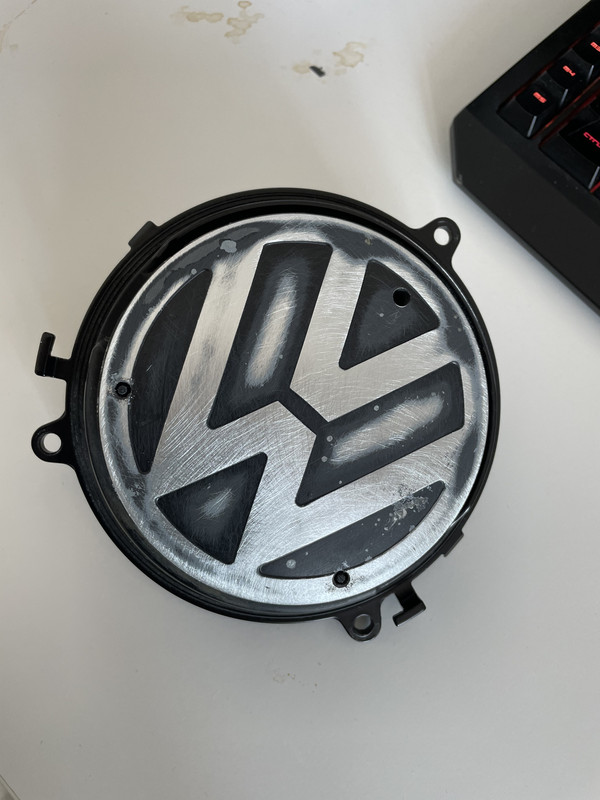
- Removing the whiteworm 2D Badge from the boot badge
- Sanding down/cleaning the boot badge
- Filling top hole + more sanding
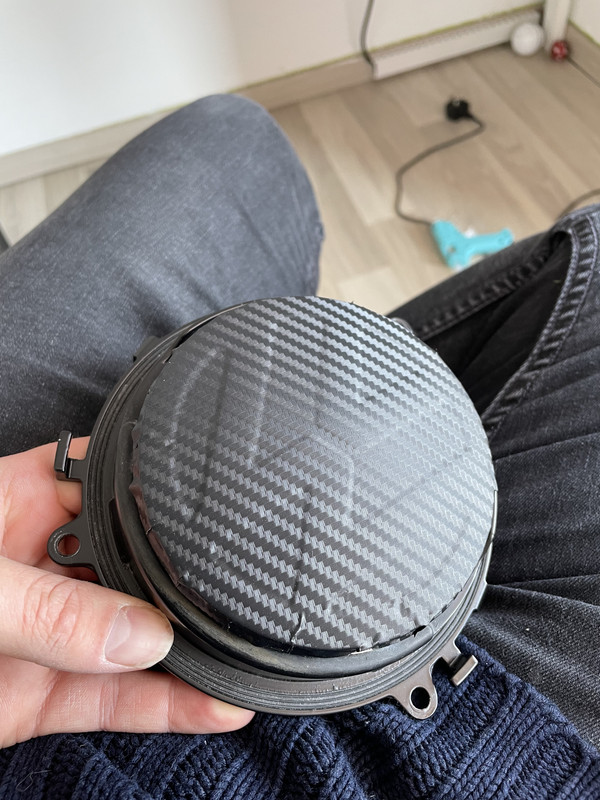
- Wrap in vinly of choice
- Dremel inside of new 3D badge to fit
Once the 2D Badge is removed, you'll need to clean any excess glue left over and sand down the boot badge, do not forget to fill in the hole in the top, otherwise you can see it once vinyl is put on.

Ensure Vinyl is applied smoothly and bubble free. I have removed the excess vinyl trim around the badge to ensure a snug fit of the new 3D style badge.

New 3D style badge requires excess dremel/sanding to ensure a snug fit, i'd say i had to remove about half the width of the diameter for it to fit, I used superglue to ensure it will not come off. Please be careful when using superglue to ensure no glue can be seen once the badge is pressed on.

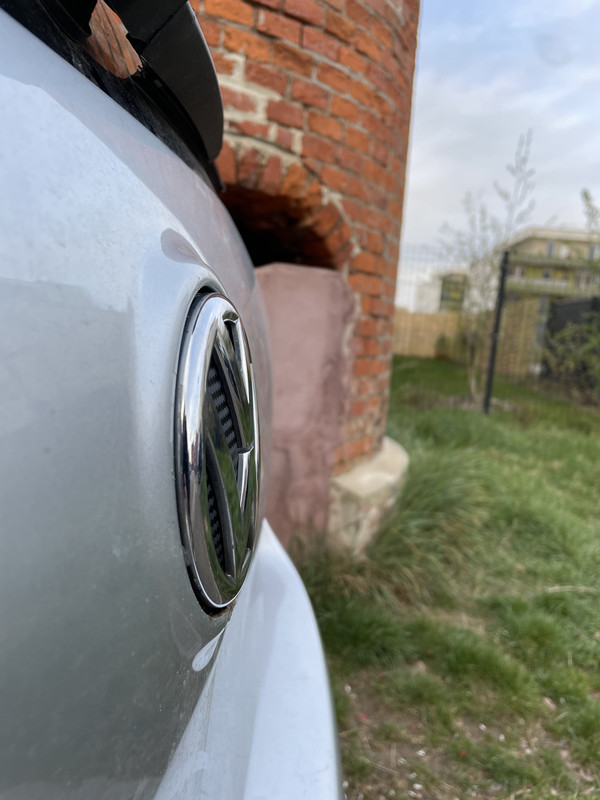
Now having mounted it on the Golf, as you can see it is not as flush as the 2D style badge, however it is really not that shocking. it sticks out by around 2mm. [excuse my boot rust].

If you have any questions, please do not hesitate to contact me, happy to help! Also sorry for my bad English, i am french :p