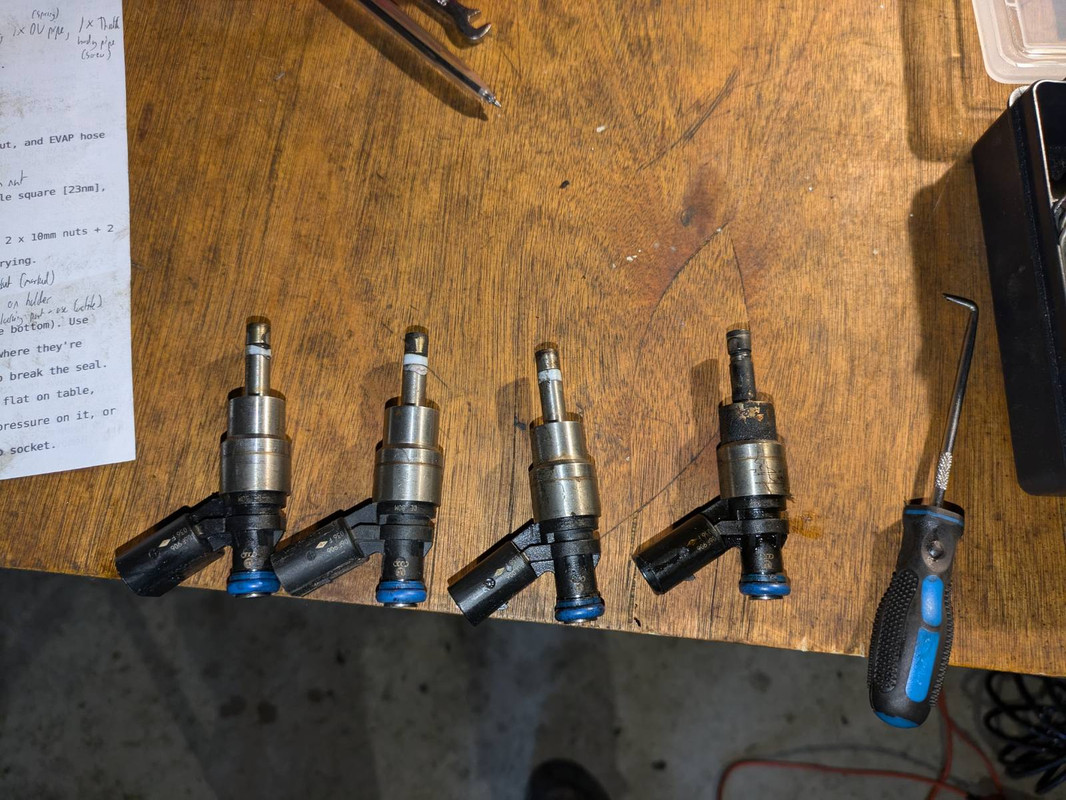
FIXED THE PROBLEM!Turns out an injector seal had come off.
This was entirely my fault, as when I did the intake carbon cleaning a few months back, I didn't have the special tool needed for getting the new seals on the injectors (the white ones in the picture). They're incredibly stiff and impossibly tight to get on by hand, so I just softened them with a heat gun, and jammed the injector on to them on a flat surface to get them on. The other 3 seemed to hold up, but obviously I was a bit too rough with the last one.
So I sent the injectors to The Fuel Injector Clinic at R-Tech Performance (excellent service, would highly recommend) and they tested and cleaned them and put new seals on properly.
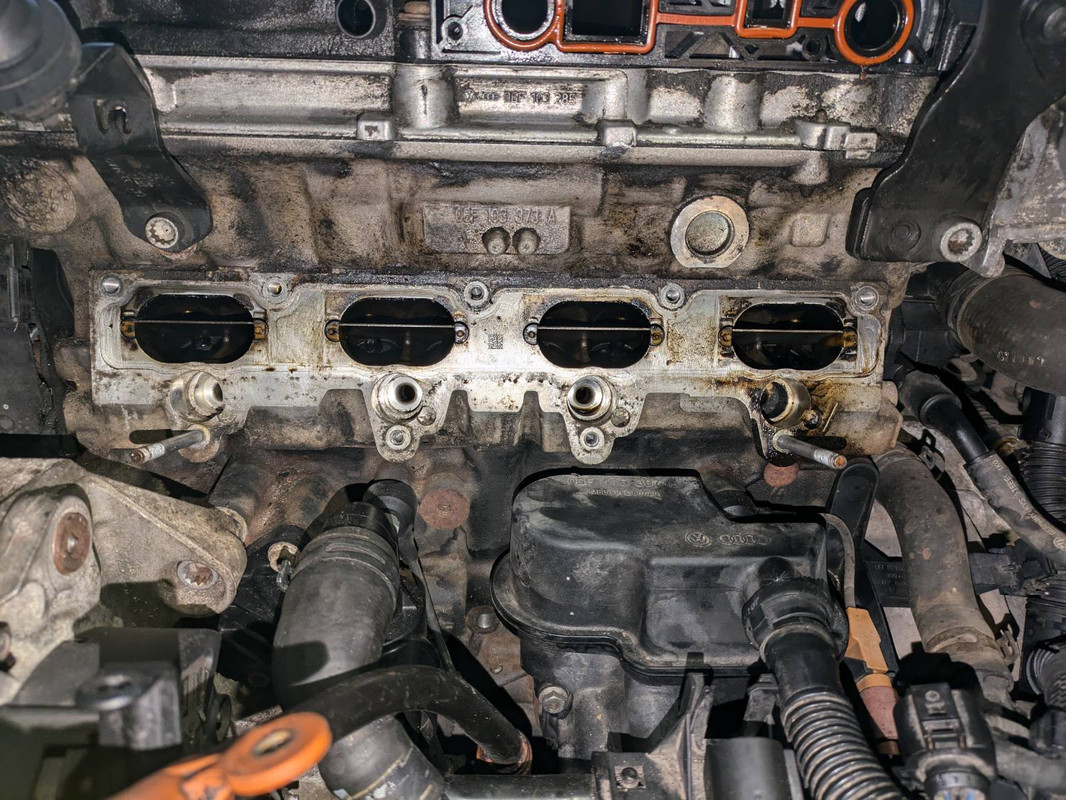
Popped the injectors back in to the car and it's all working fine again. They definitely slid in a lot more smoothly than the last time I
forced persuaded them back in.
Obviously an 8-9 hour job in total because I take the front-end of the car off to get to the intake manifold and whatnot.
Thanks to everyone for the advice. I should have known my handiwork was the cause of the problem before I went ahead and replaced the timing chain and camshaft adjuster, but nice to get that done anyway.
EDIT:
On the off-chance anyone is in the market for taking the intake manifold off on their Edition 30, here are my text-based notes:
---------
Front End
---------

Front Bumper
  1. Remove belly pan.
  2. Remove 4 screws on bumper in front of belly pan.
  3. Remove wheel arches connecting to front bumper. 4 x torx screws each side (3 horizontal, 1 hidden vertical next to top horizontal with washers).
  4. Remove front grille (4 torx screws, 2 on top and 2 in and under).
  5. Remove fog light connections x 2.
  6. Pull off front bumper. It's just clipped on. Pull out and push toward front to unclip.

Front End
  1. Remove 4 x top torx screws (4 x T30). No need to remove third one closest to you on each side.
  2. Remove 2 x headlight connectors and bonnet sensor connector (this is on the left side).
    - Remove charcoal cannister for better access to bonnet connector if it's tricky to disconnect.
  3. Detach bonnet release cable from junction box. Remove metal bracket first then open up to disconnect.
    - Plastic box hinges open from the right-hand side. Push in spring to disconnect.
    - Secure closed with cable ties when refitting - this is a volkswagen tech tip.
  4. Detach fog light harness from clips running across front bottom of front end.
  5. Detach air intake pipe. Can either unscrew from the front, or loosen jubilee going to the engine cover.

  6. Remove fan connector. Push red tab up to unlock.
  7. Remove 2 x intercooler pipes. Just pop off quick release clips and pull out.
  8. Drain coolant. Detach the middle pipe from just infront of sump. Won't get all of it, but some.
    - Unscrew coolant cap to help drain.
  9. Remove 2 x radiator hoses with spring clips (1 x top left, 1 x bottom right above boost pipe which is a bit trickier). More coolant will come out.
  10. Drain air con gas from schrader valve on air con pipe closest to you.
    - Obviously take it to a professional to do this. It's toxic; don't breathe in, get on skin or in eyes.
  11. Remove aircon pipes T45 screws. They will probably be a bit stiff, so may need to chisel off.

  12. Remove 8 x crash bar bolts.
  13. Pull off the entire front end.

  NOTE: When reconnecting air con pipes, make sure neither is touching the auxiliary belt or fan.


--------
Manifold
--------

1. Disconnect battery.
2. Remove engine cover.
3. Remove charge pipe (1 x electrical connector, 1 x 10mm middle bracket nut, 1 x T30 screw lower, 1 x DV pipe, 1 x throttle body pipe).
4. Remove throttle body (2 x connectors, 4 x T30).

1. Remove 10mm disptick nut and 3mm thread so you can move the dipstick around.
2. Remove 10mm left manifold base hose bracket bolt.
3. Disconnect PCV hose.
4. Remove HPFP connector.
5. Remove rocker cover hose.
6. Remove 2 x fuel lines left.
7. Remove 2 x fuel lines right (replace one with jubilee).
8. Remove PCV valve.
9. Remove diverter valve braket 1 x T30 screw
10. Remove EVAP by sliding off plastic holder.
11. Remove 1 x right manifold pipe (replace with jubilee).
12. Remove HPFP bottom metal fuel line 17mm.
13. Remove Satan bracket (1 x 13mm nut, 1 x M8 bolt). Use 8mm round head allen for the M8 triple square [23nm], or remove the dipstick tube to get access. Nut is 10nm.
14. Remove 1 x connector underneath manifold.
  - By removing this connector, you are no longer connector to the entire harness sitting underneath the manifold (which has 3 other connectors - 1 top left, and 2 front bottom right on holders).
  - Unclip the harness from the metal fuel rail underneath the manifold. It should be clipped on in 3 places on metal rods.
15. Remove 1 x right manifold connector (runner flap motor).
16. Remove intake manifold bolts (top = 5 x T30 long + 2 x T30 short, bottom = 2 x 10mm nuts + 2 x T30 long) [10nm]
17. Remove manifold. Will probably take some wiggling (push up and down) and prying.

Injectors
  1. Disconnect 4 x injector connectors.
  2. Remove intake flaps.
  3. Check for injector o-rings.
  4. Remove plastic retaining rings. Snap the plastic tabs off (one top and one bottom). Use pliers or slide hammer to pull out.
  5. Remove injectors. Slide hammer makes this easier. Hook it on to rim near where they're seated.
  6. Remove plastic seats. Pull out with pliers, and maybe pry them a little to break the seal.

