How to Add Speed Camera Locations as POI's on the map display of the RNS-510 Touch screen Navi.This is a reasonably technical process and I will try to help anyone where possible but can't guarantee to always be able to solve the issues, I got this to work through trial and error to start with!
Firstly a big thanks to the various people on VwNavi.com who originally shared this info. Especially RDS++ who created the application that make this process a lot easier.
Original Thread where I found the info -
http://vwnavi.com/forums/showthread.php?t=7358What you need / what I use: -1 – Original RNS-510 Navi DVD (I am using the v3 disc but this should work on older discs)
2 – PC running XP or Vista with a DVD Burner
3 – Blank DVD’s (I used DVD-R’s)
4 – A CD/DVD ISO creator program (I use UltraISO)
5 – The following Applications: -
i. A VI Type Text Editor (I used WinVI32)
ii. POI Inspector Application from RDS76 on Vwnavi (see thread above for download info)
iii. POI Editor (from
http://www.poieditor.com/)
iv. DVD ISO Burning Program (I use Nero v8)
6 – POI Speed Camera Data (available from various sources either subscription based like PocketGPSWorld or some free downloads on the web, google is your friend!)
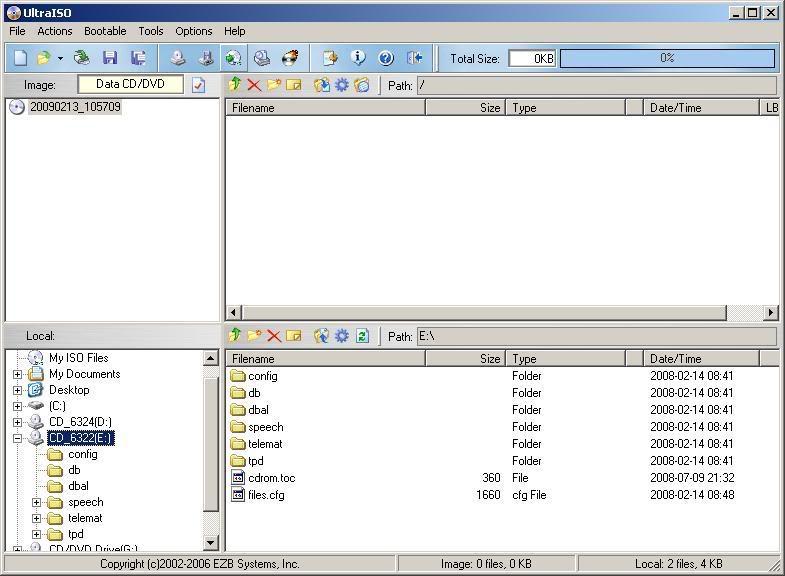
Stage 1 – Create an ISO image of the current Navi DVD.Open your ISO program and insert the disc.
Select the Make CD/DVD Image option from the tools menu.
Create the Image as a standard ISO file.
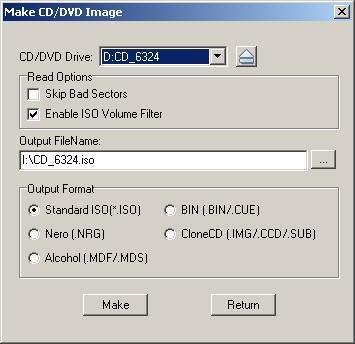
Once finished leave the disc in the drive as you will need it later.
Stage 2 – Prepare your POI dataThe POI data needs to be in the ASC type format, here’s an example of how this comes from the likes of PocketGPSWorld.
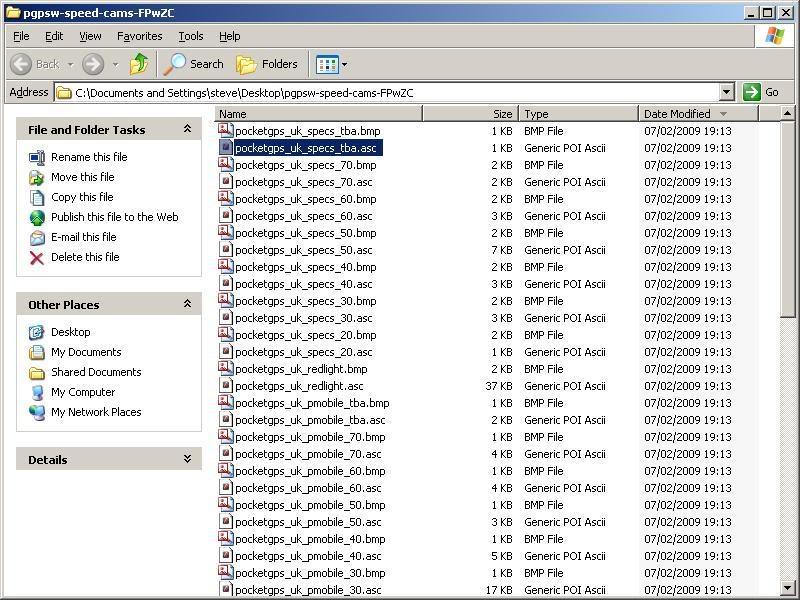
I now open each of the files in the POI Editor program and create one ASC file for each of the categories I want to display on the RBNS-510.
So for me I add all of the fixed camera types into one per speed limit type (i.e. one file containing all the fixed camera locations for 60mpg speed limit), I then also group the mobile camera locations in to on file and also the same for the traffic light cameras.
NOTE – You can only have a maximum of 10 icons types on the map view of the RNS-510 at any one time so this is why I group mine like this.
To add data from other files/camera location open these in separate window in the POI Editor program and then copy and paste the relevant data.
Stage 3 – Create IDX Files for RNS-510 DiscOpen the POI Inspector program
From the drop down at the top select the DVD drive where you current RNS-510 mapping disc is loaded and click on load.
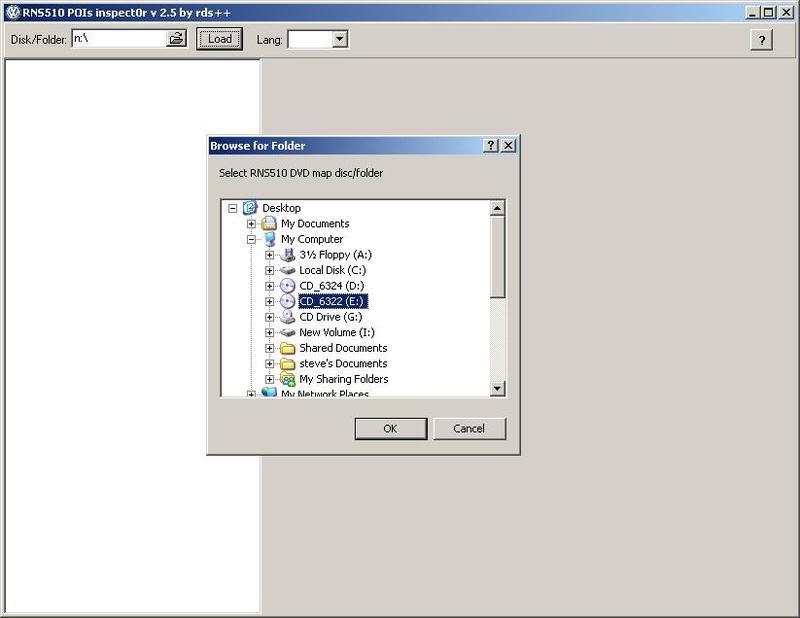
Now select ENG from drop down that will open.
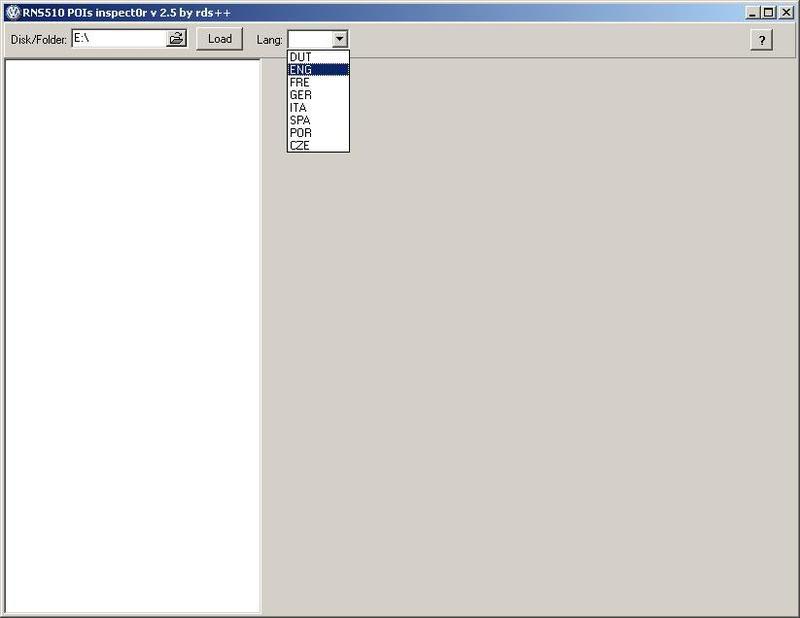
You should now have a screen like this: -
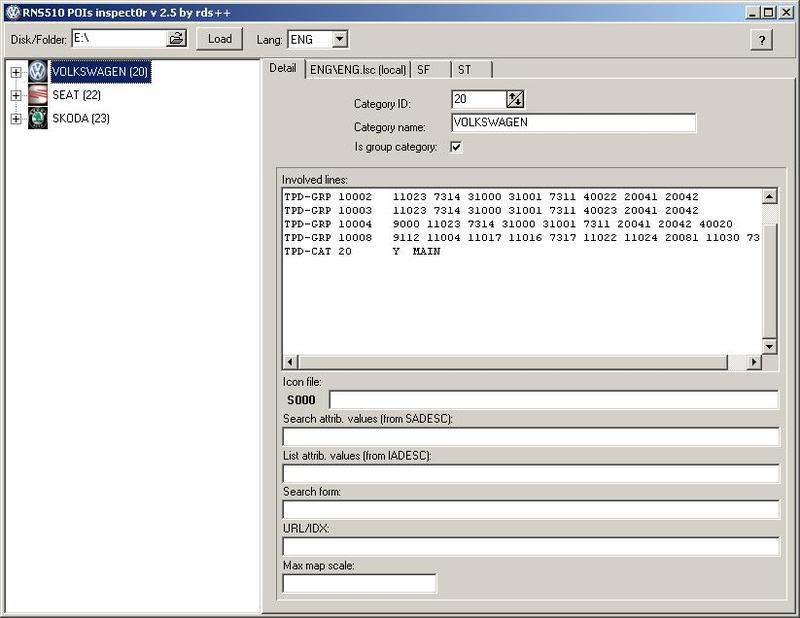
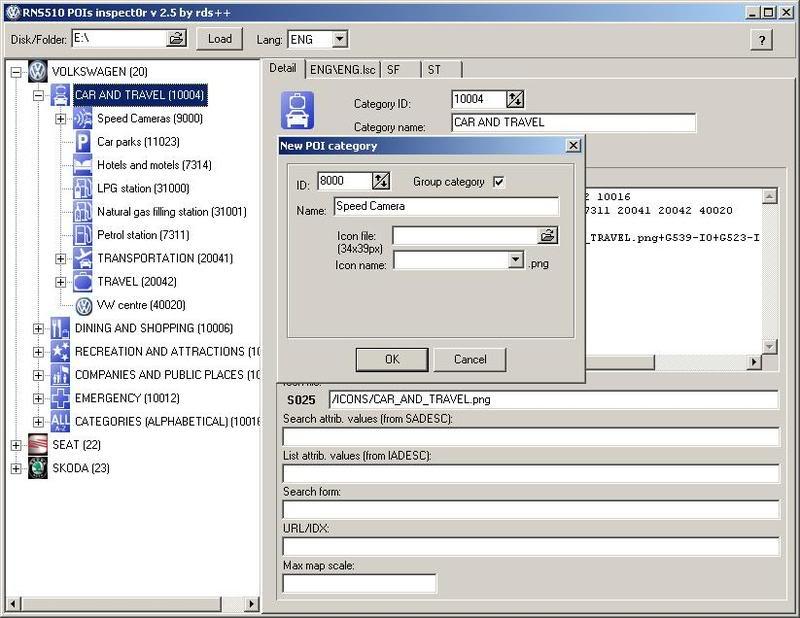
Now expand the section you want to add the cameras to, this will become the place they are listed on the POI map options in the RNS-510 menu. I used “CAR AND TRAVEL†as the base category and create a sub folder under here for “Speed Camerasâ€Â.
You do this by right clicking on the group and selecting “Add POI/Group Categoryâ€Â, then select “as 1st Childâ€Â. Now set the “Group Category†flag enter the relevant details from the category name and select a file to be used as the icon. (Again have a Google search and you will find various sources for these icons).
Now select the new group category you have just created and right click on it again. Again select “Add POI/Group Categoryâ€Â, then select “as 1st Childâ€Â. You are now creating the entries for each of the camera types you have created the ASC files for. For each of these do not click on the “Group Category†option instead enter the details as before (camera type name and icon file to use) and now select the ASC file to containing the camera data for this type )as created in Step 2).
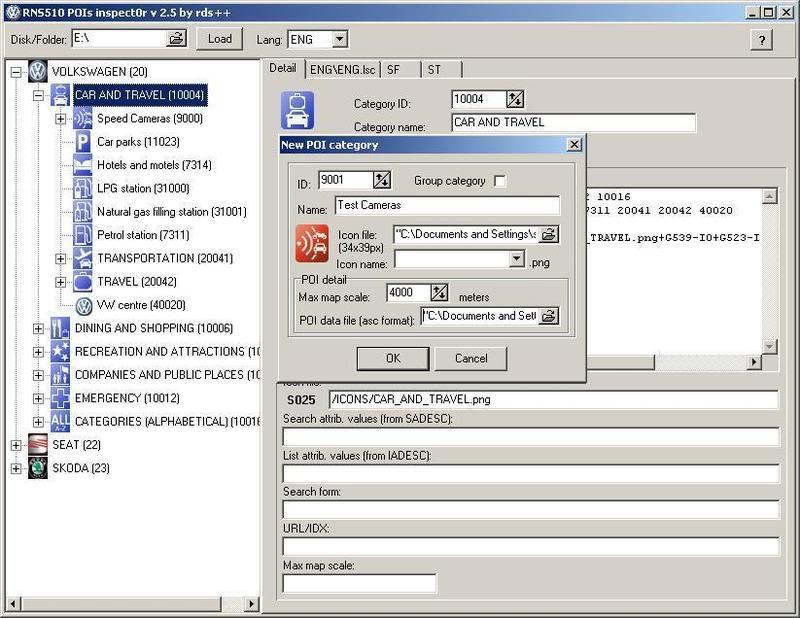
After a few seconds the “saved†message should be displayed. And the screen will refresh to show your newly added camera type.
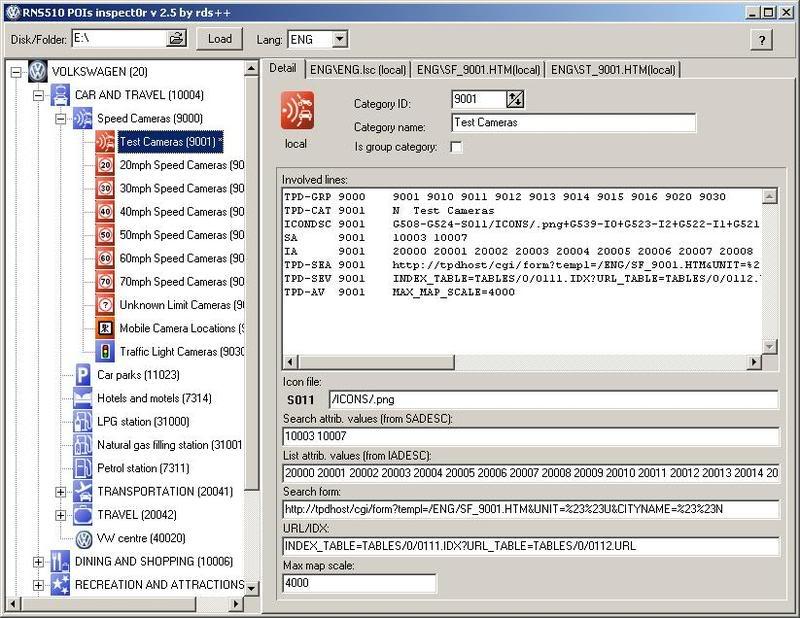
Repeat this for the remaining camera types.
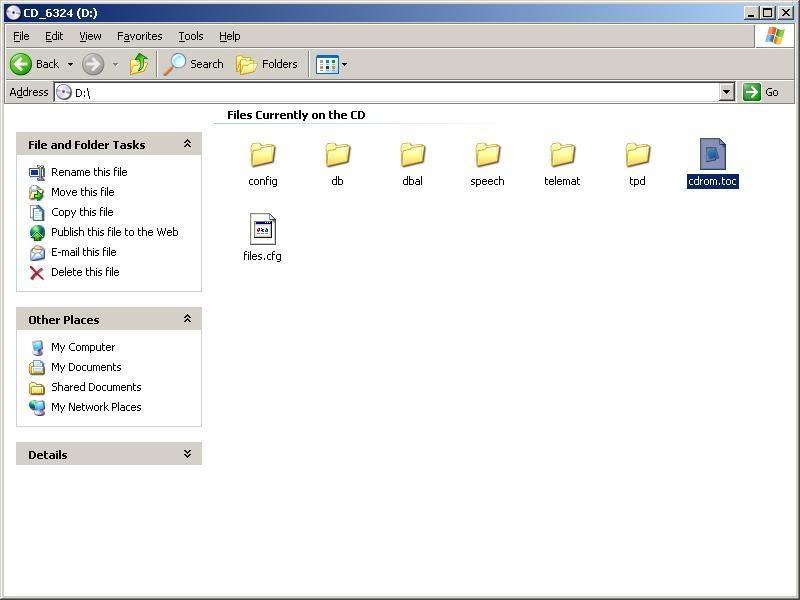
Stage 4 – Create updated ISO ImageFirstly copy the CDROM.TOC file from the root of the Navi DVD and open the file with the VI Text editor.
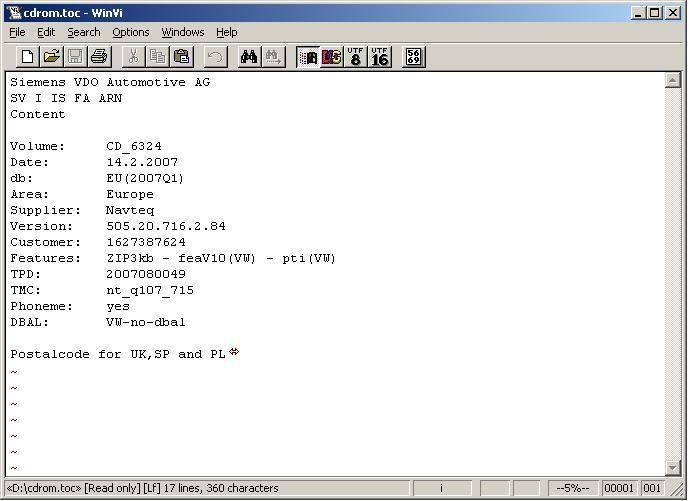
Now update the volume number and increment this by one, make sure you don’t add or remove any extras spaces in the file. Now
save a copy of the file for later. (In my example I am at 6324, but you will probably have a lower number, this is due to me creating several versions of the disc already).
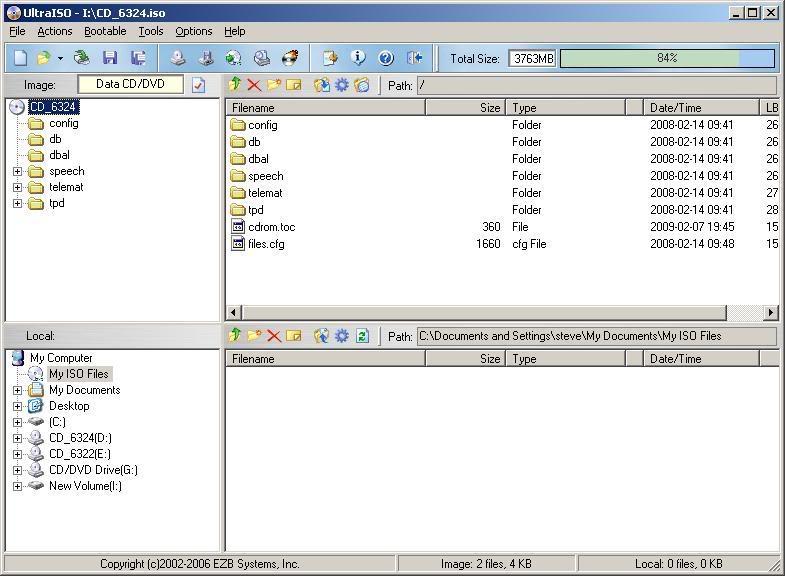
Now start the ISO program again and open the ISO file you created from the original Navi disk earlier.
Next right click on the disk title and rename it to the same number you put in the CDROM.TOC file.
Now copy in the new version of the CDROM.TOC file you have just created to overwrite the existing file on the root of the DVD image.
Now expand the TPD folder and click on the ntcWeu_eu_20070806 folder (name of this may be different if using an older disc)
Now from the folder there you ran the POI Inspector program from ealier you should have a sub folder called “localsave†-
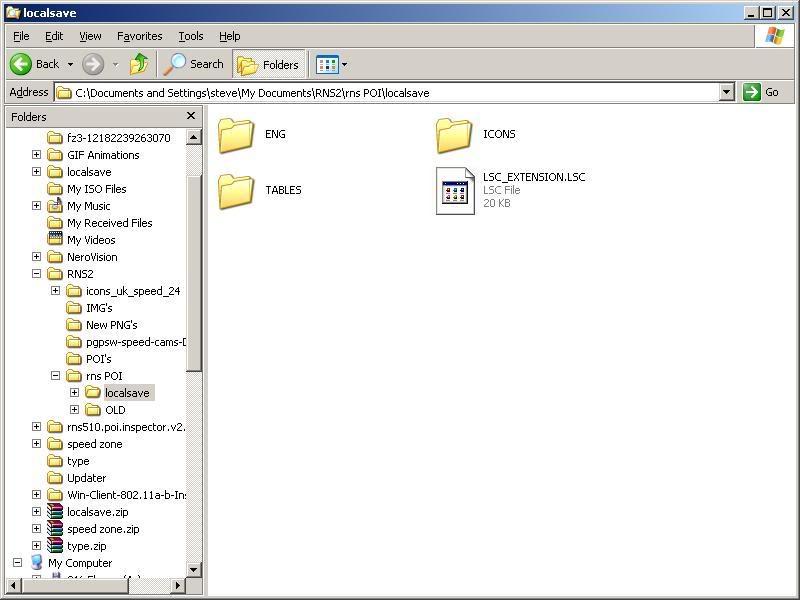
Copy all of the contents from this folder into the path you have opened in the ISO program, if prompted select “overwriteâ€Â.
Now save the image in the ISO program (i would recommend you save it as the same name as the disc title).
Stage 5 – Burning the DiscOnce the image creation has finished you cna now burn it to a disc using your preferred burning program. I use Nero and always select the slowest speed available for burning the disc.
Stage 6 – Loading the Updated Maps to the RNS-510Once you have the disc ready here the steps to enable the features.
First restart the Navi unit by pressing the three highlighted buttons below
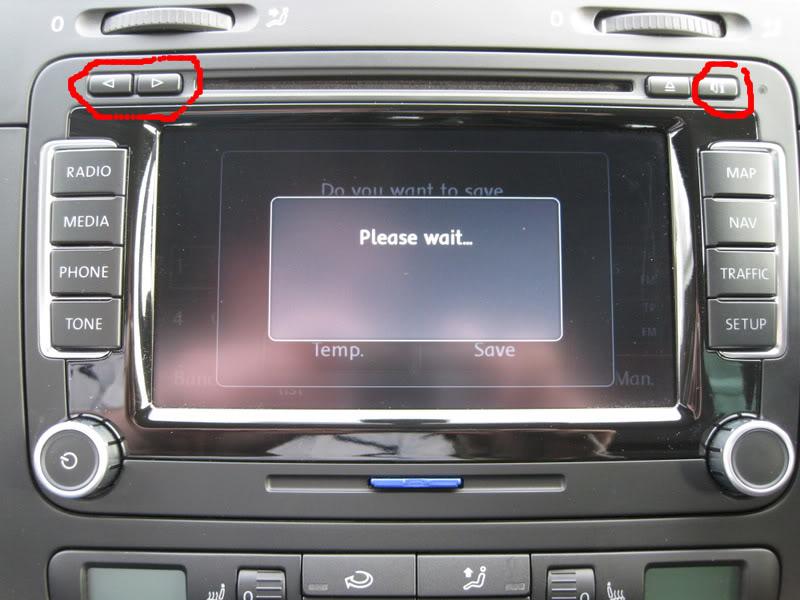
Once the unit fully starts up again insert the new disc. After a few seconds the following message will be displayed.
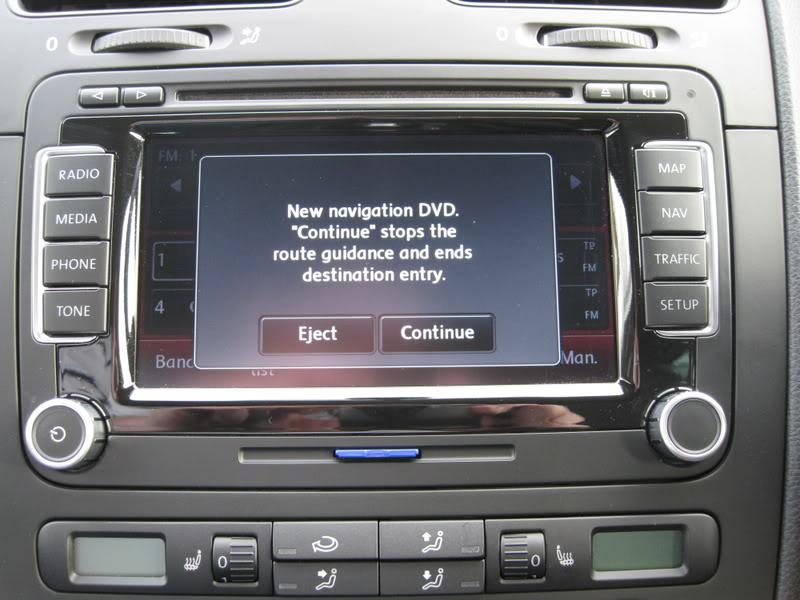
Next you will be prompted with the following message, select "Save"
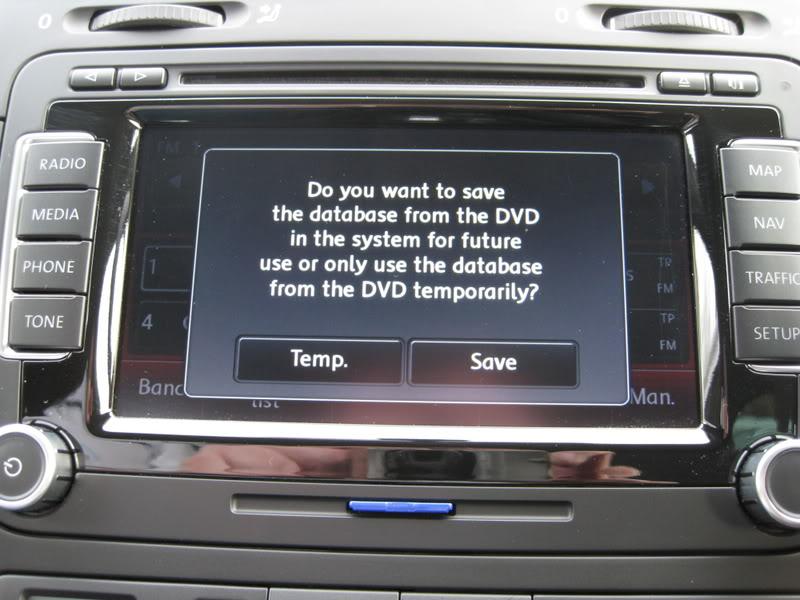
The navi will now copy the updated maps to the Hard Drive of the unit, this can take upto one hour.
After an hour you need to eject the disc and restart the navi again.
Once back up and running press "Setup", and then select "Map"
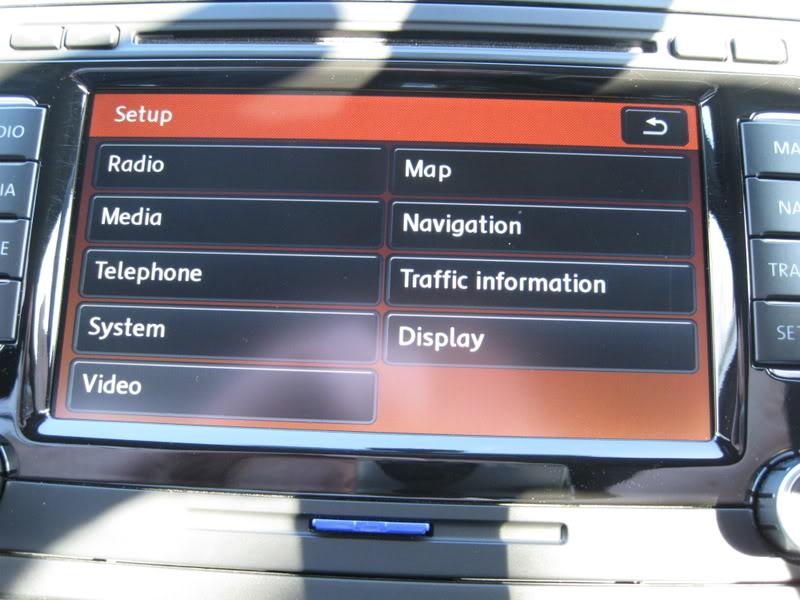
Now select "Map Details"
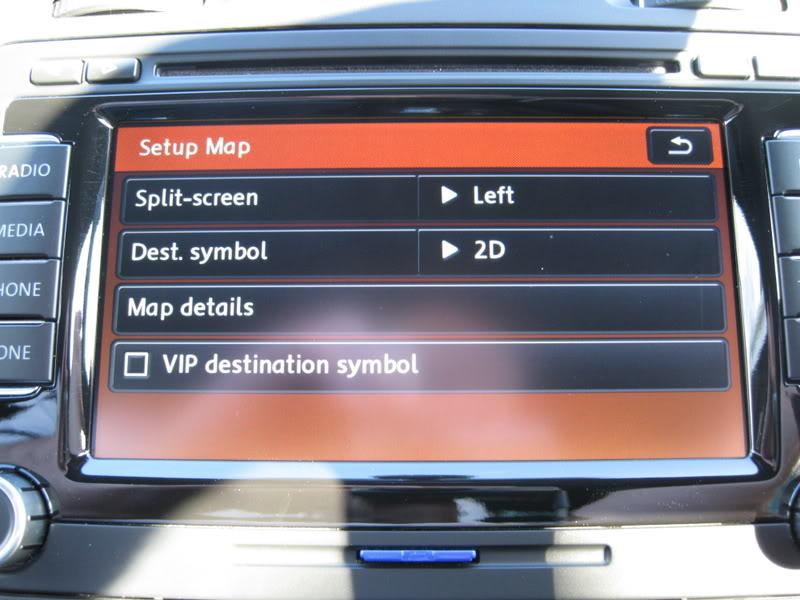
Then "CAR AND TRAVEL"
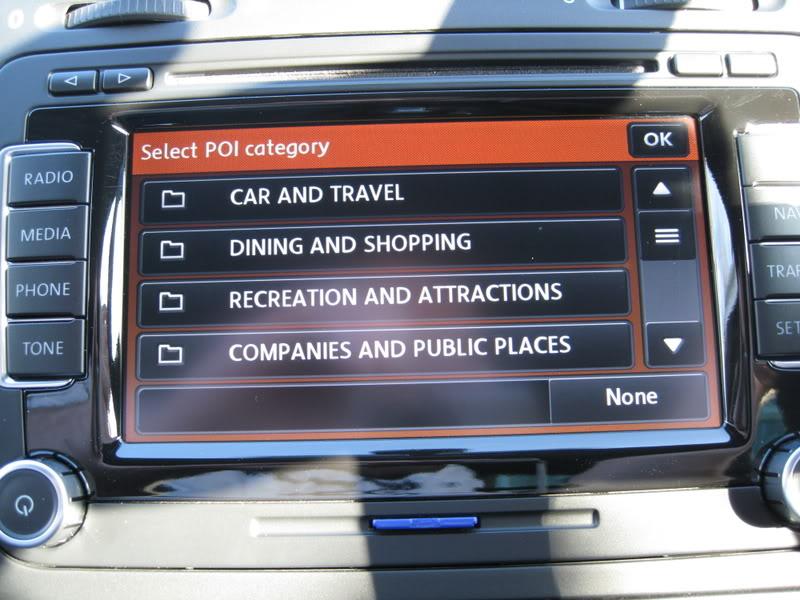
Then "Speed Cameras"
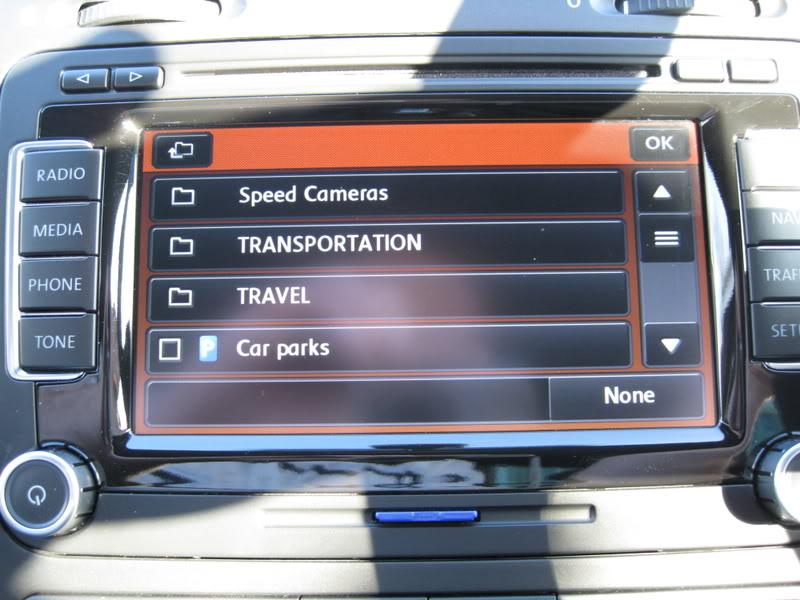
Now tick the icons you wish to display on the map view (up to 10 icons).
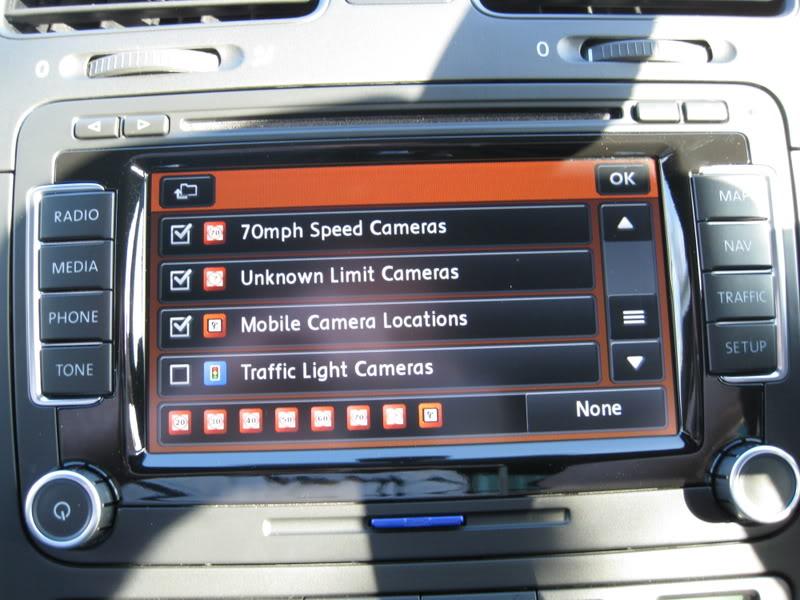
Press "OK" to confirm your selections.
Now restart the Navi once more.
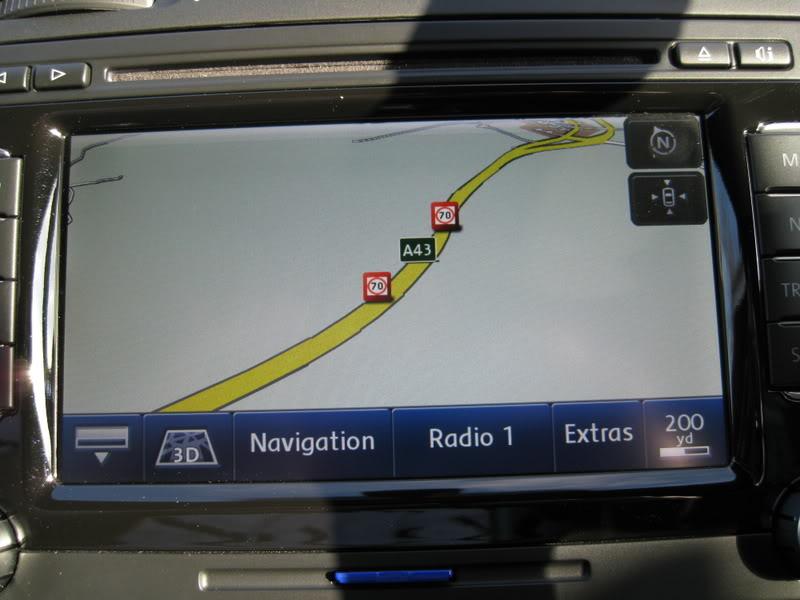
When the systems loads back up the icons will automatically display on the map as shown below: -
I hope you find this of some use

----------------------------------------------------------------------------------------------------------------------------------
Update: -
Following a number of requests here is a link to the icon files I have created for the process
Download Icons