As part of the expanding service offerings from MCC/SS we are offering wheel refurbishment. We have chosen to not offer powder coating as we believe the best possible finish can be achieved from a paint/clearcoat route.
As a flavour of the work we'll be doing I thought I'd share a mini write up to show the step by step process we go through to get a wheel perfect again. These are my own wheels from my Golf Edition 30, with some very minor cosmetic damage and I also fancy a colour change - so an ideal candidate for this write up.
This first part covers Day 1 which is up to the point of applying the primer. Tomorrow I'll add Day 2 which will show the painting process and also the finishing touches. I hope some of you find this useful and insightful.
So we started off at MCC HQ where my Golf was sat looking a little sorry for itself! We initially cleaned the wheels on the car to remove the excessive amount of dirt and brake dust build up, ahead of removing the tyres and beginning the refurb process.
Some befores:
 DSC01063
 by
RussZS, on Flickr
(I've still not had the crack repaired which will be featured in a future write up!):
 DSC01064
 by
RussZS, on Flickr
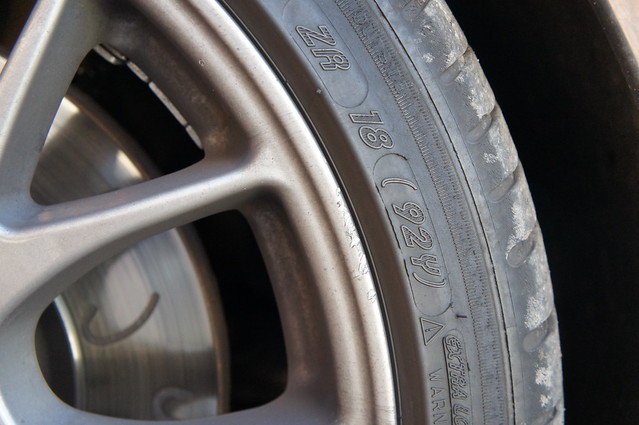
Cosmetic damage on the wheels:
 DSC01066
 by
RussZS, on Flickr
 DSC01067
 by
RussZS, on Flickr
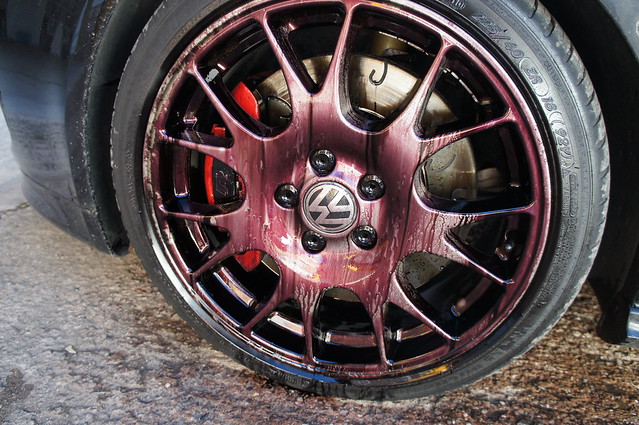
The wheels were cleansed with IronX and AutoSmart Smart Wheels and various brushes:
 DSC01068
 by
RussZS, on Flickr
 DSC01069
 by
RussZS, on Flickr
 DSC01071
 by
RussZS, on Flickr
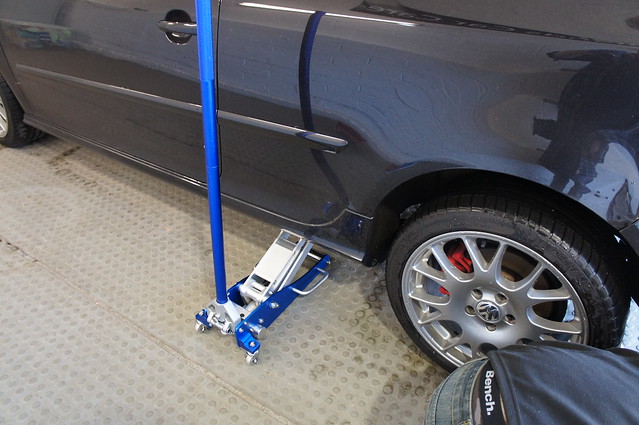
Next the Golf was moved into my unit, jacked up and the wheels were removed:
 DSC01072
 by
RussZS, on Flickr
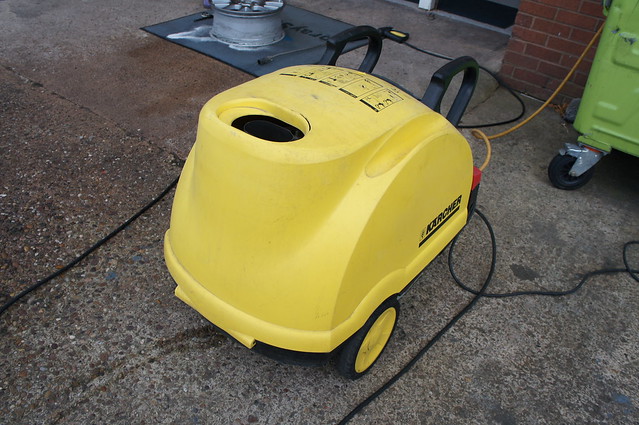
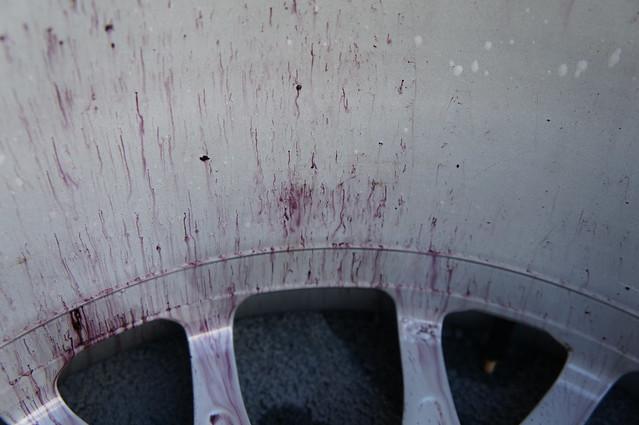
Next the wheels were transported to SS HQ where they were cleansed further after being removed from the car.
**At this point the wheels would normally be passed across for chemical stripping meaning that some of the following processes would not normally apply but we were unable to do this today as the contract goes live from tomorrow so we progressed 'manually' for today**
 DSC01076
 by
RussZS, on Flickr
 DSC01077
 by
RussZS, on Flickr
 DSC01080
 by
RussZS, on Flickr
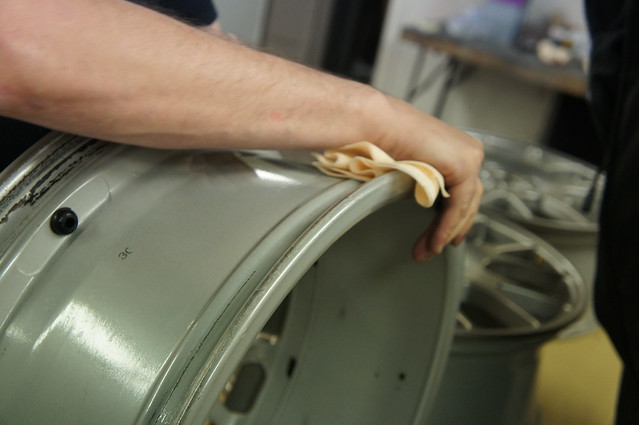
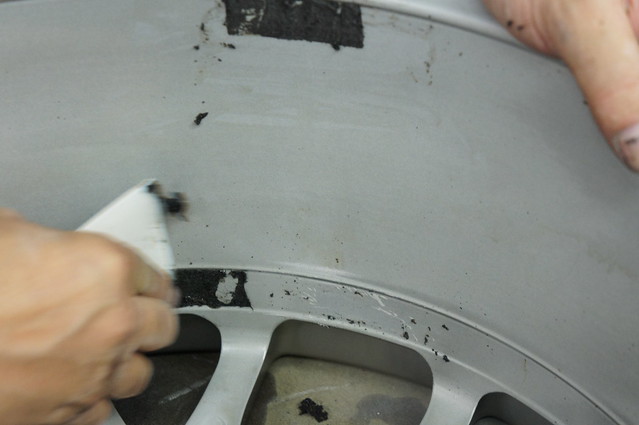
Once cleansed as much as we could, the wheels were moved inside to have the wheel weights removed and any further marking present ahead of the sanding stages:
 DSC01086
 by
RussZS, on Flickr
Surprising to see this bubbling from the OEM paint:
 DSC01091
 by
RussZS, on Flickr
 DSC01094
 by
RussZS, on Flickr
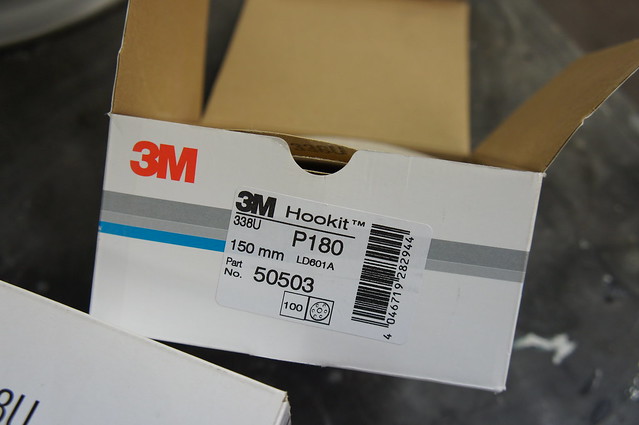
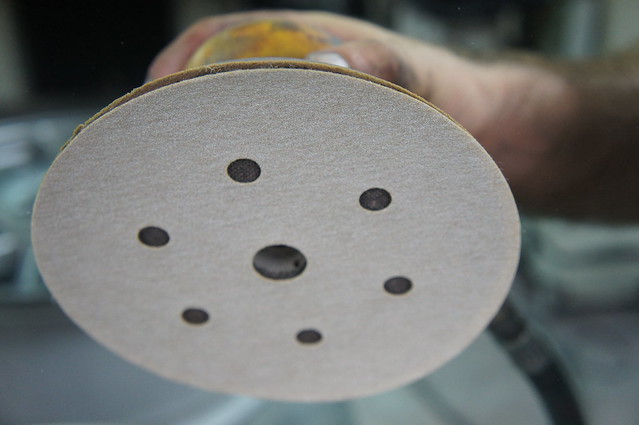
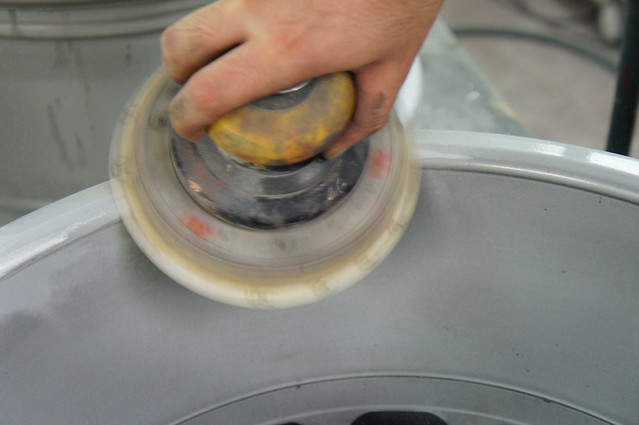
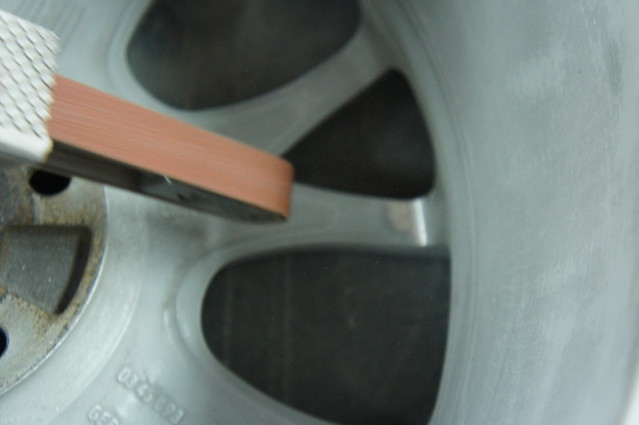
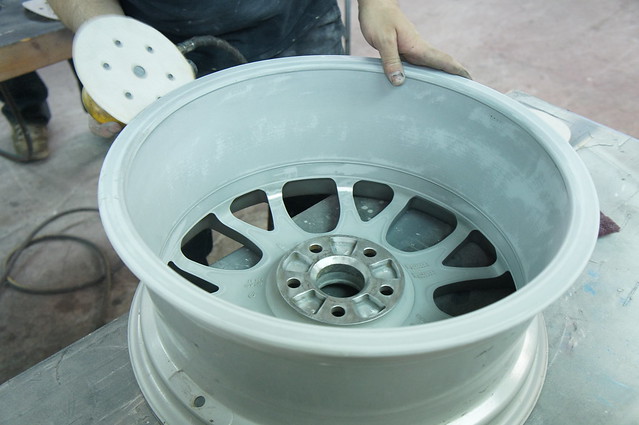
Next we began flatting and keying the surface with various things including 180 and 240 grit paper:
 DSC01097
 by
RussZS, on Flickr
Via DA Sander and by hand:
 DSC01099
 by
RussZS, on Flickr
 DSC01100
 by
RussZS, on Flickr
 DSC01102
 by
RussZS, on Flickr
 DSC01103
 by
RussZS, on Flickr
 DSC01104
 by
RussZS, on Flickr
 DSC01105
 by
RussZS, on Flickr
Bubbling and corrosion removed:
 DSC01106
 by
RussZS, on Flickr
 DSC01108
 by
RussZS, on Flickr
 DSC01110
 by
RussZS, on Flickr
 DSC01112
 by
RussZS, on Flickr
 DSC01116
 by
RussZS, on Flickr
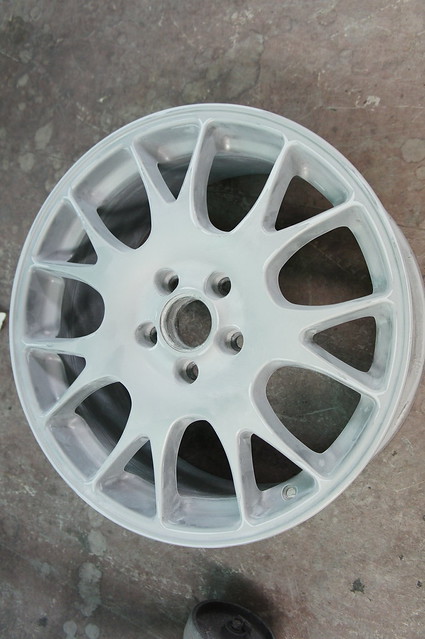
Full flattened and ready for priming:
 DSC01117
 by
RussZS, on Flickr
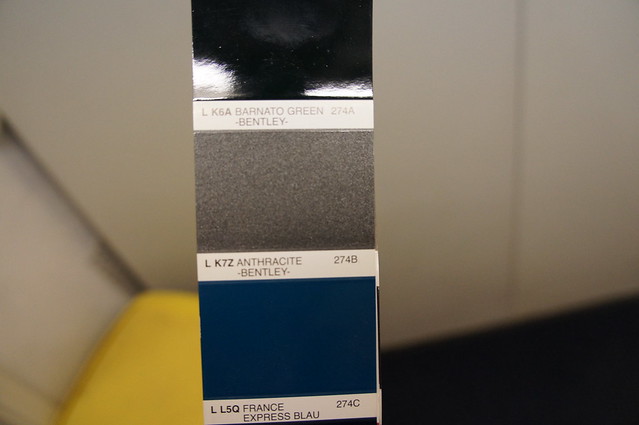
Meanwhile, I was busy selecting a colour. I wanted to go original OEM colour initially but I always liked darker wheels on a black car, so went for...
 DSC01118
 by
RussZS, on Flickr
LOTS to choose from!!
 DSC01098
 by
RussZS, on Flickr
All 4 ready for priming.
 DSC01122
 by
RussZS, on Flickr
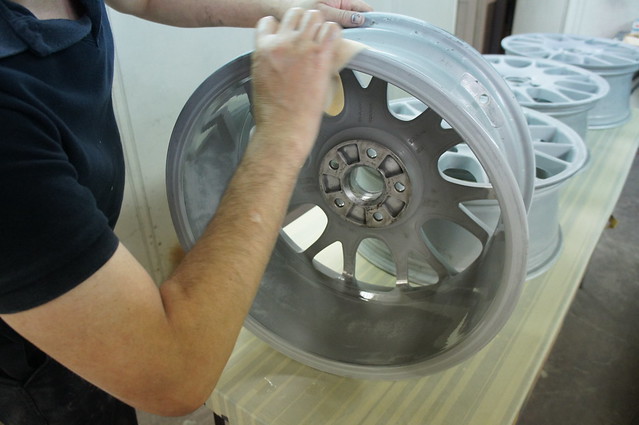
Next the wheels were wiped down with U-Pol Degreaser to ensure that they are completely clean:
 DSC01123
 by
RussZS, on Flickr
 DSC01124
 by
RussZS, on Flickr
 DSC01126
 by
RussZS, on Flickr
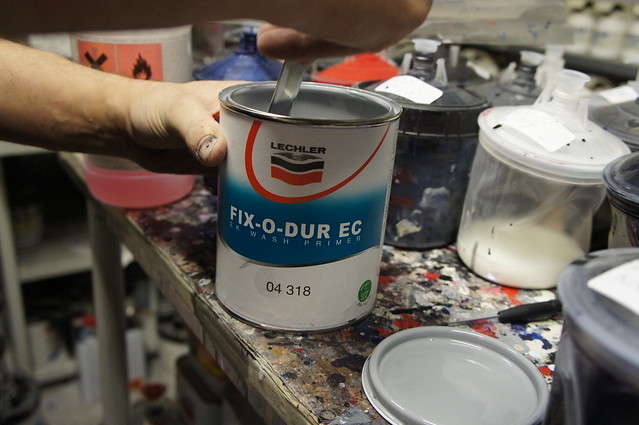
Next Etch primer, followed by 2k primer:
 DSC01128
 by
RussZS, on Flickr
 DSC01129
 by
RussZS, on Flickr
Etch primer:
 DSC01133
 by
RussZS, on Flickr
Finished:
 DSC01134
 by
RussZS, on Flickr
Followed with 2k Primer:
 DSC01137
 by
RussZS, on Flickr
 DSC01140
 by
RussZS, on Flickr
 DSC01142
 by
RussZS, on Flickr
That's it for Day One!
Tomorrow we will flatten the primer with 1200, then the painting will continue...
I hope someone has found this useful.
Thanks for reading.
Thoughts on the colour??
Russ.