We thought we'd share one of the many window tint installs we have completed recently with you to show to process step by step. This car is owned by a fellow DW Member who drove well over 100 miles to come and see us! I'd also like to apologise in advance for the messy state of the unit which is being addresses in the coming weeks.
We don't have any before pics unfortunately but the car was naturally quite dirty after the 100 mile+ drive to us. Given that the window tint install process can involve some 'overspray' from the slip solution which is unsightly if left on the paintwork - we provided a 'safe wash' on the Octavia as part of the process, before beginning the install and then wipe the Slip Solution excess away with a Quick Detailer like Zaino Z6.
Some pics after the wash and drying phase, before we began the film install:
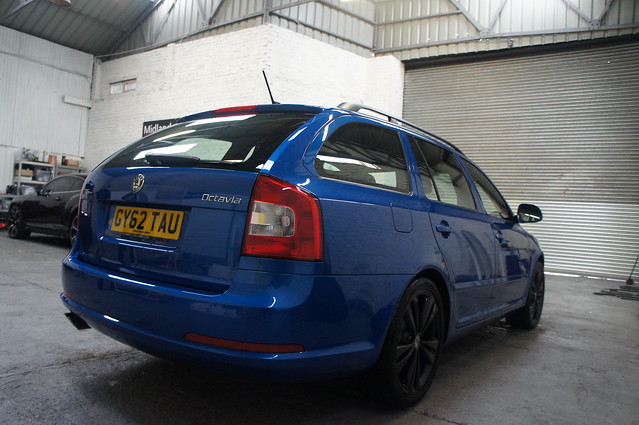 DSC04256
 by
RussZS, on Flickr
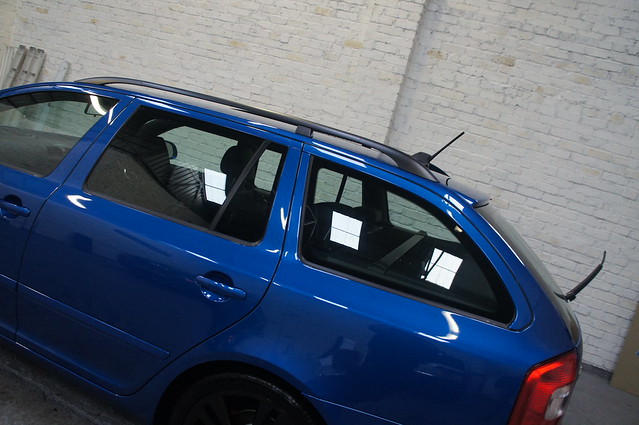 DSC04259
 by
RussZS, on Flickr
We exclusively use Llumar Window Tint film which we believe to be the best on the market. Nigel the owner opted for 5% on the rear windows and 20% on the doors.
The first step was to measure the rear window from top to bottom and side to side allowing excess film.
Next we do a 'rough cut' around the window shape and then begin shrinking the film using a heat gun to shrink the film to the contours of the glass:
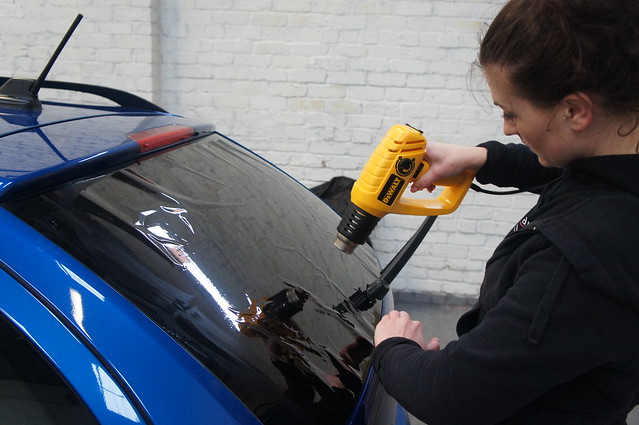 DSC04262
 by
RussZS, on Flickr
Next the film is subjected to a wet test:
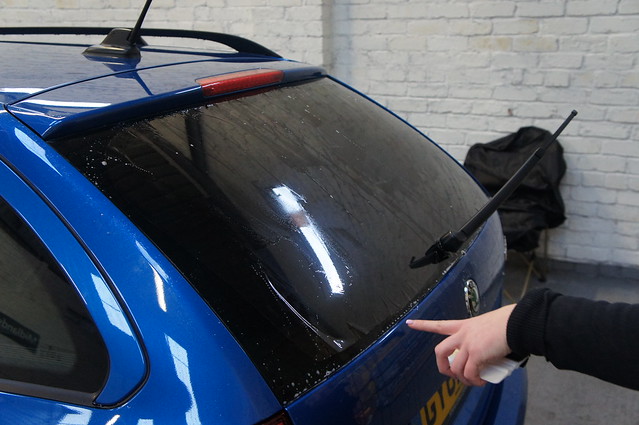 DSC04263
 by
RussZS, on Flickr
The excess 'fingers' still present are then shrunk using the heat gun:
 DSC04266
 by
RussZS, on Flickr
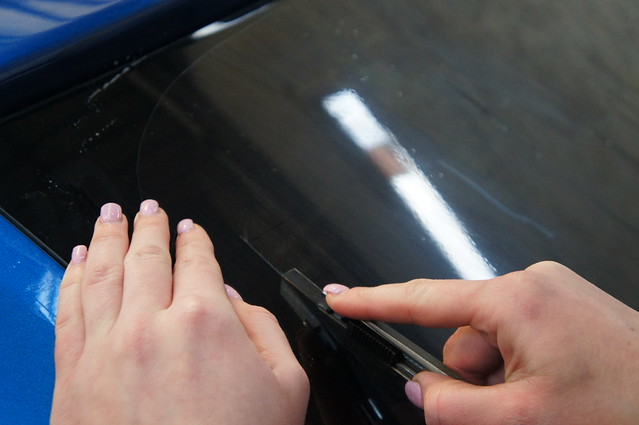
Next is the 'final cut' which is a neater final cut in line with the matrix on the rear window:
 DSC04268
 by
RussZS, on Flickr
Window is cleaned and prepared for film install using wire wool and slip solution (a mixture of Baby Bath and Water):
 DSC04269
 by
RussZS, on Flickr
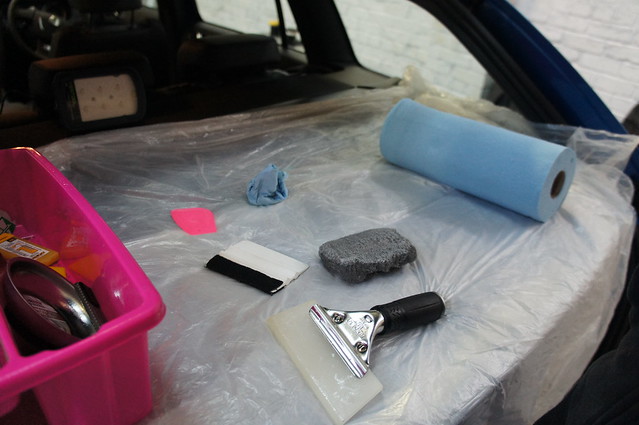
Plastic sheeting is used to ensure no excess slip solution drips on any of the interior or trim:
 DSC04270
 by
RussZS, on Flickr
 DSC04274
 by
RussZS, on Flickr
The cleaning process is completed twice on the rear window to ensure its as clean as possible to ensure proper adhesion from the film.
After the cleaning stage we are ready to install the film. 'Flushing' is used to aid the installation:
 DSC04278
 by
RussZS, on Flickr
The film is also covered in slip solution when the backing film is removed:
 DSC04279
 by
RussZS, on Flickr
Next the film is placed onto the interior and any excess air and water is pushed out.
This process was repeated on the rear quarter windows.
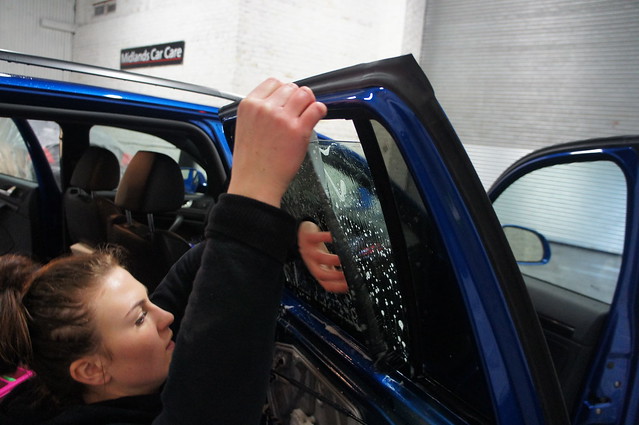
For the rear doors, the door cards were fully removed so that the film could be installed correctly. Again the glass is cleansed twice thoroughly:
 DSC04304
 by
RussZS, on Flickr
 DSC04307
 by
RussZS, on Flickr
 DSC04309
 by
RussZS, on Flickr
 DSC04310
 by
RussZS, on Flickr
Finally the door card is reinstalled.
After the installation is completed, any excess slip solution present on the paintwork and exterior glass was removed with 3M Glass Cleaner and Zaino Z6 to ensure the car is looking its best.
 DSC04314
 by
RussZS, on Flickr
Whilst Milly was working her magic, the owner Nigel and I, were having a play with a few boutique waxes on the front end of his car.
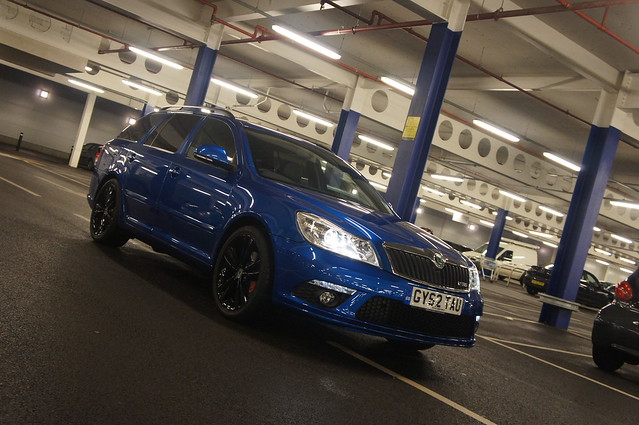
We applied Bouncers Blue Lagoon and Swissvax Shield, Best of Show and Crystal Rock to the front end of the Skoda as a bit of fun to see how they compared and lasted as Nigel covers quite a few miles... I'll let him update you all on the progress :)
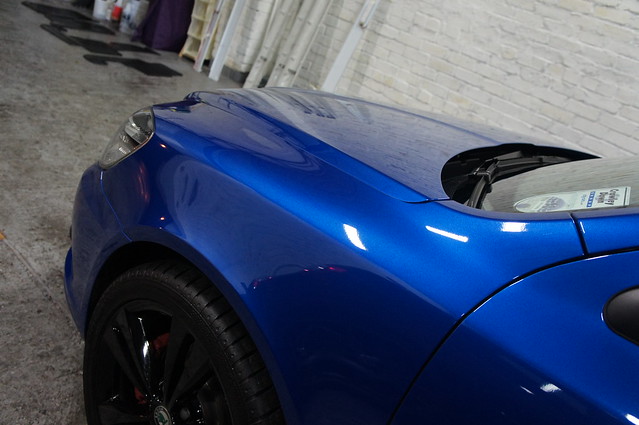
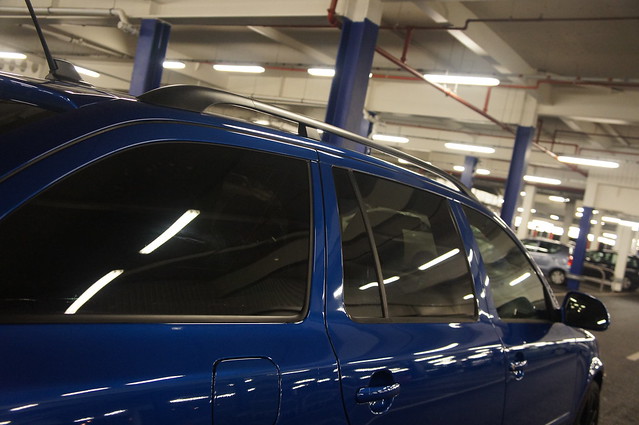
Here are the afters...
 DSC04319
 by
RussZS, on Flickr
 DSC04320
 by
RussZS, on Flickr
 DSC04325
 by
RussZS, on Flickr
 DSC04326
 by
RussZS, on Flickr
 DSC04327
 by
RussZS, on Flickr
 DSC04328
 by
RussZS, on Flickr
 DSC04329
 by
RussZS, on Flickr
I'd personally like to thank Nigel for making the trip across to see us and also for bringing some Krispy Cremes with him - what a legend!! :lol: It was a stunning car too - a real pleasure to work on!
We have also completed tint installs for a few other Detailing World members:
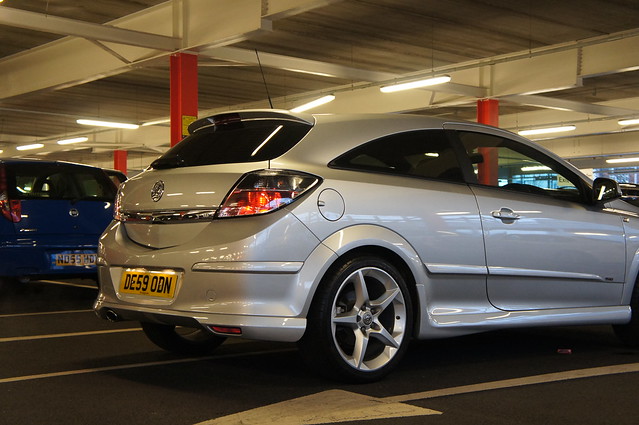
20% on this Astra SRI for Andrew from Leicester!
 DSC05086
 by
RussZS, on Flickr
5% and a Sun Strip on this lovely Seat Leon Cupra for Jon from Dudley!
 DSC04813
 by
RussZS, on Flickr
If you'd like a quote for any window tinting then feel free to send me a PM on here or send Milly a message via her Midlands Auto Tints Facebook Page:
https://www.facebook.com/MidlandsAutoTintsThanks for reading!
Russ (and Milly!) :)