Has anyone got any recommendations for cleaning Brake Calipers?
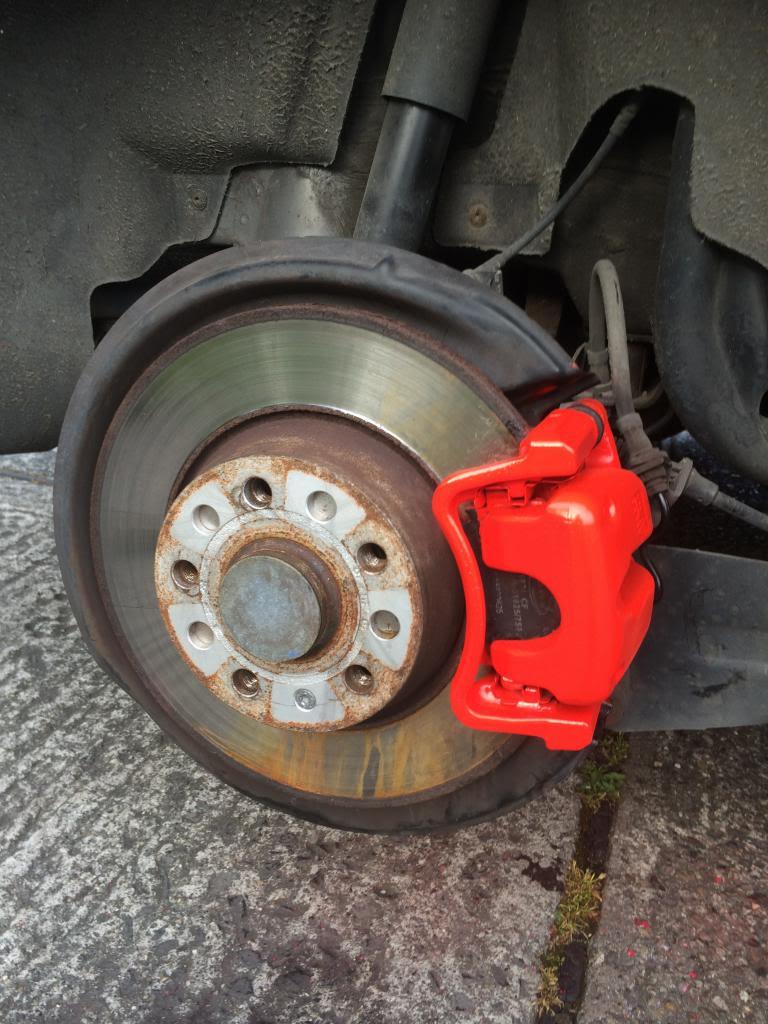
My red ones are starting to go a nice shade of black.
A quick thread search recommends brake cleaner? And a brush... 
Thanks. 
Something I wrote up a while back:
My old faded pink calipers really took away from the look of the car so I tackled them over a few hours doing 2 wheels per night on a sunny Monday & Tuesday. Before you remove the 2 wheels make sure you mark which is front/back and that they go back on the same or you’re tracking will be off.
Safety: Use disposable gloves with harsh chemicals.
Products Used:
1. Alloy Cleaner
2. Brake Cleaner
3. 600 Grit Sandpaper
4. 1200 Grit Sandpaper
5. Flat Head Screwdriver
6. Pliers
7. Masking Tape Large
8. Masking Tape Small Detailing Tape
9. Newspaper
10. Brillo Pad
11. Temperature Resistant 650 degree red spray paint
12. Clear Lacquer Spray Paint
13. Silicone Remover
I jacked the car up and put axle stands under each support joint so that one side of the car was fully raised. Both wheels were then removed and set aside for their own repair work.
Firstly, I think you should try using the brillo bad with plenty of water on its own first. This may actually be enough to bring them back to good condition so PLEASE try this before you attack them.
I applied alloy wheel cleaner and allowed it to soak into the dirty calipers while I got set up.
I then removed the quick release spring from the front caliper and gave it a quick clean with the brillo pad.
I then started by taking off the already chipped paintwork with a flat head screwdriver.
I applied liberal amounts of the brake cleaner regularly.
I then went at them with a wet brillo pad removing what dirt I could.
Any bits of grease/dirt that remained were scraped off with the flat head screwdriver.
I then sanded the entire caliper down with 600 grit sandpaper which eventually moved up to 1200 grit sandpaper.
I cleaned down the entire unit with liberal amounts of silicone remover
http://www.micksgarage.com/proddetails.aspx?pid=1640492&pk=6aabfI then masked up the small detailed parts with the smaller detailing masking tape taking extra care around the pads etc. Make sure you cover the hose connections and fittings along with the centre of the face of the caliper or else you’ll spray your discs.
I then masked off the rest of the parts using the larger tape and added newspaper all around the wheel well and into the doors to prevent wayward sprats hitting the panels.
When everything was set up and ready to go I gave the calipers one last clean with brake cleaner which dried up in the sun in a couple of minutes. NO cloths here.
I then applied the first very thin layer of temperature resistant red spray paint. Remember you’re only giving it a few light coats or you’ll form droplets.
Each coat dried for me in about 20mins facing the sun in about 24° weather.
After another 1 or 2 more coats of red paint I was happy they were fully covered.
I then set upon applying the lacquer. Again in very thin layers.
I put the quick release spring back onto the front caliper very carefully holding it in place with the screwdriver and moving it with the pliers. Please be very careful doing this as I guarantee you will scratch the fresh painted caliper.
I put the wheels back on and gave the car a quick spin applying good braking pressure to make sure nothing was out of place.
Note: While the wheels were off and I was waiting on the coats to dry on the calipers I started to repair my alloys as shown in the next section.