Well I had to replace one on mine yesterday and a couple of people asked if I had a guide. So I have been out again today to re-do the work to get some photo's and write a guide for anyone that may need it

Tools Required – Torx T20, Torx T30, Small Flathead Screwdriver, M6 12-point spline bit, bit holder and ratchet.

Time taken – Will probably take 1hr 30mins on your first go.
Before you start make sure you have a new lock module to fit. Either brand new from the dealers which will set you back over £100 or they can be picked up off eBay for around £30 but you run the risk of buying another dud.
This guide is to show you how to change the door lock module on a MK5 Golf. This method can be used for both front and rear doors and is presuming you can also get the door open which you will need to do. If like mine did the first time and the door has deadlocked shut, you best hope and pray some firm banging and a bit of luck are on your side.
If this is the case, I wound the window down and gave the outer door skin a few firm bangs with the bottom of my fist in the area where the module is. After this I repeatedly pressed the unlock button on the key whilst pulling the interior handle. After about 10 mins of different combinations of banging, pulling and unlocking the door opened. When doing this you will find that at some point when pressing unlock on the key fob it will stop working. I think the motors have a thermal trip but this will automatically reset after a minute or so and you can carry on.
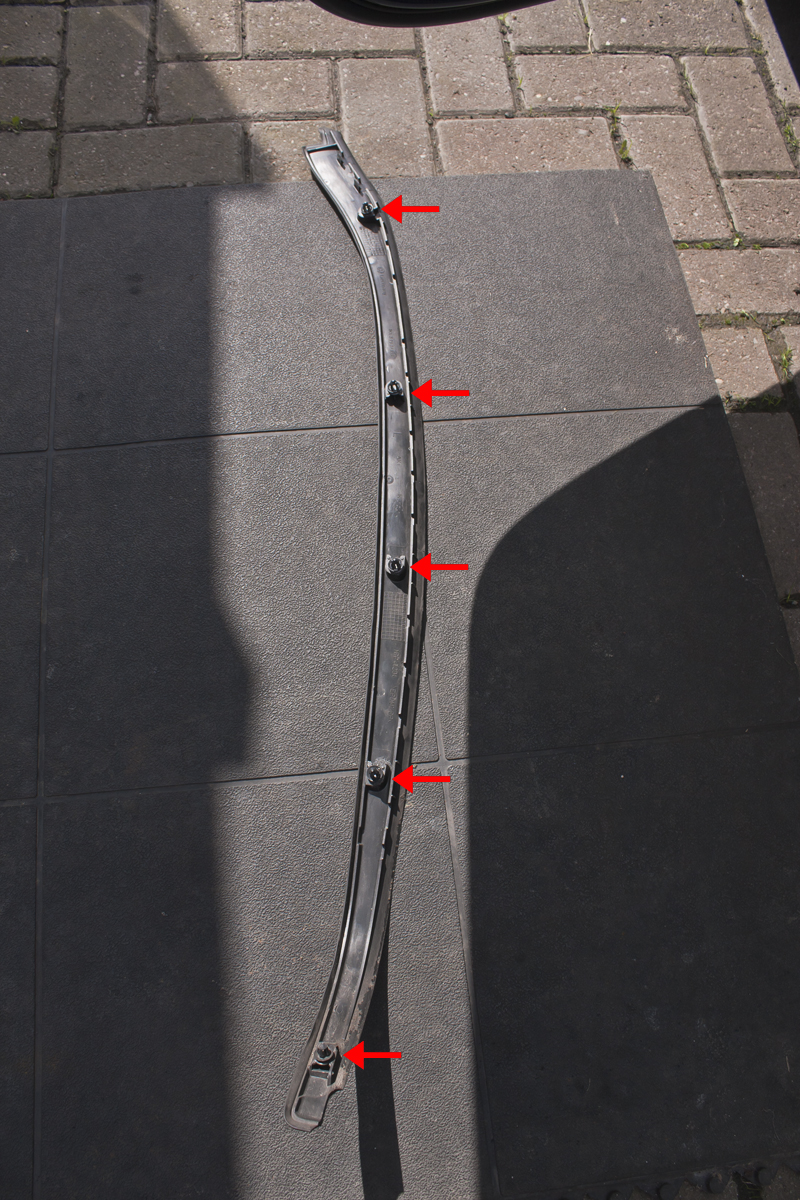
Now it’s open DO NOT CLOSE IT AGAIN!! Start by removing the black rubber strip down the edge of the door. This is held on by small plastic clips. Pull gently starting from the top working your way down. It may leave a couple in the door which you need to remove and then refit to the strip.


Clips refitted.
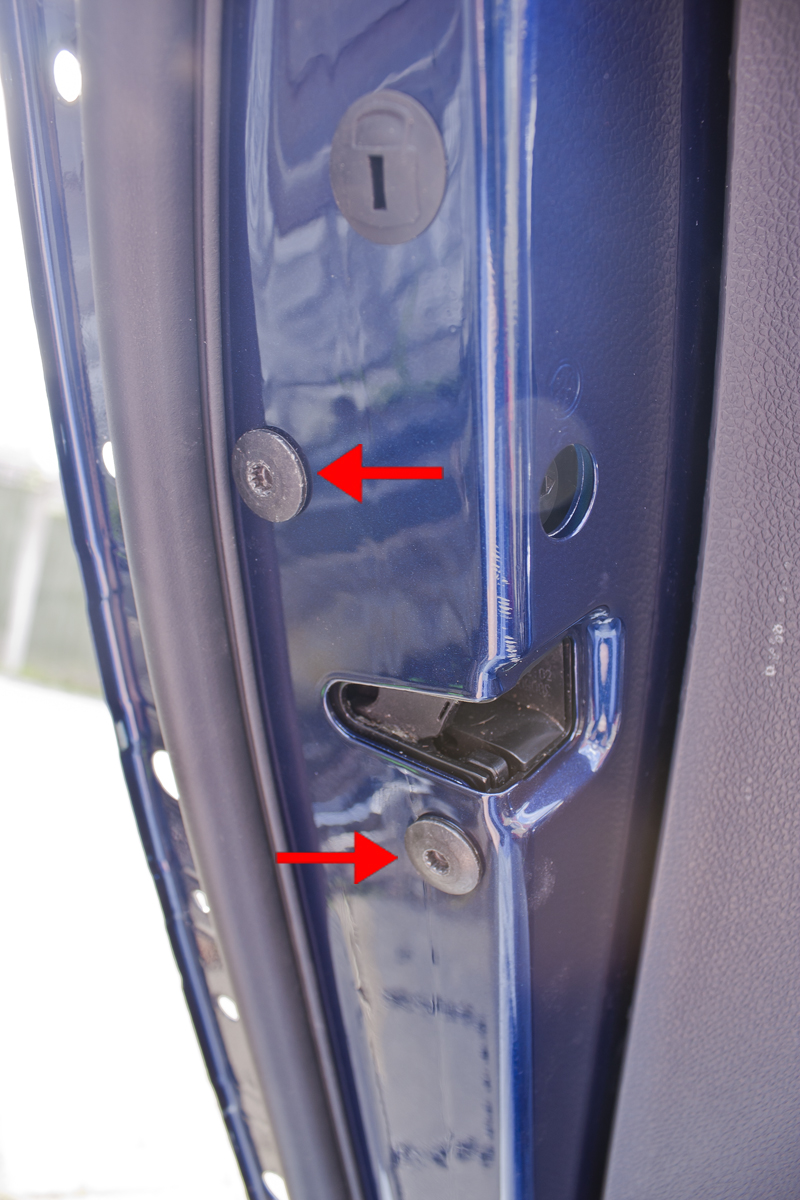
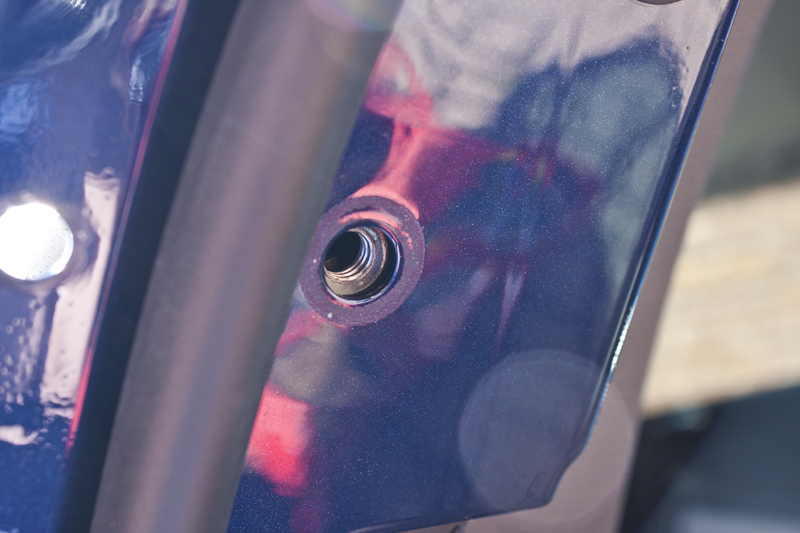
Behind this you will see a circular piece of silver or clear tape which is covering a hole. Remove this and inside you will see a torx head bolt. Using a T20 torx bit, loosen as far as it will go. It won’t fall out.
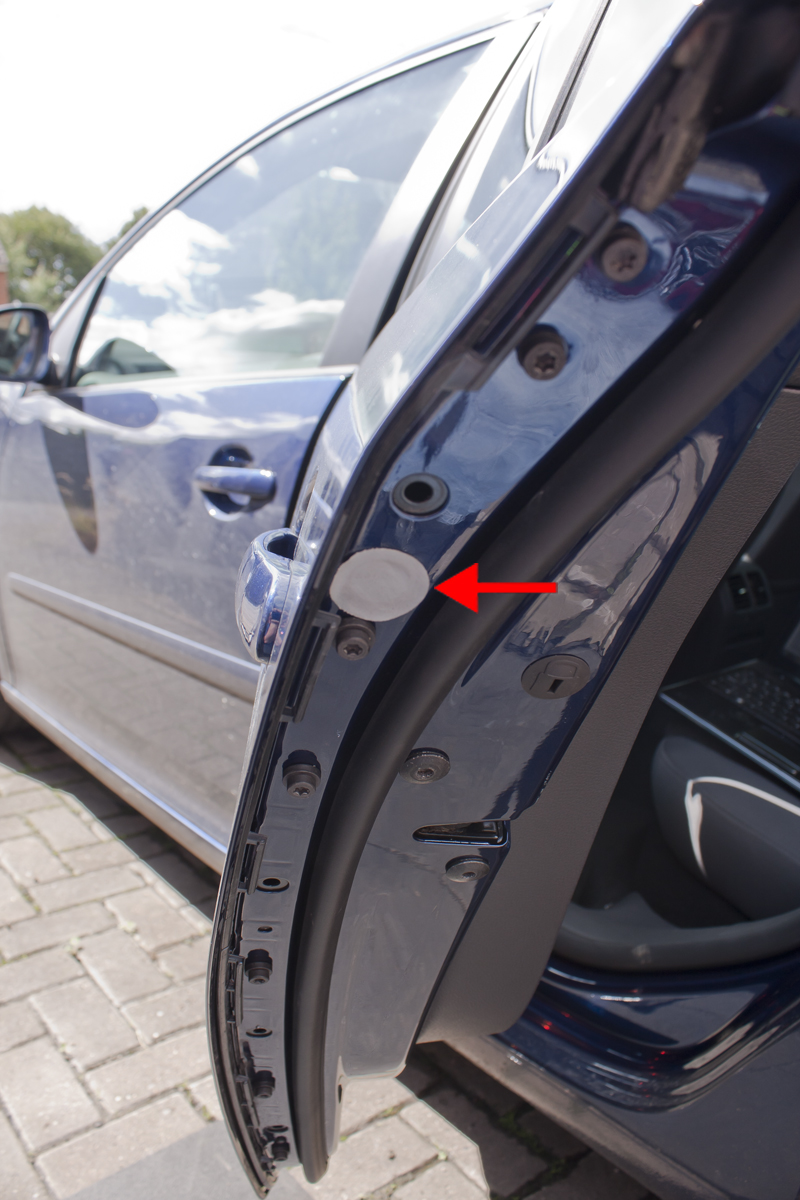

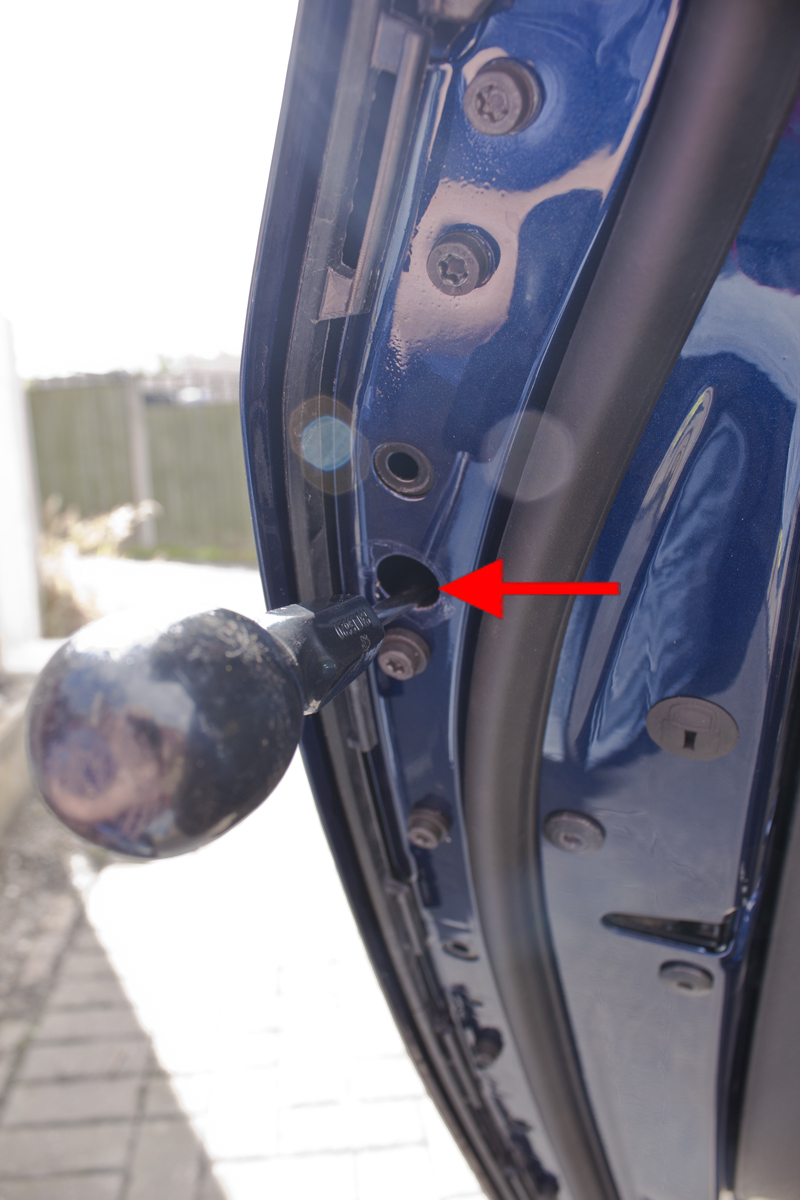
With this done, pull the door handle and the lock barrel/blank should pull from the door.
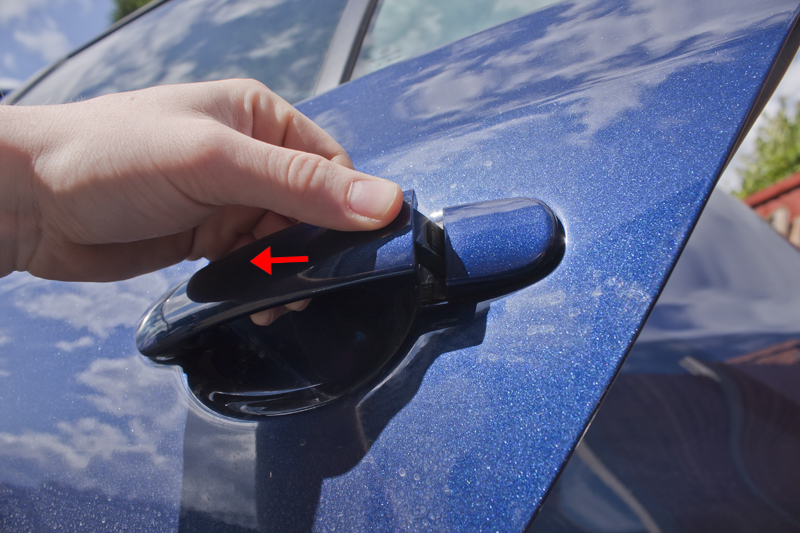
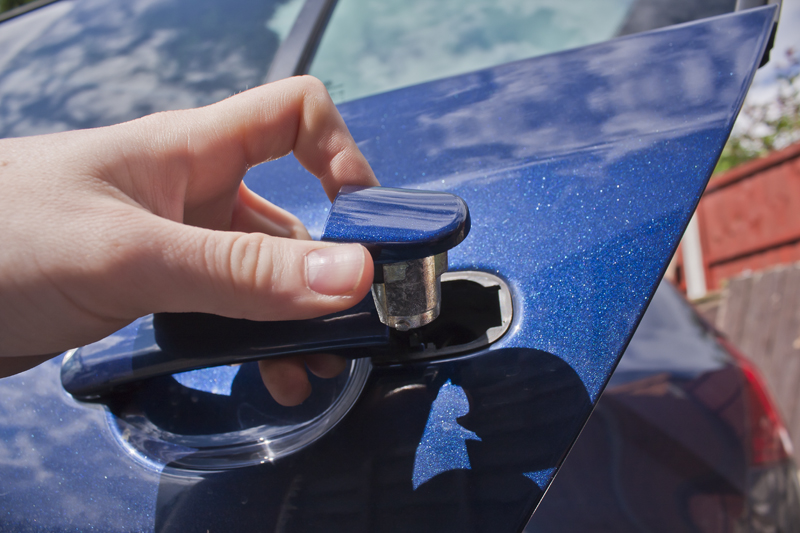
Look into the handle and you will see a small black clip attached to the end of a cable. Note its position within the handle I.E how many grooves are showing then flick out with a small flat screwdriver.


Once the cable is free, pull the door handle sideways into the space wear the lock barrel/blank was and then remove by pulling away from the door. The front end of the handle should feed through the door skin.
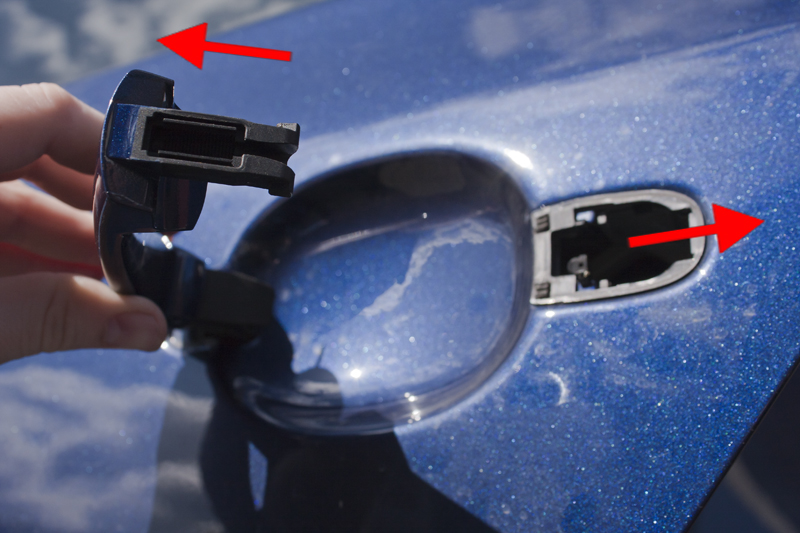
Undo the Torx screw (T20) that was behind the handle.
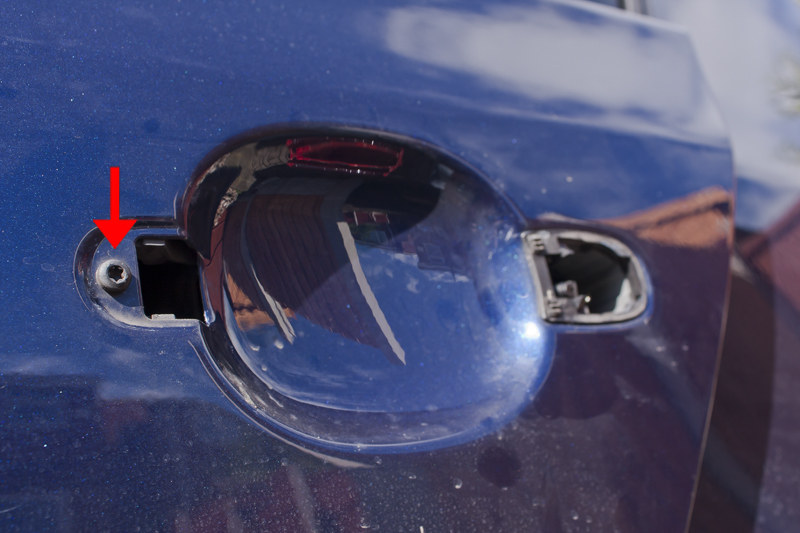
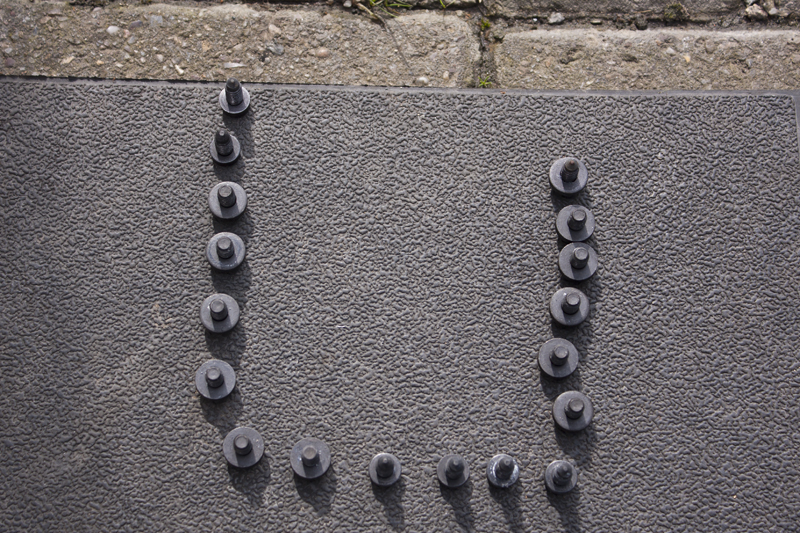
Now start undoing the retaining bolts (T30) that hold the door skin on. Lay them out so you know where they came from as they are not all the same. Same are smaller than others and some have a thick washer on them.
There are some down both sides and underneath. Also if doing the rear doors there is one hiding behind the rubber gaiter that the cables go through.
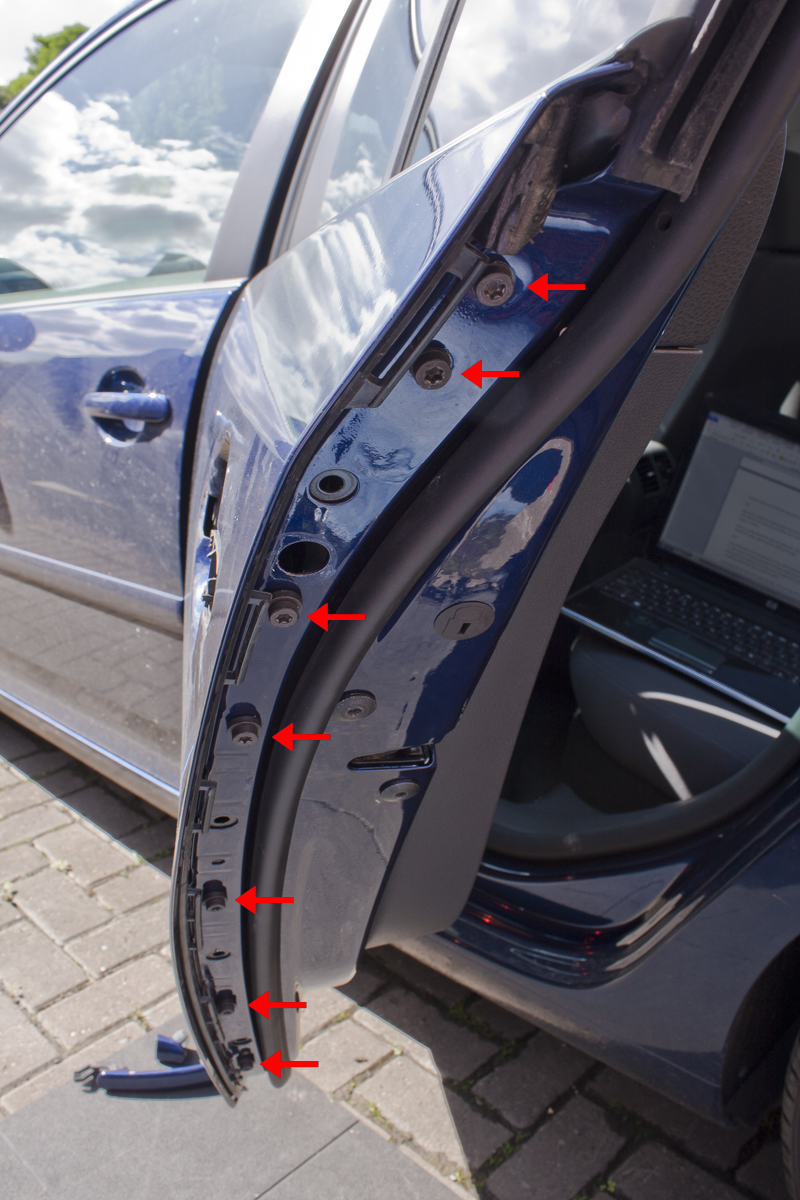
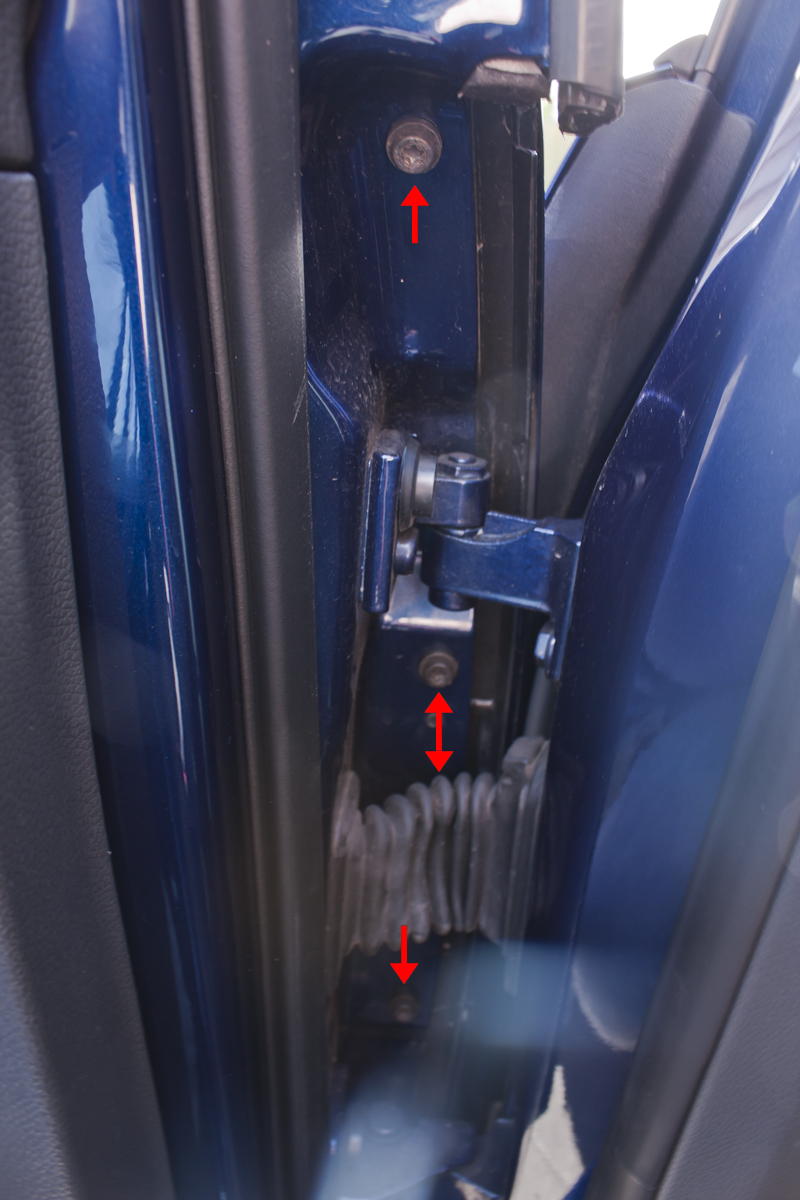
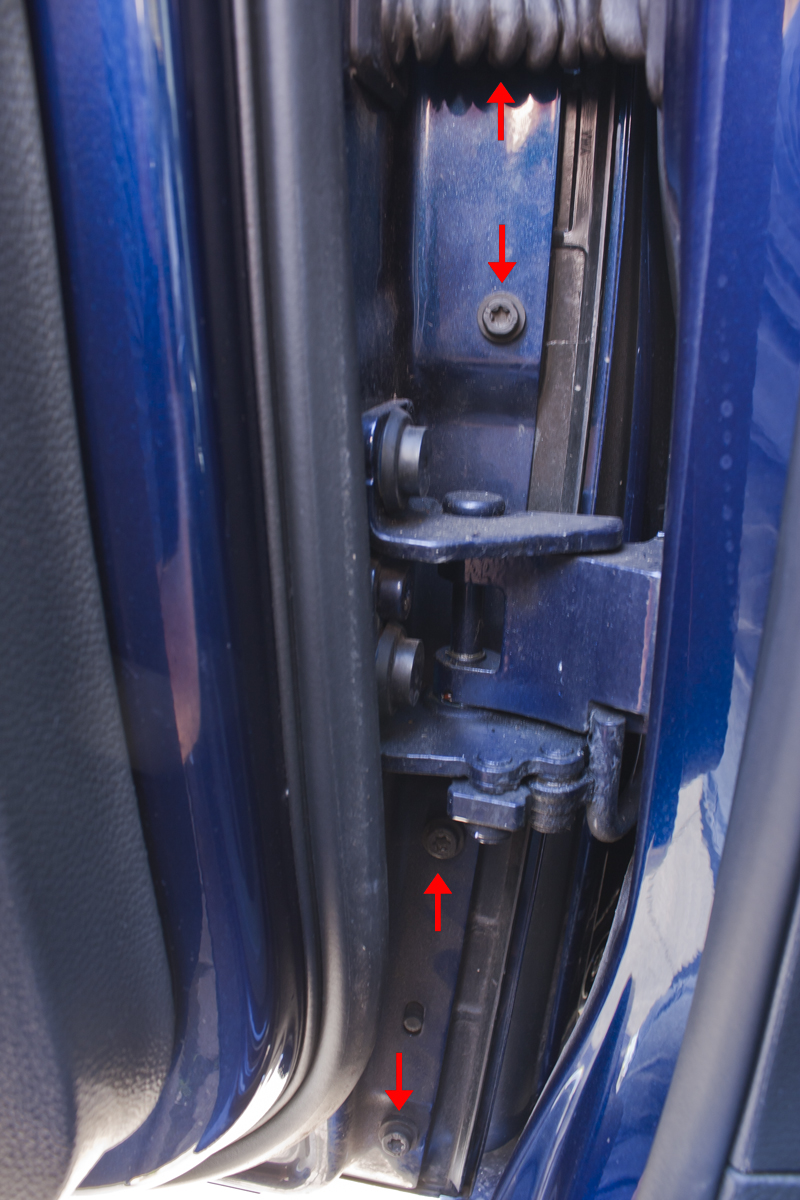

Screws laid out. Starting from left to right - Outside of door, underneath and inside of door. You can see the differences between them.
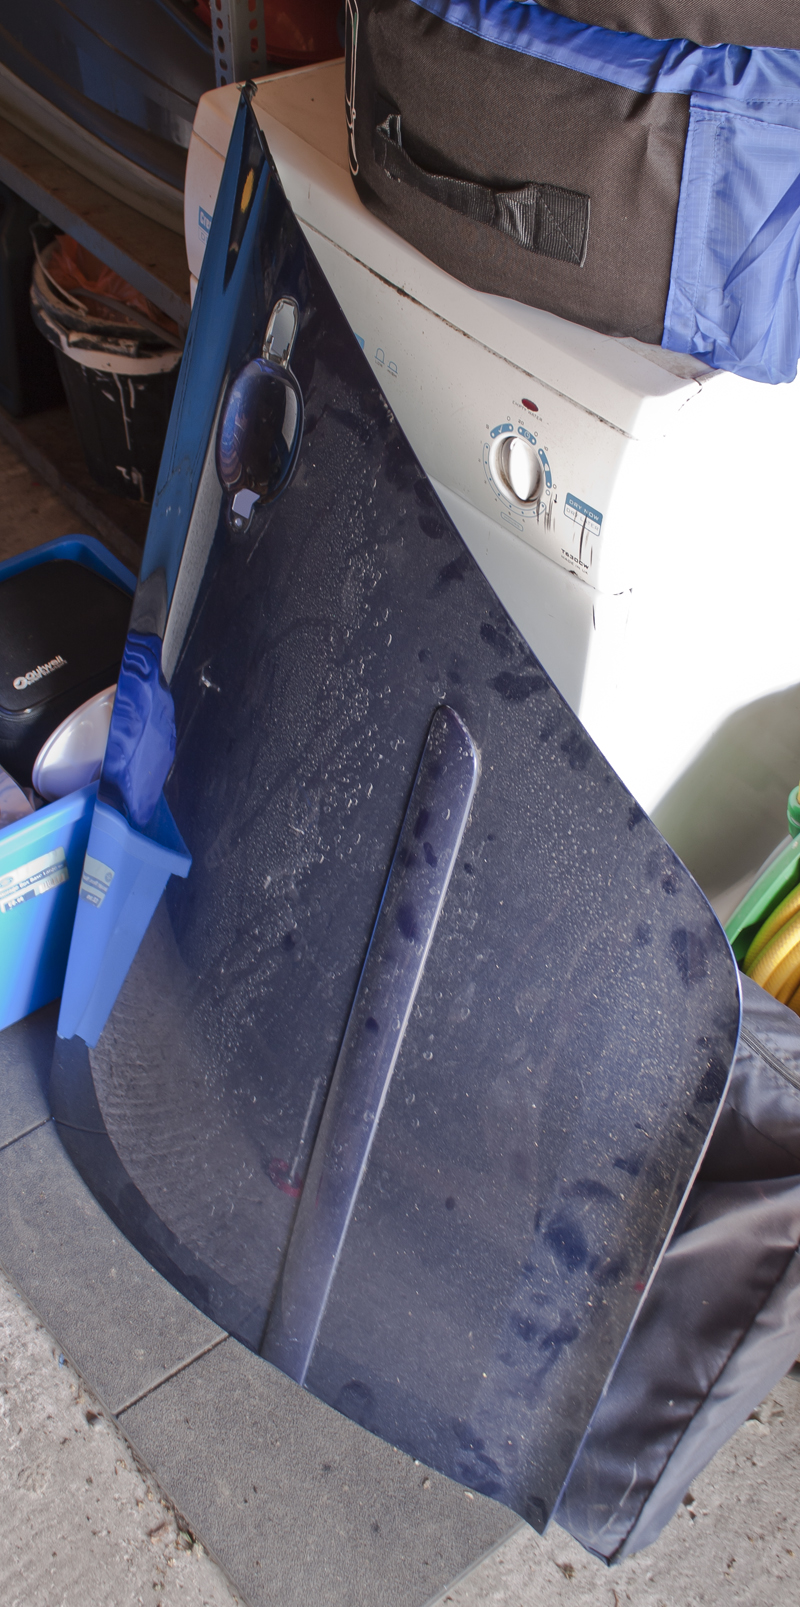
Once all the bolts are removed you can now remove the skin. It shouldn’t fall off but I leave one bolt in until I know I have got a good grip on it then remove it just in case. If doing the rear doors, opening the front give you a bit more room. Once the skin is off, lay it down or stand it against something so that you won’t scratch the paint. And yes I know its filty

You should now be able to see inside the door. The next thing that needs to be removed is this contraption.
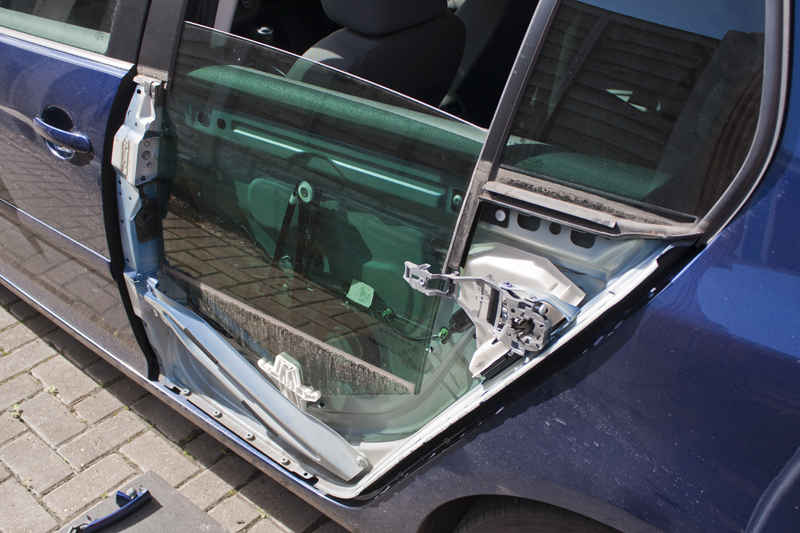

It fits into the slots top and bottom and held by a small coloured elastic band.
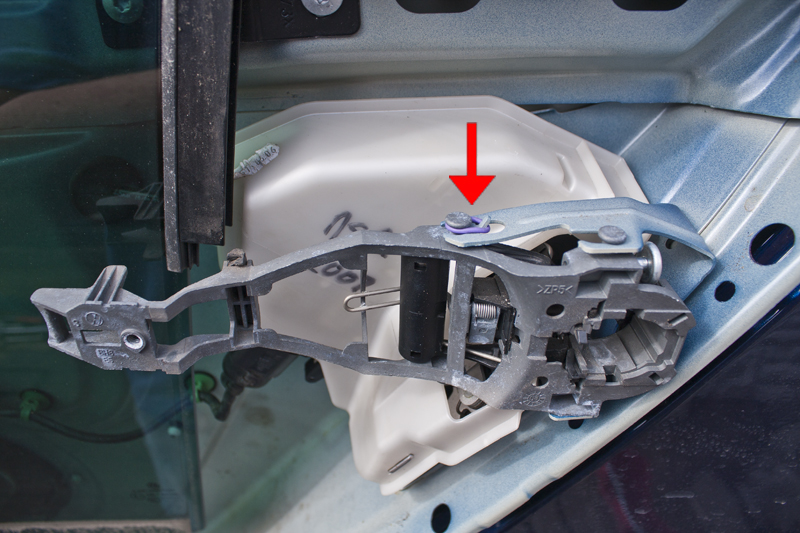
Make sure that the mechanism is in the position shown before refitting.


You can now start to remove the mechanism. I prise off the white cover first but I don’t think it is necessary but gives you a bit more room. Do this with the window up. Undo the 2 M6 12-point spline bolts which hold the module to the door. Release the module by pulling up slightly. There is a small metal tab that sticks out which it hangs on.
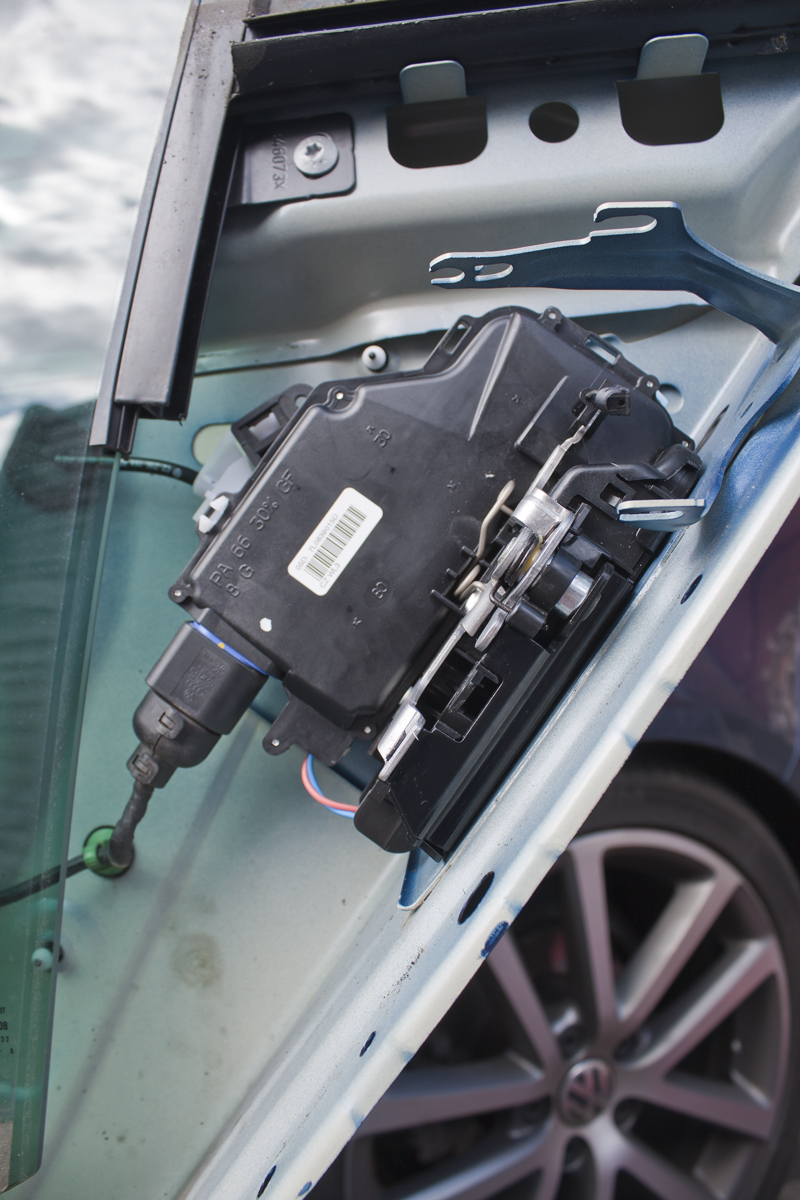
View of the metal tab.

Turn the module round so you can see the back. Disconnect the electrical plug. Then push the lever on the lock mechanism which will give you some slack on the cable and release the lug.
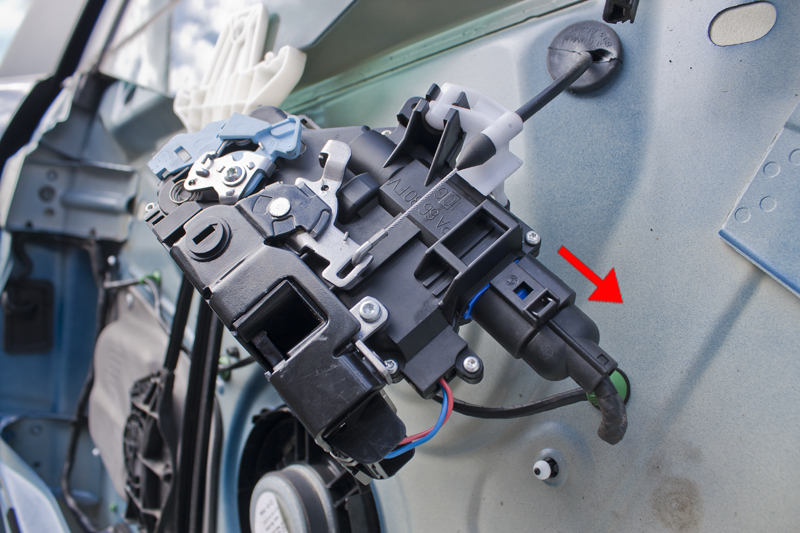

You should now have the lock module free.

With the new one you may need to transfer over the small cable which fastens into the door handle. This is done by pulling the mechanism forward and then twisting the black plastic bit 90 degrees. You should see it has a flat on it, allowing it to slide out.


As the old saying goes, refitting is the reverse of removal. When screwing in the T20 screw through the hole, as you do it, it will probably bang. This is the mechanism taking up the slack on the cable and is normal.
TIPS:Fit the module and try opening, closing and locking with the window down and door skin off. Will save you time having to take it all apart again if it does not work. It doesn't matter if the handle is not connected. You can just pull the little cable.
When fastening up the bolts for the new lock module, all I do is line up the heads where they originally left marks in the paint. This should make sure it’s roughly back in the same place.
The new lock module should not need recoding with VCDS unless you have door exit warning lights or illuminated door triggers fitted.
Hope this helps a few of you out as I know this is quite common.
Mods - Might be worth making this a sticky
