Vinyl Wrapping seems to be a growing market here in the UK - not everyone is a fan of this but we'd noticed an increase in demand for this service so have decided to seek out tuition from one of the best Vinyl Wrappers in the UK to ensure we can get started from the very best position.
We have recently seen some very poor work from local installers who charge quite a premium for cutting on panels, poorly prepared panels and leaving some edges exposed to a vehicles original colour so I was keen to ensure that if we're to entertain entering the market space then we do so with the knowledge on how to avoid these issues. With us being a detailing company already we understand the importance of panel decontamination and general cleanliness.
The tuition took place over 3 intensive days in one of the best detailing bays I've had the pleasure of working in. The environment has allowed us to configure our forthcoming unit build to ensure it is optimised for detailing, window tinting and vinyl wrapping.
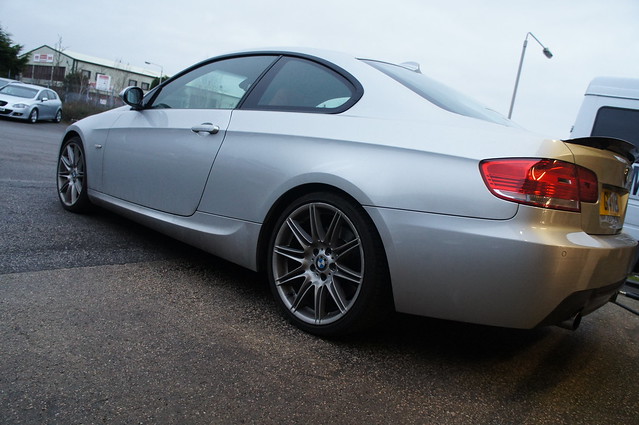
The 'test subject' was one of MCC's very own cars - this silver BMW 335D. This 335D is standard styling wise aside from the genuine BMW Carbon Spoiler (which had recently been bonded on and would need removing!) but has been tuned to 'Stage 2' which is 355BHP and 520lbft - a beast of a car! The interior is red leather which clashes with the cars new colour but this will be recoloured in the coming week on the back of our training session with LTT a few months back.
Here's the 335D before we started:
 DSC04901
 by
RussZS, on Flickr
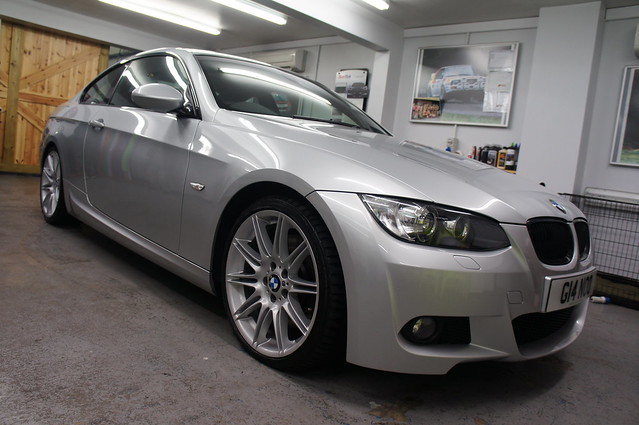
As you would expect we started with a full exterior decontamination of the paintwork. The process was:
- Wheels, tyres and arches with AS Smart Wheels and G101 with various brushes
- Car Snow Foamed to begin to break down the loose dirt and debris
- Hand Washed with Swissvax Wasch Pudel and AS Shampoo
- Treated to IronX and Tardis to safely remove any fallout and tar
- Paintwork clayed with AS Reglaze and Dodo Juice SN Clay
- Fully dried
 DSC04904
 by
RussZS, on Flickr
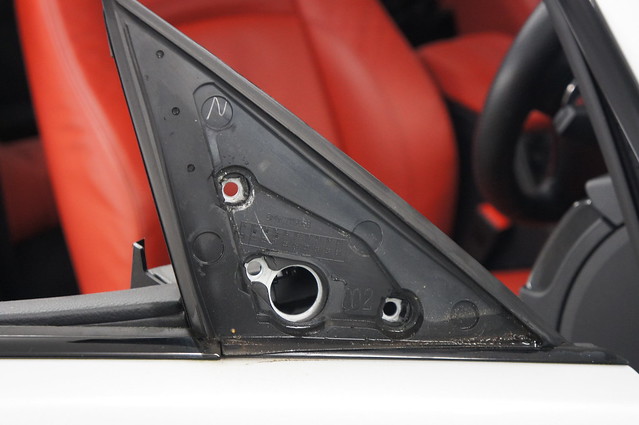
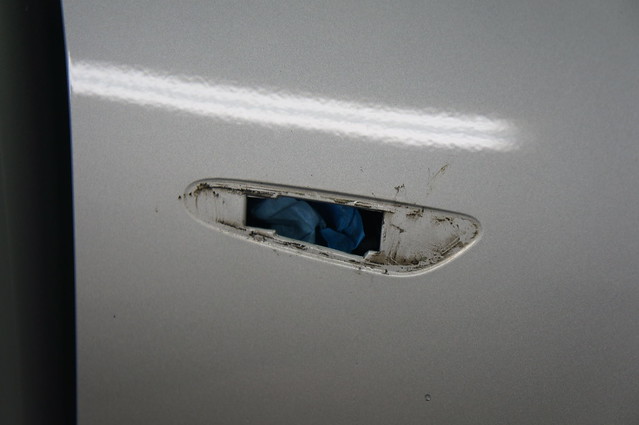
The next part was to begin removing parts of the car which would hinder the wrapping process and also obstruct our ability to wrap the car as thoroughly as possible.
Roof rails removed:
 DSC04907
 by
RussZS, on Flickr
Wing mirrors:
 DSC04909
 by
RussZS, on Flickr
 DSC04912
 by
RussZS, on Flickr
Front bumper:
 DSC04914
 by
RussZS, on Flickr
Side repeaters:
 DSC04915
 by
RussZS, on Flickr
Side skirts:
 DSC04918
 by
RussZS, on Flickr
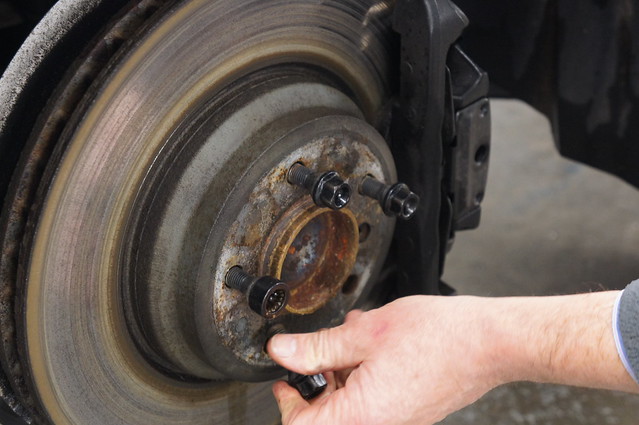
Alloy wheels:
 DSC04919
 by
RussZS, on Flickr
Those hubs need a painting!
 DSC04920
 by
RussZS, on Flickr
Door handles:
 DSC04926
 by
RussZS, on Flickr
Petrol cap:
 DSC04940
 by
RussZS, on Flickr
Fully stripped:
 DSC04941
 by
RussZS, on Flickr
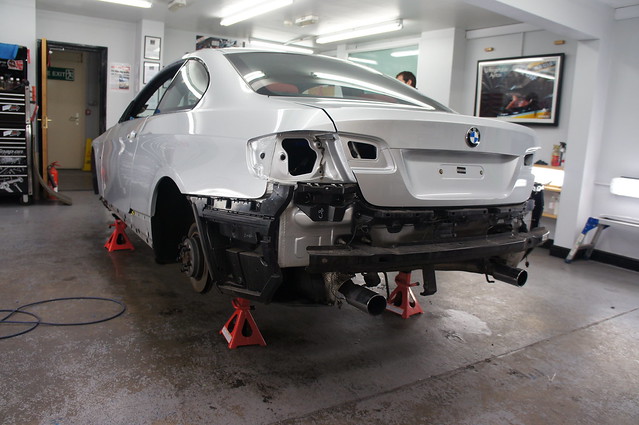
The car was also debadged and the bonded spoiler was safely removed and the residue removed too:
 DSC04948
 by
RussZS, on Flickr
 DSC04950
 by
RussZS, on Flickr
Next the bumpers and skirts were cleaned outside to ensure the rear of them were all clean so that when we're handling the panels later on, no dirt is transferred from the rear of them:
 DSC04955
 by
RussZS, on Flickr
Next we began to get to understand the various vinyl films available, the technology behind them and the importance of using the respective preparation products to ensure a perfect bond between the film and its surface.
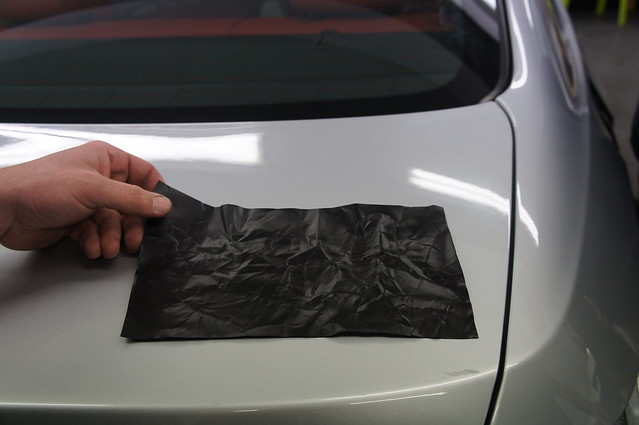
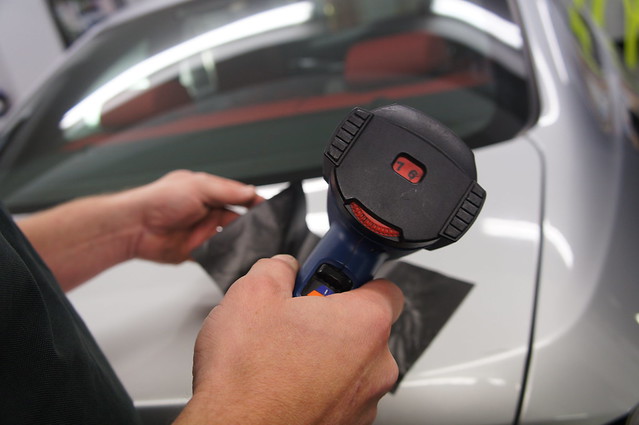
We started off with an APA satin black film and shown just how mouldable it was and how it can be restored with a bit of heat:
 DSC04957
 by
RussZS, on Flickr
 DSC04958
 by
RussZS, on Flickr
 DSC04959
 by
RussZS, on Flickr
Impressive stuff!
I'd previously used a few pieces of 3M DiNoc Carbon effect film on interior pieces but never involved a heat gun into the process - the difference is considerable!
 DSC04961
 by
RussZS, on Flickr
The prep products which are used to ensure the adhesive on the film bonds correctly to the surface which is to be wrapped:
 DSC04962
 by
RussZS, on Flickr
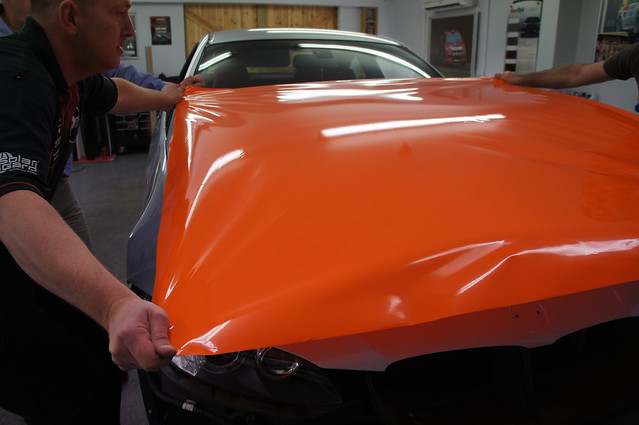
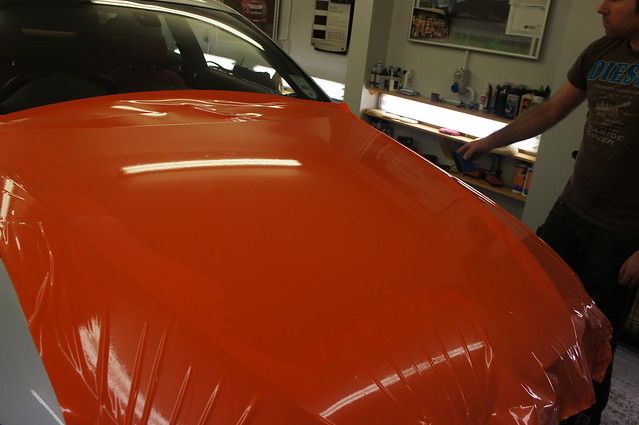
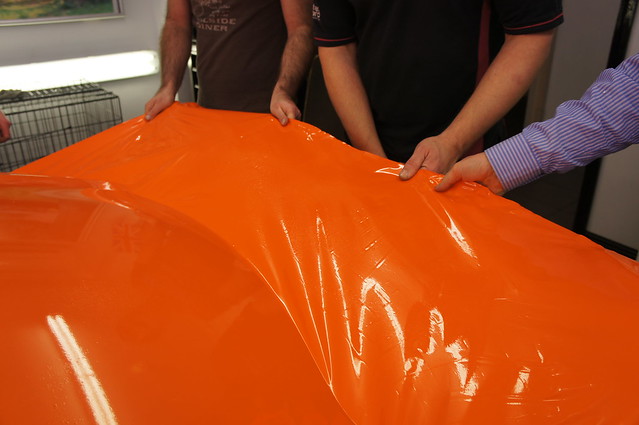
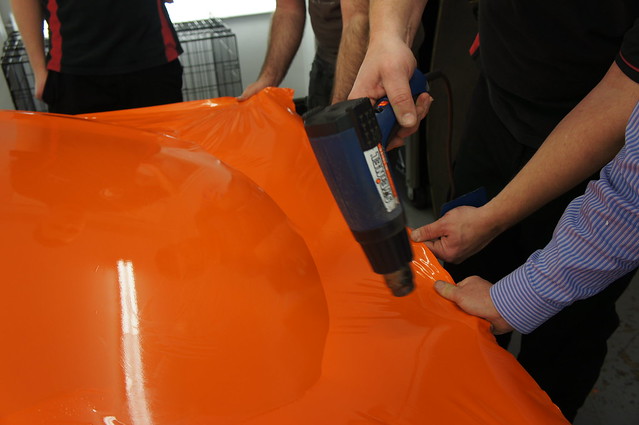
Next up we had a look at applying film to a panel and the best way to do this to ensure a clean install - we started with this test piece of gloss orange film:
 DSC04965
 by
RussZS, on Flickr
 DSC04969
 by
RussZS, on Flickr
 DSC04970
 by
RussZS, on Flickr
 DSC04973
 by
RussZS, on Flickr
 DSC04974
 by
RussZS, on Flickr
 DSC04975
 by
RussZS, on Flickr
 DSC04976
 by
RussZS, on Flickr
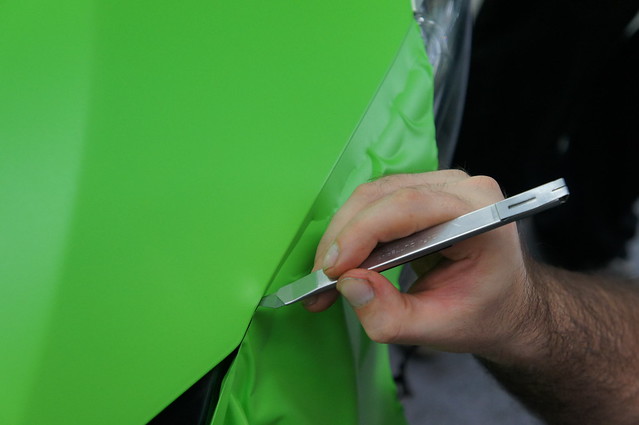
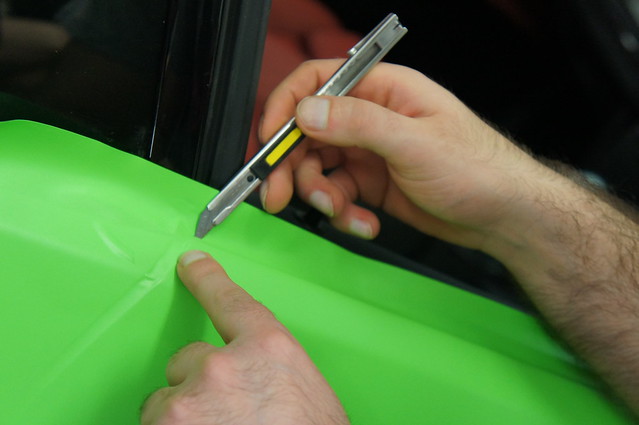
We then practiced cutting along panel edges safely and removing the correct amount to ensure the original paint colour is not showing.
After this, we moved onto the installation of the Hexis 30000 Kiwi Green film which had been selected for our 335D. This stuff isn't cheap at nearly £25 per metre.
 DSC04977
 by
RussZS, on Flickr
 DSC04979
 by
RussZS, on Flickr
 DSC04982
 by
RussZS, on Flickr
 DSC04985
 by
RussZS, on Flickr
After the bonnet was completed, we moved onto the door:
 DSC04991
 by
RussZS, on Flickr
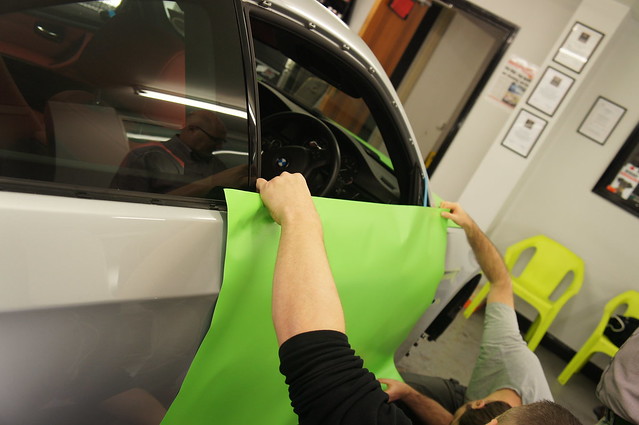
Test fitting after measuring up:
 DSC04992
 by
RussZS, on Flickr
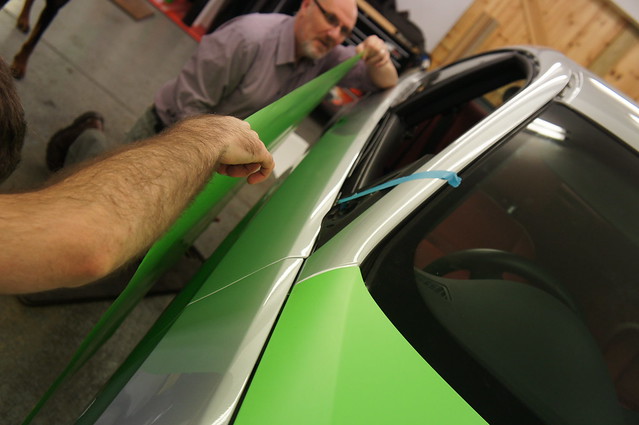
Preparing the panel:
 DSC04993
 by
RussZS, on Flickr
 DSC04994
 by
RussZS, on Flickr
 DSC04997
 by
RussZS, on Flickr
 DSC05000
 by
RussZS, on Flickr
 DSC05001
 by
RussZS, on Flickr
 DSC05003
 by
RussZS, on Flickr
 DSC05006
 by
RussZS, on Flickr
Next the door handle recesses were moulded:
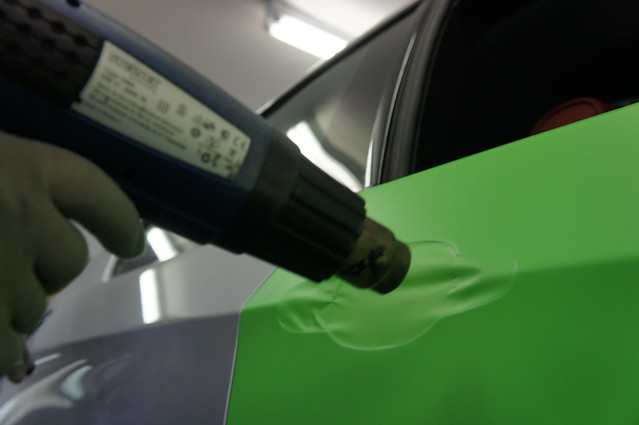 DSC05008
 by
RussZS, on Flickr
Centre first:
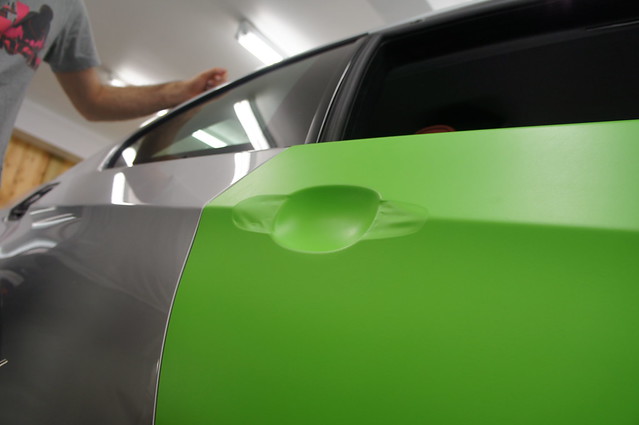 DSC05009
 by
RussZS, on Flickr
 DSC05010
 by
RussZS, on Flickr
The film was then heated up to 90 degrees to reset its 'memory' to ensure it doesn't pop back out at a later date:
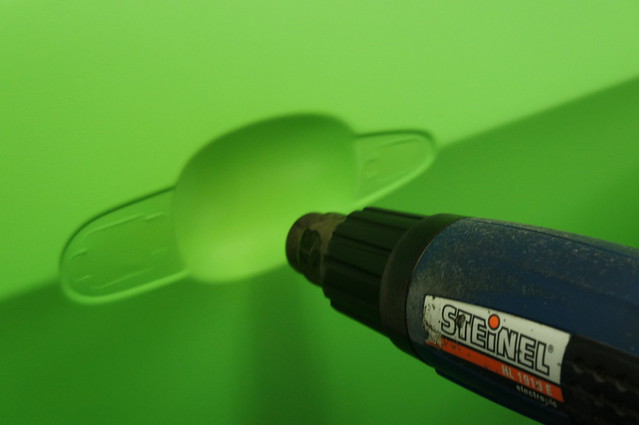 DSC05012
 by
RussZS, on Flickr
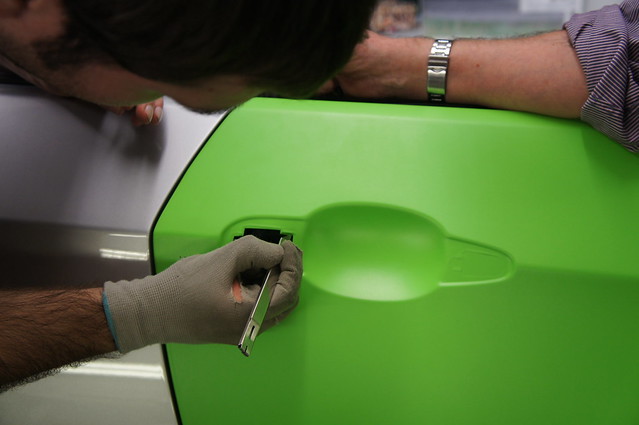 DSC05014
 by
RussZS, on Flickr
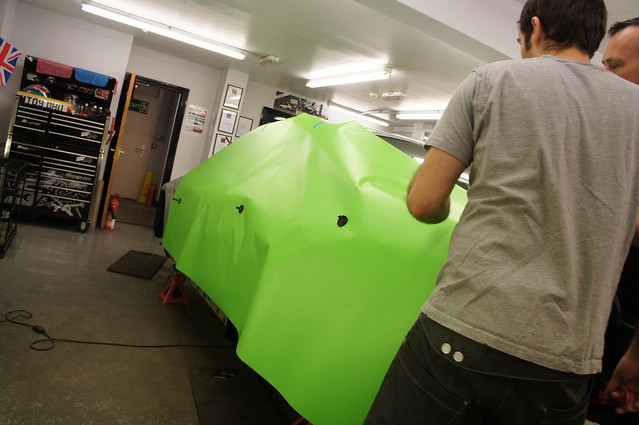
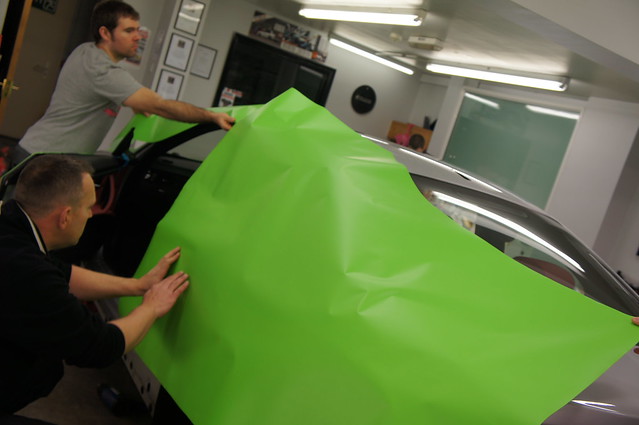
The OS front wing was next but the pieces was taken from the NS drivers cut cut out from the passenger side piece of film:
 DSC05017
 by
RussZS, on Flickr
 DSC05018
 by
RussZS, on Flickr
Magnets used to hold the film in place:
 DSC05020
 by
RussZS, on Flickr
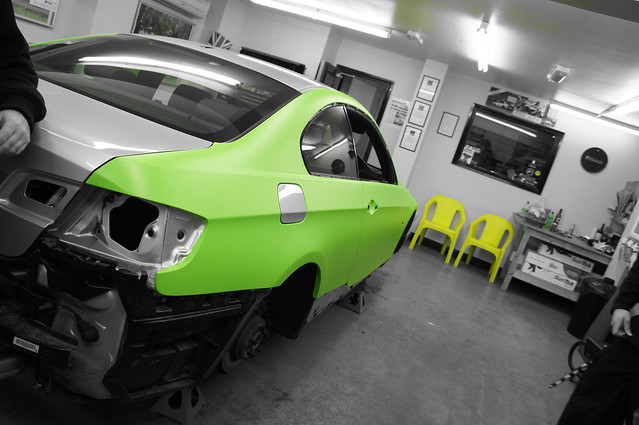
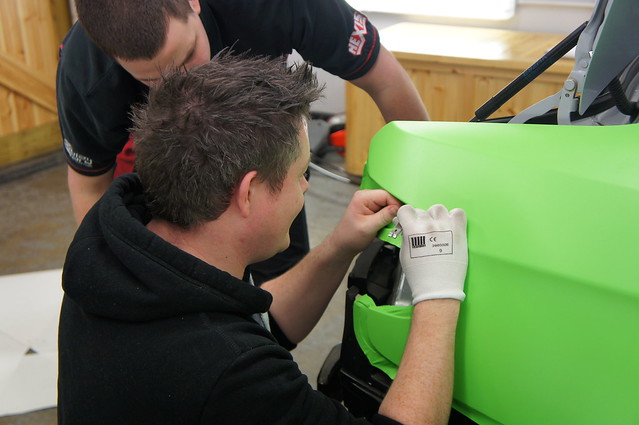
The following pics are from the rest of the installation process:
It's very green!
 DSC05027
 by
RussZS, on Flickr
 DSC05025
 by
RussZS, on Flickr
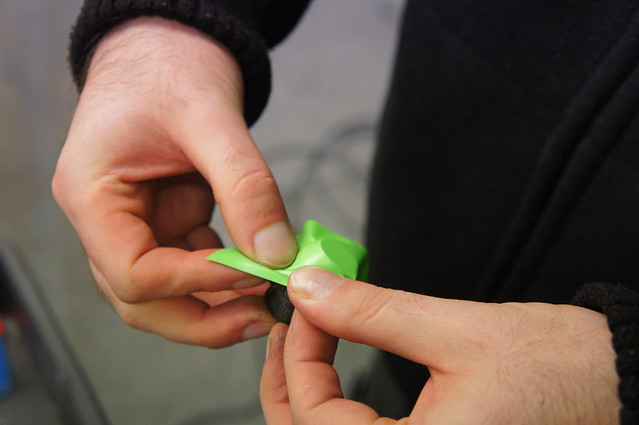
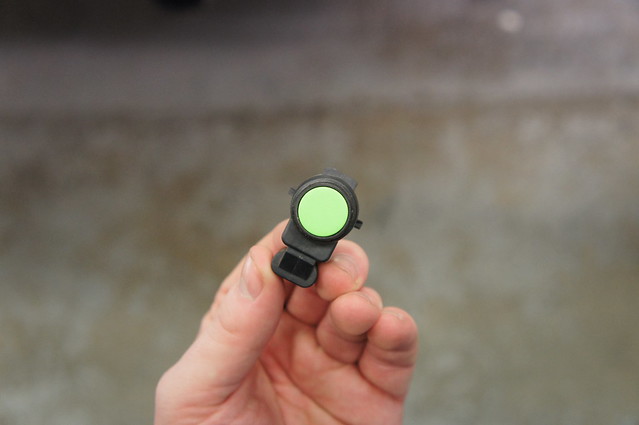
Rear parking sensors removed and wrapped individually (this is not the case for every sensor as some will not work correctly!)
 DSC05030
 by
RussZS, on Flickr
 DSC05031
 by
RussZS, on Flickr
 DSC05033
 by
RussZS, on Flickr
 DSC05037
 by
RussZS, on Flickr
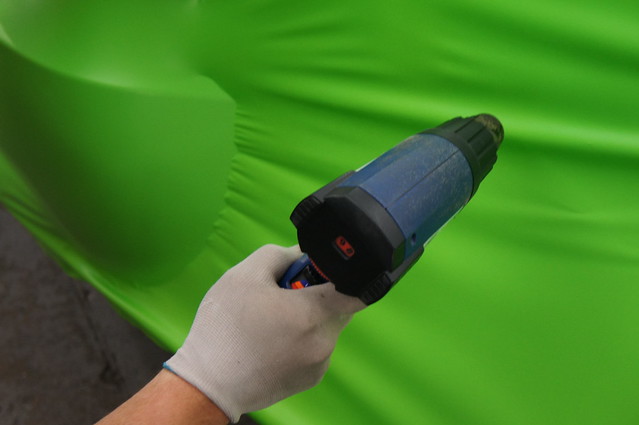
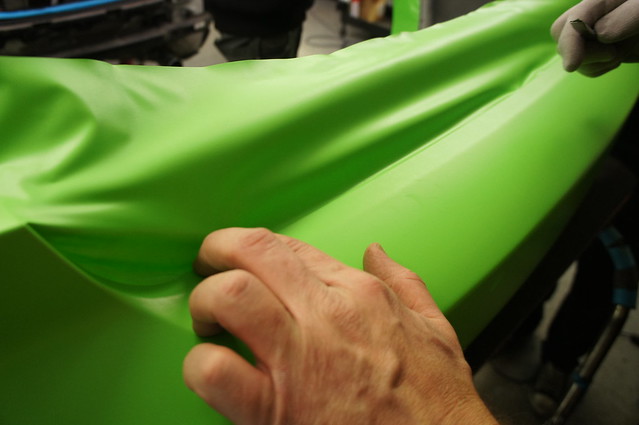
Rear bumper:
 DSC05039
 by
RussZS, on Flickr
 DSC05040
 by
RussZS, on Flickr
 DSC05044
 by
RussZS, on Flickr
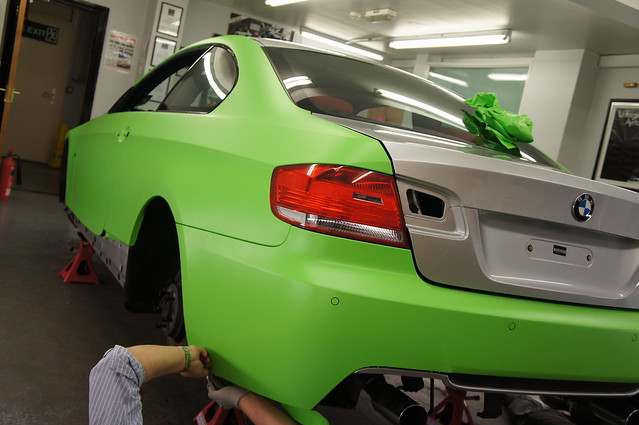
Starting to look like a car again!
 DSC05046
 by
RussZS, on Flickr
Bootlid done in two pieces:
 DSC05052
 by
RussZS, on Flickr
Door handles wrapped in APA Satin Black:
 DSC05056
 by
RussZS, on Flickr