Make a donation

Author Topic: Jay's actual GTI... now with added accuair.  (Read 104663 times)

Offline MightyMullet

  • Always Involved
  • ****
  • Thank You
  • -Given: 13
  • -Receive: 5
  • Posts: 341
  • Penzance, Cornwall
Re: Jay's actual GTI... now with added accuair.
« Reply #60 on: July 18, 2013, 04:36:33 pm »
Looks dope man, that last pic is a winner! :happy2:

Offline faisal_16

  • Just Arrived
  • **
  • Thank You
  • -Given: 0
  • -Receive: 1
  • Posts: 22
Re: Jay's actual GTI... now with added accuair.
« Reply #61 on: July 31, 2013, 07:23:20 pm »
This looks amazing Jay, really nice choice of mods  :love:

Offline xjay1337

  • Just look at my post count
  • ******
  • Thank You
  • -Given: 15
  • -Receive: 377
  • Posts: 4916
  • My Ride: http://www.mk5golfgti.co.uk/forum/index.php/topic,88399.0.html
Re: Jay's actual GTI... now with added accuair.
« Reply #62 on: July 31, 2013, 07:25:50 pm »
Thank you everyone.
Although the car is in the bodyshop at the minute having a lovely fresh front end and new wings put on - the rest of the car is up for sale/splits/swaps.

Wanting to make a performance build as I miss hooning about.

Offline ukshaun

  • Always Involved
  • ****
  • Thank You
  • -Given: 0
  • -Receive: 6
  • Posts: 327
  • If in doubt.. flat out
Re: Jay's actual GTI... now with added accuair.
« Reply #63 on: July 31, 2013, 11:44:24 pm »
That looks awesome jay
My progress thread www.mk5golfgti.co.uk/forum/index.php/topic,66117.0.html
Mods done: revo map, new south boost gauge, rcd510 dab, gti grill, gti colour coded valance, tinted lights, leds, gti spoiler

Offline xjay1337

  • Just look at my post count
  • ******
  • Thank You
  • -Given: 15
  • -Receive: 377
  • Posts: 4916
  • My Ride: http://www.mk5golfgti.co.uk/forum/index.php/topic,88399.0.html
Re: Jay's actual GTI... now with added accuair.
« Reply #64 on: August 02, 2013, 02:28:00 pm »
Thank you pal  :happy2:


Offline torque777

  • Won't Shut up.
  • *****
  • Thank You
  • -Given: 0
  • -Receive: 12
  • Posts: 554
Re: Re: Jay's actual GTI... now with added accuair.
« Reply #65 on: August 02, 2013, 07:25:57 pm »
Holy sh*t ...that looks dramatic

sent using my own fingers

Offline G40will

  • Always Involved
  • ****
  • Thank You
  • -Given: 10
  • -Receive: 8
  • Posts: 405
    • Email
Re: Jay's actual GTI... now with added accuair.
« Reply #66 on: August 03, 2013, 11:48:03 am »
Thank you pal  :happy2:


Is your offside front tyre on the wrong way round jay?
« Last Edit: August 03, 2013, 11:54:49 am by G40will »

Offline rich83

  • Just look at my post count
  • ******
  • Thank You
  • -Given: 165
  • -Receive: 801
  • Posts: 13443
    • MK5 Golf GTI
  • My Ride: https://www.mk5golfgti.co.uk/forum/index.php/topic,19740.0.html
Re: Jay's actual GTI... now with added accuair.
« Reply #67 on: August 03, 2013, 11:50:44 am »
They on are correctly.  :happy2:

Offline G40will

  • Always Involved
  • ****
  • Thank You
  • -Given: 10
  • -Receive: 8
  • Posts: 405
    • Email
Re: Jay's actual GTI... now with added accuair.
« Reply #68 on: August 03, 2013, 11:53:59 am »
Ooops, meant offside... Ill edit my OP. It looks like its on backwards?

Offline rich83

  • Just look at my post count
  • ******
  • Thank You
  • -Given: 165
  • -Receive: 801
  • Posts: 13443
    • MK5 Golf GTI
  • My Ride: https://www.mk5golfgti.co.uk/forum/index.php/topic,19740.0.html
Re: Jay's actual GTI... now with added accuair.
« Reply #69 on: August 03, 2013, 11:55:47 am »
They are both on correctly. They are not directional which is why they look funny, as the tread patters suggests that the are directional.

Offline xjay1337

  • Just look at my post count
  • ******
  • Thank You
  • -Given: 15
  • -Receive: 377
  • Posts: 4916
  • My Ride: http://www.mk5golfgti.co.uk/forum/index.php/topic,88399.0.html
Re: Jay's actual GTI... now with added accuair.
« Reply #70 on: August 11, 2013, 07:31:26 pm »
Yeah.. tyres can be confusing.

Just spent the weekend camping with the UKmkivs lot had a fantastic weekend.
Sure there are loads of pics up and coming from that but been having more niggly issues with it. Only got this one for now which was on the Friday evening before most of the people turned up!!


Have a rattlesnake under the bonnet any time I let off the throttle it sounds like something is going to fall off in my engine bay. Spent hours checking heat shields and everything and no luck at all.
Still have the massive pulling to the left which makes it very unnerving to drive but 99.9% sure that's the LCA bushes which are still sat in my room waiting to be fitted (I'd do it myself but I need a hydraulic press to push the original console bushes out to insert the TT Mk2 ones)

Once that's done we'll go from there.

In the mean time I've had the car back from paint. Had issues with panel alignment which I decided to sort of fix myself to stop it from ruining the new arches, the quality of the paint is spot on went around it at night with a sun-gun and crystal clear swirl free finish which I'm so happy about. Just need to machine the rest of the car now  :signLOL:

Still got to change my cam follower... we'll go from there.

Had an EML light on which was the secondary air injection thingy... cleared the fault and not been back on since. Stupid thing.

Just want to race car it really now. Just waiting on people to buy my tings!!


Offline xjay1337

  • Just look at my post count
  • ******
  • Thank You
  • -Given: 15
  • -Receive: 377
  • Posts: 4916
  • My Ride: http://www.mk5golfgti.co.uk/forum/index.php/topic,88399.0.html
Re: Jay's actual GTI... now with added accuair.
« Reply #71 on: August 26, 2013, 12:52:17 am »
Car is staying. So is the air. And so are the wheels. I had that "click" when cleaning the wheels funnily enough and now I love it.  :jumpmove:
Following the purchase of a DAS6 PRO I've been able to get back into the detailing side of things again. I just do friends and familys cars but expanding out to forum members etc.

Recently I completed 2 stage machine polish and headlight restoration on my friends Audi S3 as a thankyou for polishing my lips when I first put the wheels together. Over 20 hours of work and really pleased how it came out.

Before


After


Roof 50/50


I decided to actually get on with mine instead of doing everyone elses!!

As the weather was on-off decent this afternoon and tomorrow will be good I thought I'd use these two days to get started. If I got the car to a point where I could just wipe away the surface dust in the morning and start maching that would be best so that's what I did.

The car is always kept clean so no need for a heavy decon wash. Broke out my favorite shampoo Ammo NYC Foam which I had imported from the USA (as you cannot buy it in the UK currently). It's so slip-slidey and bubbly as well (bubbles don't always mean good lubricity) and smells like bubblegum mixed with fairly liquid.

It's a very gentle wax safe shampoo [y]


After rinsing the car down I got cracking with the wash!


Depending on the soiling of the car I use a 2BM but most times I can get away with the one bucket. Using a 2BM on a relatively clean car is just a waste of time despite what some others may say. They absolutely have their place but here it wasn't necessary


After washing it was rinsed down again and the windows were dried at this point.

Got cracking with the claying


As this clay requires only water to be used I left the paint wet, got my double action trigger sprayer, added water and a drop of fairy liquid and got claying.

While I did clay it when I first got it, it was a bit of a rush job. Also having the car go through the bodyshop some overspray was present especially on the freshly painted panels. As the paints used are waterbased there was no need to worry about damaging the fresh paint anyway but I was extra gentle on these panels out of caution.

You can see some tar contamination here. On my drive to work (and subsequently home and to get lunch...) they had been doing road works which I can only imagine caused it.


It then started to rain so I rinsed the car off and left it. No point drying it if it's just going to get wet again. I went to make a Bacon Sandwich and Ben and his missus popped over and we went to play with his RC car! Many rolling overs and doughnuts later


we went home and I got back on with the car.

Gave it another rinse down and then to help remove the clay residue I went around the car firing the hose into the face of the mitt and going across the paintwork. Basically wherever the mitt goes there is constant flow of water so plenty of lubrication.

following this I dried the car with a microfibre towel as usual. normally (and perfectly natural to) you miss a bit so when you dry it you end up with dirty patches but I think for the first time ever it's pretty spotless!


You can see it's starting to get dark, it's around 7pm and I'm still in summer mode so think there's plenty of light left..

After drying we are left with the car as is.. still comes up nicely to be fair.


So I buzz out my scene tape (regular low-tack masking tape works just as well it's just not blue) and get cracking.

If you don't do this sort of thing you don't realise how truly time consuming it is taping up a car. I'm going to do the paint first and then the rear taillights so I'll have to re-tape those after the paint is sorted. Took me probably an hour and a half to tape it all up, but then I wasn't really rushing.

Ran out of light so had to do things by feel LOL


Still got the rear bumper and skirts to tape off but I really couldn't be arsed to do anymore tonight.

Just looking forward to tomorrow really early start, Bacon for brekkie and then a quick wipe down and then get set up to get the swirls out.

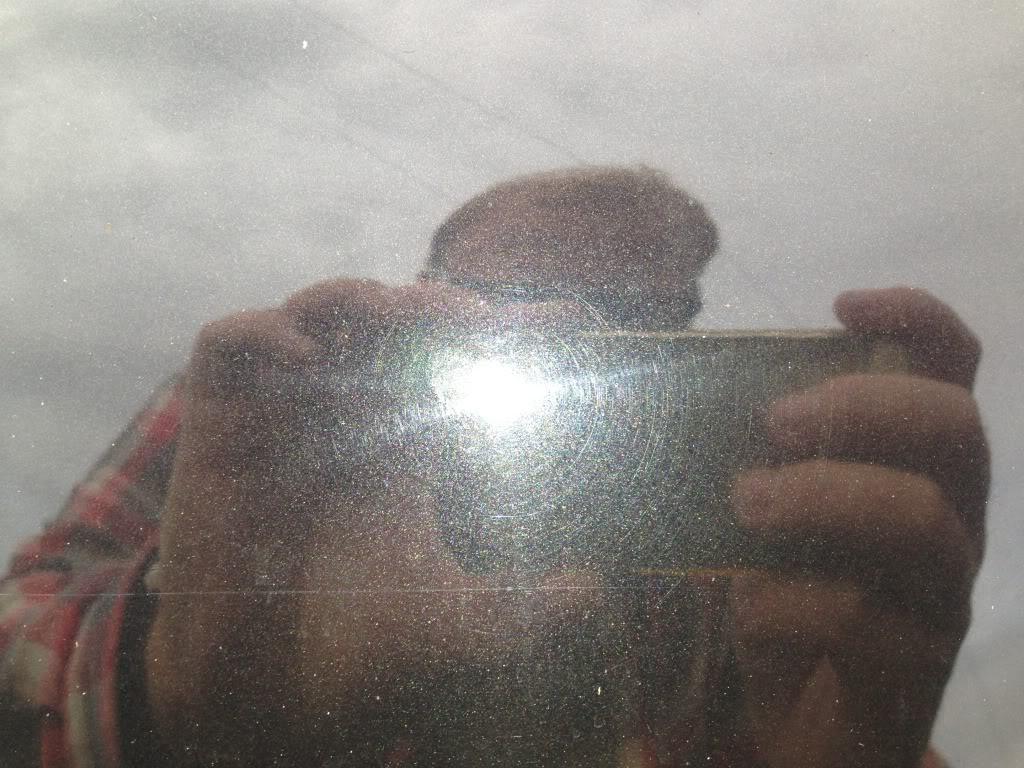
As it's hard enough to get photos of swirls on silver I did what I could.

The door trim cover thing.


Marks on the roof, passenger side


And another of the roof further back


So much for a weekend of relaxing!!!


Offline torque777

  • Won't Shut up.
  • *****
  • Thank You
  • -Given: 0
  • -Receive: 12
  • Posts: 554
Re: Re: Jay's actual GTI... now with added accuair.
« Reply #72 on: August 26, 2013, 07:30:05 am »
It is hard to photo swirls on a silver car ..but they come up so well when mopped

sent using my own fingers

Offline xjay1337

  • Just look at my post count
  • ******
  • Thank You
  • -Given: 15
  • -Receive: 377
  • Posts: 4916
  • My Ride: http://www.mk5golfgti.co.uk/forum/index.php/topic,88399.0.html
Re: Jay's actual GTI... now with added accuair.
« Reply #73 on: August 27, 2013, 10:51:39 am »
Yeah man tell me about it :(


First things first.. Bacon and bread can only mean one thing!!!


 :laugh: :laugh:

After enjoying a delicious sandwich I got cracking.

Ended up having a few mates pop over both at the same time weirdly!!


Nice to see Adam and Nick for a little bit  :drinking:

Silver as you can imagine is such a pain to photograph in a unit with halogen lights and sun guns let alone outside, in the sun with a phone light.

I'm still waiting on a Brinkmann Dual Xenon to come back in stock from Polished Bliss. [:(]

Got the best I could with some help from the sun when it came out.

Rear door before


Rear door after


Another before (I think this was the rear wing)


After


Rear lights.

On Stu's to be fair if I had time I would have gone to a more aggressive combo (I used Orange pad with SF4000 on his) so I went straight to FG400 on an orange pad, gave great results!

Before


After


My rear bumper is buggered having a little chip off on the lip near the boot and all of these scuffs and scratches on the flat part above the number plate.

As it's plastic I went quite aggressive, thinking if I burnt through it's only plastic, and would get resprayed anyway...  gave it a couple of passes with FG400 on the trusty orange hexlogic

Before


After


Well happy with that one!!

You remember the side trims which I photographed last night? Just incase you missed it..

Before


After


These things are ARSEHOLES because they come up so nicely but they get water stained so flipping easily.

Anyway the polishing was all done at this point. Gave the car a rinse down and the weird (but effective) "spray the hose into the mitt" wash method followed by a wipe up of the remainder of the tape residue and I was finished.

By now it was 8pm and I needed to get some protection on there. Luckily I had just enough Colinite 476s to get round the car twice, with enough to re-wax the wheels and lips.

Oh also, the roof scuff as well.. again incase you forgot..

Before


After


I'm not actually happy with how the car came out. It's much better than before yes, miles better infact. I'm not embarrassed when it's under lights now. But for some reason, some panels on this car had INCREDIBLY HARD paint. I know VAGs often have some difficult paint but I hit the roof TWICE with Megs MF, with more pressure than you should be using (finished each pass with less pressure to reduce hologramming) and while it's better yes there are still swirls on it.

My PDG  - Paint Depth Gauge - is not here yet (around the 8th of September it's due). I had quickly gone over the car at VW with theirs so I had a rough idea of the depth, but without having it handy to check the removal rates I didn't want to go much further. When I get that I can go much more in depth and I'm sure my mate would accompany me to his unit which has much better lighting, and lots of trucks!!!

Anyway about 13-14 hours spent on this in total, not too bad at all really.


Offline torque777

  • Won't Shut up.
  • *****
  • Thank You
  • -Given: 0
  • -Receive: 12
  • Posts: 554
Re: Re: Jay's actual GTI... now with added accuair.
« Reply #74 on: August 27, 2013, 09:11:21 pm »
Some great effort there ...great results

sent using my own fingers